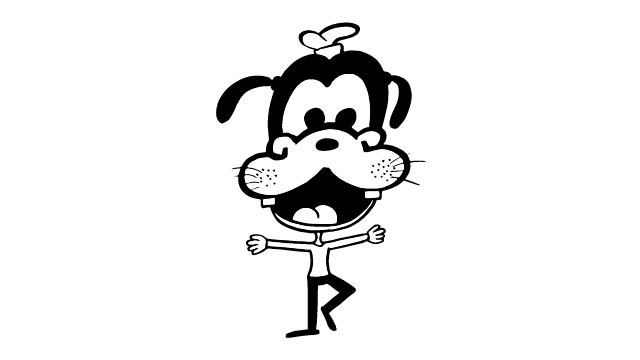
Drawing Goofy
Learn to draw Goofy step by step using pencils and markers, practicing proportions, simple shapes, and adding color to create a cheerful character portrait.

Drawing Apps
Step-by-step guide to draw Goofy
Step 1
Clear a flat workspace and place your paper and materials where you can reach them easily.
Step 2
Lightly sketch a tall oval for Goofy's head to give him his long goofy shape.
Step 3
Draw one light vertical line down the middle of the head and one horizontal line across the top third to mark eye placement.
Step 4
Add a large rounded snout protruding from the lower half of the face by drawing an oval that touches the center line.
Step 5
Draw two oval eyes on the horizontal guide and add small circles for pupils inside them.
Step 6
Sketch Goofy's big rounded nose at the tip of the snout by drawing a shaded oval shape.
Step 7
Draw a wide smiling mouth below the snout and add a curved tongue inside the mouth.
Step 8
Draw Goofy's long floppy ears on each side of the head using long curved shapes that hang down.
Step 9
Add Goofy's hat on top of his head by sketching a flat oval brim and a slightly squashed dome above it.
Step 10
Lightly draw a short neck and the top of his shirt and shoulders under the head to show his upper body.
Step 11
Erase extra guidelines and any stray pencil marks to tidy your drawing.
Step 12
Carefully trace your final lines with the black marker and let the ink dry completely.
Step 13
Color Goofy with your coloring materials using lighter colors first and darker tones for shadows.
Step 14
Share a photo of your finished Goofy portrait on DIY.org so everyone can see your cheerful creation.
Help!?
What can I use if I don't have a black marker or certain coloring supplies from the instructions?
If you don't have a black marker to 'carefully trace your final lines,' use a fine-tip black pen or a dark pencil for inking and swap crayons, colored pencils, or washable markers for any unavailable coloring materials.
My ink keeps smudging and Goofy's head looks off—how can I fix these problems during the steps?
Keep the 'tall oval' head and guide lines very light with pencil so they're easy to erase, test your marker on scrap paper and let each inked section dry completely before erasing pencil marks or coloring to prevent smudges and proportion mistakes.
How do I change the activity for different age groups using the given steps?
For younger kids, simplify by printing or tracing a tall oval and snout guide for them to finish and color, while older kids can follow 'lighter colors first and darker tones for shadows' and add extra shading, texture, or detail to the hat and clothing.
What are some ways to extend or personalize the Drawing Goofy activity after finishing the basic portrait?
After you 'erase extra guidelines and color Goofy,' personalize him by redesigning his hat, adding a background or props with your coloring materials, creating a short comic strip of him, and then share the final photo on DIY.org.
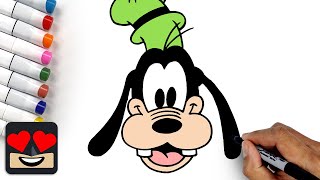
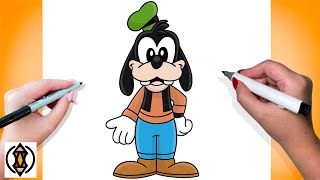
Watch videos on how to draw Goofy
How to Draw Goofy Easy step by step from Disney Cuties
4 Videos

How to Draw Goofy Easy step by step from Disney Cuties
How To Draw Goofy for Beginners
How To Draw Goofy | Tutorial Easy
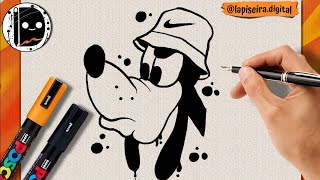
How to draw Goofy step by step
Facts about cartoon drawing for kids
🎬 Goofy first appeared in a 1932 Disney short under the name "Dippy Dawg" — that's over 90 years of goofiness!
🐶 Goofy is an anthropomorphic dog with long limbs and a cheerful, clumsy personality that artists love to exaggerate.
✍️ Cartoon artists build Goofy from simple shapes: circles for the head, ovals for the snout and eyes, and rounded rectangles for the body.
📐 Exaggerated proportions — a long snout, big ears, and a lanky body — are what make Goofy instantly recognizable.
🖍️ Goofy’s classic colors (green hat, orange shirt, blue pants) pop with markers; use pencils for light shading and details.
How do you draw Goofy step by step?
What materials do I need to draw Goofy?
What ages is drawing Goofy suitable for?
What are the benefits of learning to draw Goofy?
