Drawing Daisy Duck
Learn to draw Daisy Duck step-by-step using simple shapes, pencil guidelines, and colors to create a cute, proportionate cartoon drawing.

Drawing Apps
Step-by-step guide to drawing Daisy Duck
Step 1
Draw a large light circle near the top of your paper for Daisy’s head.
Step 2
Draw a smaller oval below the head for Daisy’s body.
Step 3
Lightly draw a horizontal and vertical guideline across the head circle to help place the face.
Step 4
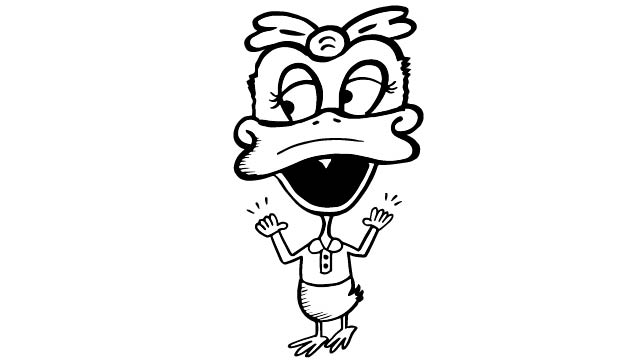
Draw a wide rounded beak shape centered on the lower half of the head circle.
Step 5
Draw two large oval eyes above the beak and include small pupils inside them.
Step 6
Add three long curved eyelashes to the outer corner of each eye.
Step 7
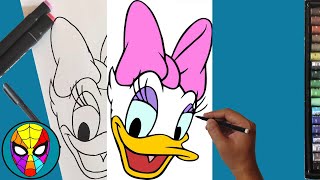
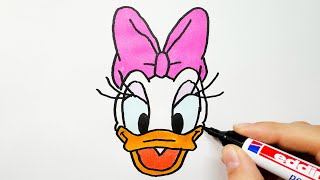
Draw Daisy’s bow on top of her head using two rounded triangles and a small center knot.
Step 8
Draw a short curved neck connecting the head to the body oval.
Step 9
Draw Daisy’s dress bodice and a flared skirt over the body oval.
Step 10
Draw two simple curved arms with mitten-like hands at each side of the bodice.
Step 11
Draw two short legs under the skirt and add large flat duck shoes at the ends.
Step 12
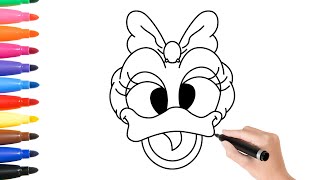
Carefully trace the pencil lines you want to keep using a black marker and let the ink dry.
Step 13
Gently erase the remaining pencil guidelines and smudges so only your inked drawing shows.
Step 14
Colour your drawing with your colouring materials to make Daisy bright and fun.
Step 15
Share your finished Daisy Duck drawing on DIY.org.
Help!?
What can we use instead of a black marker if we don't have one?
If you don't have a black marker for the 'Carefully trace the pencil lines' step, use a fine-tip black pen or dark felt-tip marker and be sure to let the ink dry before erasing pencil guidelines.
My drawing smudged or the beak looks uneven after inking—how do we fix it?
If ink smudges or the wide rounded beak becomes uneven while you carefully trace the pencil lines with a black marker, go over details slowly with a fine tip, wait until the ink is fully dry, then gently erase the pencil guidelines and lightly redraw or correct the beak with pencil before re-inking.
How can we adapt this Daisy Duck drawing for different ages or skill levels?
For younger kids, pre-draw the large head circle and body oval and let them add the bow and colour, while older kids can add feather texture, refine the three eyelashes, shade the beak and dress, and experiment with pose or expression.
How can we make the drawing more creative or personal after finishing the basic steps?
Personalize the finished Daisy by changing the dress pattern and bow colors, adding a background scene or props with your colouring materials, and then photograph and share the final artwork on DIY.org.
Watch videos on how to draw Daisy Duck
Step-by-Step Guide: How to Draw Daisy Duck for Beginners
4 Videos
Step-by-Step Guide: How to Draw Daisy Duck for Beginners

How To Draw Daisy Duck For Beginners | Easy Drawing Tutorial
How to Draw Daisy Duck
How to Draw a Cute Daisy Duck 🦆🎀 | Easy Cute Drawings for Kids
Facts about drawing cartoon characters
🦆 Daisy Duck first appeared in the 1940 short film "Mr. Duck Steps Out".
🎀 Daisy is often drawn with a bow, eyelashes, and a skirt to make her design distinct from Donald.
🔶 Cartoon artists build characters from simple shapes — circles, ovals, and rectangles — before adding features.
✏️ Using light pencil guidelines and construction lines is a classic animation trick to keep proportions right.
🧠 Drawing regularly helps kids improve fine motor skills, observation, and creativity.
How do I draw Daisy Duck step-by-step with my child?
What materials do I need to draw Daisy Duck with kids?
What ages is drawing Daisy Duck suitable for?
What are the benefits and fun variations of drawing Daisy Duck?
