Draw This In Your Style #DTIYS
Recreate a provided character or scene in your own art style using pencils, markers, or crayons, experimenting with colors, shapes, and expressive details.


Drawing Apps
Step-by-step guide to Draw This In Your Style #DTIYS
Draw Myself + My Book in 10 Art Styles | NEW Style Swap Art Challenge + Draw with Mei Book
Step 1
Gather all your materials and find a comfy place to draw.
Step 2
Place the provided reference where you can see it clearly while you work.
Step 3
Decide one big change to make for your style like rounder shapes bolder colors or extra details.
Step 4
Lightly sketch the basic shapes of the character or scene with your pencil.
Step 5
Draw the main features like the face hands and clothing on top of the basic shapes.
Step 6
Use your eraser to fix any shapes so the proportions look right.
Step 7
Add style details such as patterns textures or exaggerated parts that show your style.
Step 8
Darken the final outlines with your black pen or a darker pencil.
Step 9
Erase any leftover faint pencil sketch lines so your drawing looks clean.
Step 10
Pick the colors you want to use for each part of your drawing.
Step 11
Color your drawing using your chosen colors and try blending or layering for fun effects.
Step 12
Add final touches like small highlights shadows or extra texture to make it pop.
Step 13
Sign your name or initials on your artwork.
Step 14
Share your finished creation on DIY.org
Help!?
What can I use instead of a black pen or darker pencil if I don't have them?
Use a fine-tip permanent marker, a dark colored pencil, or a sharpened charcoal stick to darken the final outlines as an alternative to a black pen or darker pencil (step 8).
My character looks out of proportion after the light sketch—how can I fix it?
Compare measurements to the provided reference (step 2), lightly mark key distances with your pencil, then use your eraser to fix any shapes so the proportions look right (steps 4 and 6).
How can I adapt this activity for different ages?
For younger kids, simplify the basic shapes (step 4) and use chunky crayons for coloring (step 10), while older kids can add extra patterns, textures, and try blending or layering for effects (steps 7 and 11).
How can we extend or personalize the finished drawing to make it more special?
Add a custom background or extra story details during the style-details step (step 7), enhance with final highlights or textures (step 12), then sign it (step 13) and share a time-lapse or series on DIY.org (step 14).
Watch videos on how to Draw This In Your Style #DTIYS
Learn Character Design Like a AAA Game Artist RIGHT NOW!
4 Videos
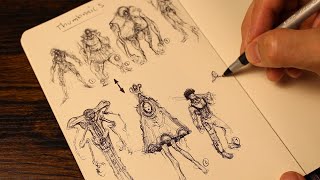
Learn Character Design Like a AAA Game Artist RIGHT NOW!
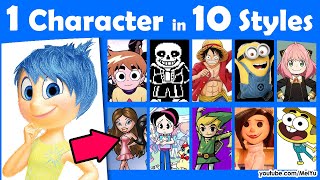
Draw Inside Out 2 Joy 10 Art Styles Swap Challenge | New Manga Drawing School Book Preorder, Mei Yu
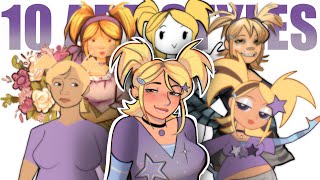
10 ART STYLE CHALLENGE (xp pen, jaidenanimations, Walten files, gorillaz, Speedpaint)
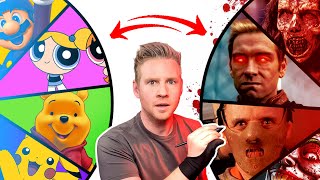
Drawing More EXTREME Character Style Swaps!
Facts about drawing and character design for kids
🎨 Character designers often start with bold silhouettes so a character is recognizable even in a tiny thumbnail.
✍️ DTIYS and fan art hashtags help thousands of artists remix the same character and learn from each other's styles.
🖍️ Crayola introduced its first crayons in 1903 — today their classic crayon box famously contains 120 colors.
🖊️ Modern marker pens (including popular permanent markers) became widely used by artists in the mid-20th century for bold, even lines.
🤩 Redrawing a character in your own style is a fast way to practice — little daily redraws boost creativity and skill over time.
How do I do a Draw This In Your Style (DTIYS) activity with my child?
What materials are needed for a DTIYS art activity?
What ages is the DTIYS activity suitable for?
What are the benefits of doing DTIYS with a child?
