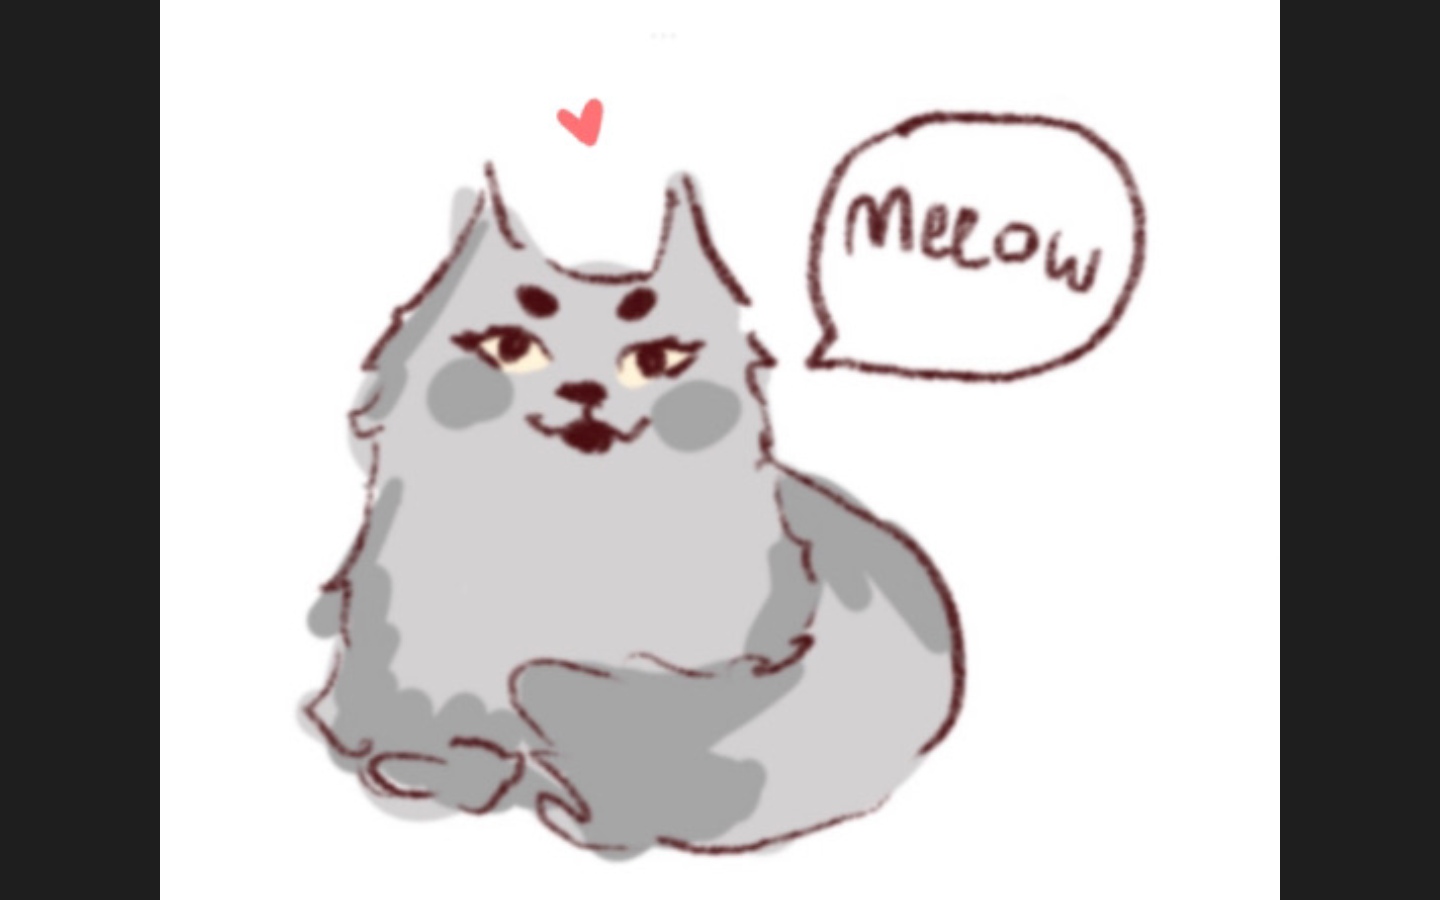
Draw the Cutest Cat
Draw an adorable cat step by step using simple shapes, learn proportions and shading, and color your artwork to create a cute finished picture.

Drawing Apps
Step-by-step guide to Draw the Cutest Cat
Step 1
Put your paper and pencil in front of you and sit comfortably at a table.
Step 2
Lightly draw a big circle near the top half of the paper for the cat's head.
Step 3
Draw a faint vertical and horizontal guideline across the head circle to help place the face features.
Step 4
Draw a smaller oval just below the head for the cat's body about as wide as the head.
Step 5
Add two soft triangle ears on top of the head to make the cat look cute.
Step 6
Draw a small curved line that connects the bottom of the head to the body to form the chin and neck.
Step 7
Sketch two big round eyes on the horizontal guideline and leave tiny white circles inside them for eye sparkle.
Step 8
Draw a tiny upside-down triangle for the nose and a short curved line under it for a smiling mouth.
Step 9
Add three whisker lines on each side of the face starting near the cheeks.
Step 10
Draw short rounded front legs and back legs under the body and add a long curvy tail.
Step 11
Trace the lines you like best with your black pen and let the ink dry.
Step 12
Gently erase the pencil guidelines and extra sketch marks after the ink is dry.
Step 13
Pick a light source direction (for example top-left) and lightly shade the areas that would be in shadow away from that light.
Step 14
Color your cat using your coloring materials and use darker colors where you shaded to make the fur look fluffy and soft.
Step 15
Share your finished adorable cat drawing on DIY.org.
Help!?
What can I use if I don't have a black pen or certain coloring materials?
Use a fine-tip black marker or a dark ballpoint pen to trace your chosen lines, and substitute colored pencils, crayons, or watercolor paints for the coloring materials while still letting ink dry before erasing pencil guidelines.
My pen ink smudged when I tried to erase—how do I fix or avoid that?
Prevent smudging by letting the black pen lines dry completely and blotting gently with a tissue or using a low‑heat hair dryer before you gently erase pencil guidelines, and if smudges remain, tidy them with a clean eraser or retrace the line with the pen.
How can I adapt this drawing activity for younger or older children?
For younger kids pre‑draw the big head circle and body oval and let them add simple ears, eyes, whiskers, and color with crayons, while older kids can add detailed fur texture, stronger shading based on the chosen light source, and more refined paws and backgrounds.
How can we extend or personalize the finished cat drawing?
Make the cat unique by changing ear shapes, adding stripes or spots, creating a themed background, using darker colors where you shaded for fluffy fur depth, or scanning/photographing the finished drawing to share on DIY.org.
Watch videos on how to Draw the Cutest Cat
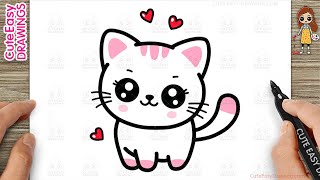
How to Draw a Cute Cat Easy for Kids and Toddlers
4 Videos

How to Draw a Cute Cat Easy for Kids and Toddlers
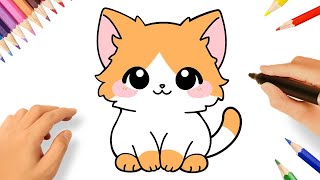
How to Draw a Cute Cat Simple & Easy for Kids
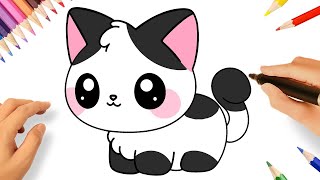
HOW TO DRAW A CUTE CAT EASY STEP BY STEP 😻🐈
HOW TO DRAW A CUTE KAWAII CAT EASY STEP BY STEP 🐈
Facts about drawing animals for kids
🐱 Cats usually have five toes on their front paws and four on their back paws — a handy detail when drawing paws.
✏️ Artists often begin with simple shapes like circles and ovals to map out proportions — the same step-by-step trick you'll use!
😺 Kittens can start purring just a few days after birth, which is one reason baby cats feel extra adorable.
💗 Big eyes and a relatively large head are part of the "baby schema" that makes characters look irresistibly cute.
🎨 Using a single, consistent light source for shading helps your cat look three-dimensional and believable.
How do I draw the cutest cat step by step?
What materials do I need to draw the cutest cat?
What ages is the "Draw the Cutest Cat" activity suitable for?
What are the benefits of drawing the cutest cat?
