Draw Eyes
Learn to draw expressive eyes using simple shapes, shading, and highlights. Practice sketching different eye styles and observing real eye details.

Drawing Apps
Step-by-step guide to draw expressive eyes
How To Draw Eyes ( Beginner Tutorial)
Step 1
Hold your mirror or photo and look closely for two minutes to notice the eye shape the bright highlight and where the lashes grow.
Step 2
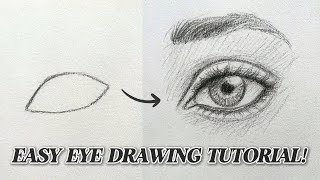
Lightly sketch an almond shape on your paper to make the outer outline of the eye.
Step 3
Draw a circle inside the almond for the iris placing it slightly toward the direction the eye is looking.
Step 4
Draw a smaller circle inside the iris for the pupil.
Step 5
Erase any parts of the iris circle that are covered by the eyelids so the iris looks tucked under the lids.
Step 6
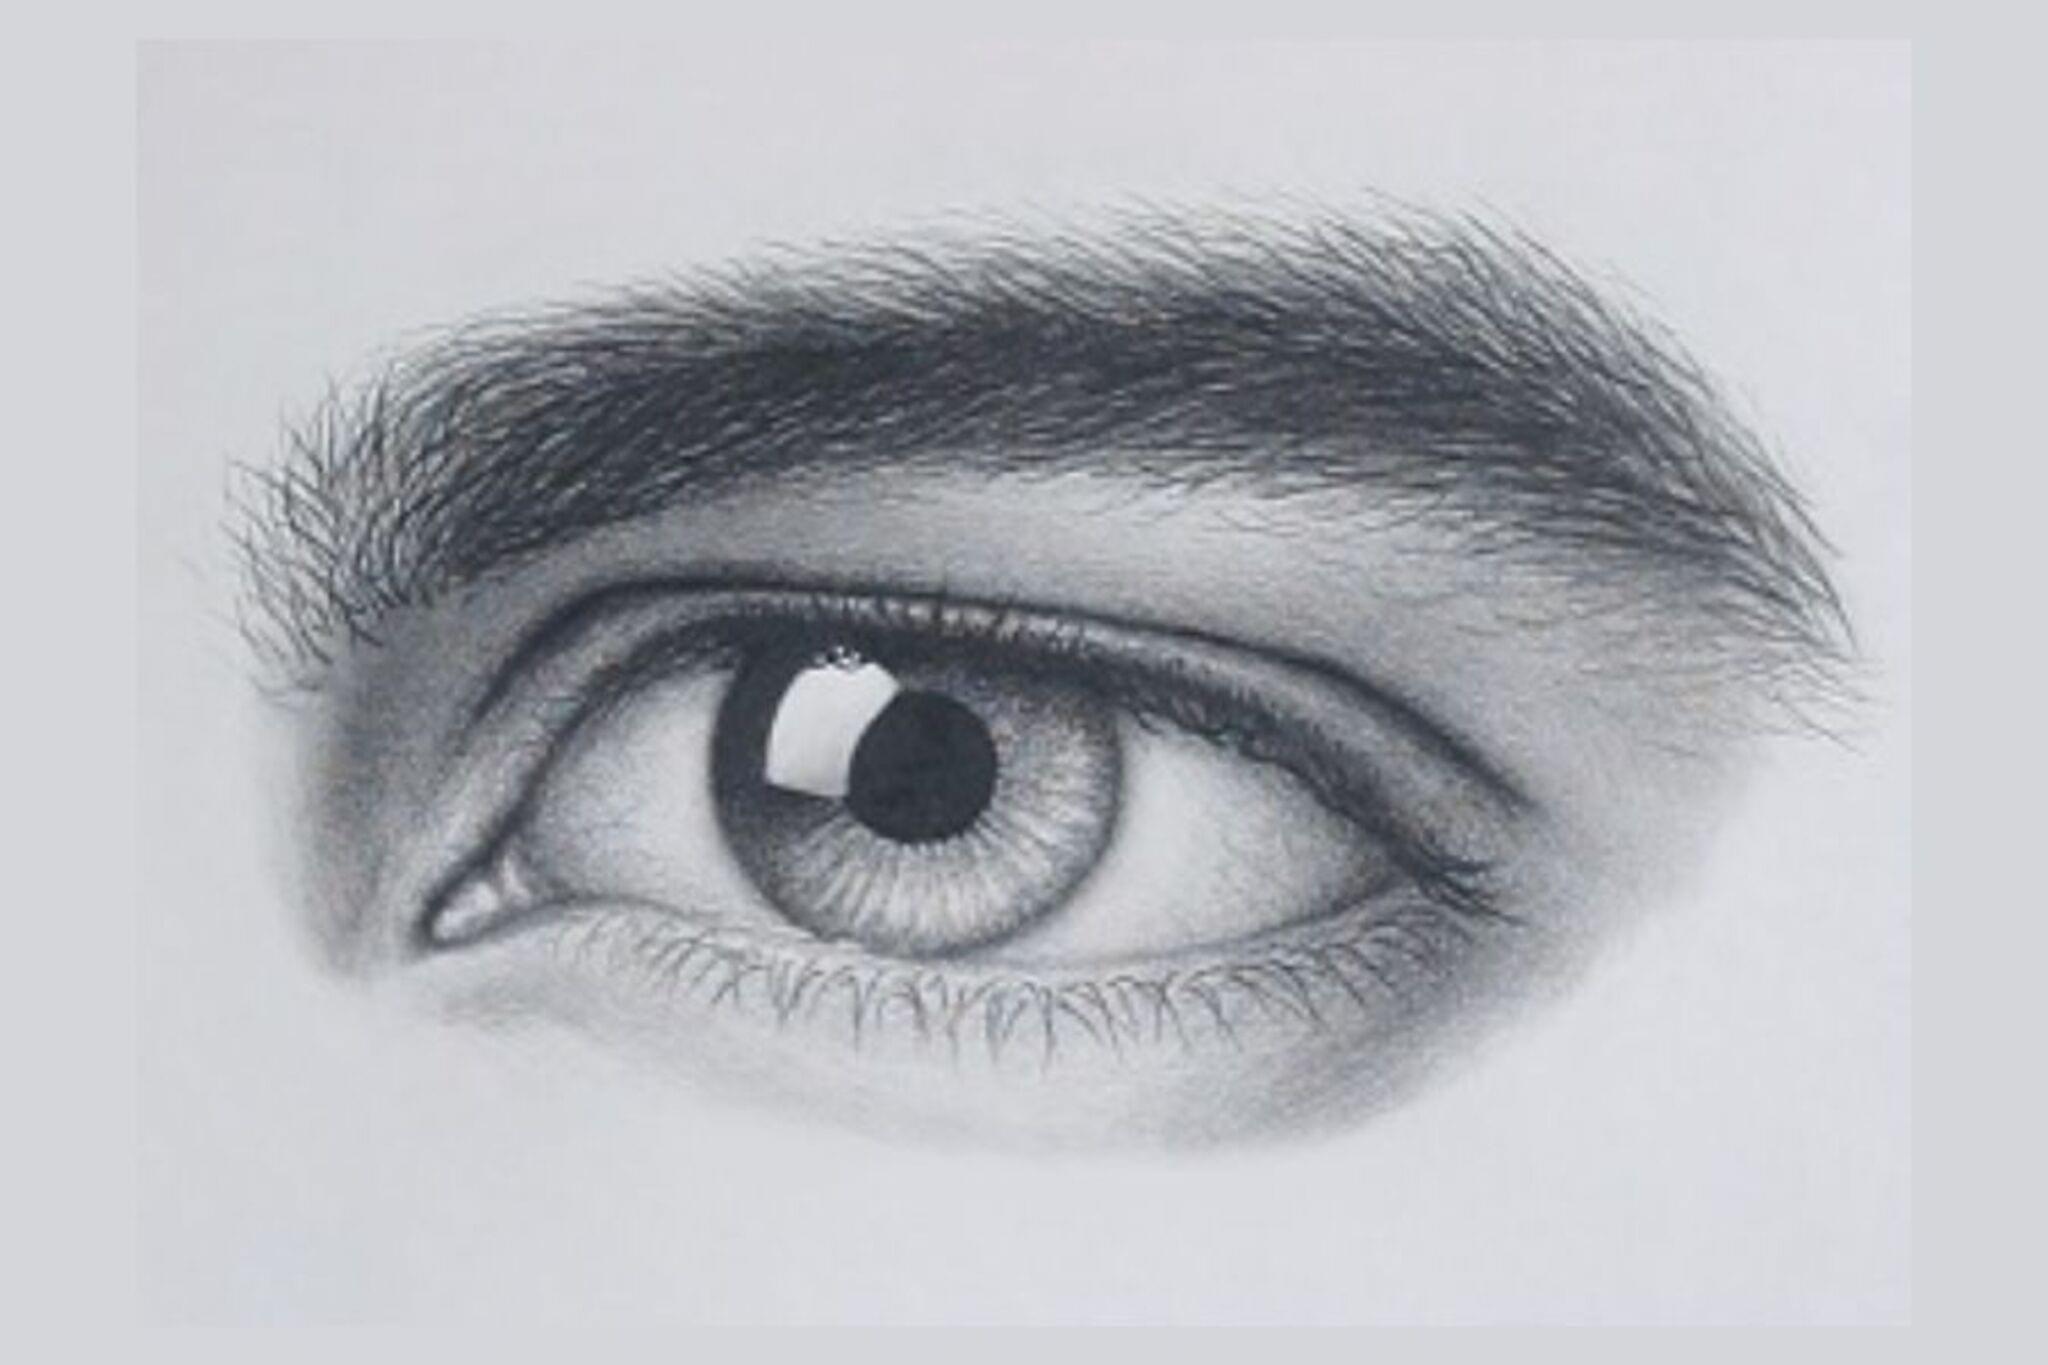
Draw a bright highlight shape inside the iris and keep it white to show the light reflection.
Step 7
Add a curved crease line above the eye to show the upper eyelid fold.
Step 8
Draw short tapered eyelashes along the upper and lower lash lines using quick strokes.
Step 9
Shade the pupil completely dark to make it stand out.
Step 10
Add thin radiating pencil strokes from the pupil outward in the iris to create texture.
Step 11
Shade softly under the upper eyelid and near the outer edge of the white to make the eye look round.
Step 12
Share your finished eye drawings on DIY.org
Help!?
What can I use instead of a mirror or special pencils if I don't have them?
If you don't have a hand mirror or printed photo use your phone's front camera for the two-minute observation, and if you lack a soft drawing pencil use an HB pencil with lighter strokes and a tissue for smudging when shading.
What should I do if my iris looks flat or my highlight disappears when I shade?
If the iris looks flat or the highlight vanishes, erase the parts of the iris covered by the eyelids so it appears tucked under the lids, add thin radiating pencil strokes for iris texture, and keep the bright highlight area white before shading around it.
How can I change the activity for younger or older kids?
For younger children, have them trace a big almond shape and draw one large iris and highlight with a chunky crayon, while older kids can follow all steps adding the curved crease line, tapered eyelashes, thin radiating pencil strokes, and subtle shading under the upper eyelid for realism.
How can we extend or personalize the finished eye drawing before sharing on DIY.org?
To personalize the finished eye, add colored pencils or light watercolor over the iris after shading the pupil and radiating strokes, try different crease lines and eyelid positions to show emotions, or draw both eyes and a surrounding face before sharing on DIY.org.
Watch videos on how to draw expressive eyes
HOW TO DRAW AN EYE FOR BEGINNERS [*EASY TUTORIAL*]
4 Videos
![HOW TO DRAW AN EYE FOR BEGINNERS [*EASY TUTORIAL*]](https://img.youtube.com/vi/J_6jF7Fpezk/mqdefault.jpg)
HOW TO DRAW AN EYE FOR BEGINNERS [*EASY TUTORIAL*]

How To Draw Eyes For Beginners Step By Step | Drawing Tutorial

How to draw Eyes from ANY perspective | Tutorial | Drawlikeasir
How to draw an eye for beginners | Easy eye drawing step by step | Easy Eye Drawing Tutorial
Facts about drawing facial features for kids
👁️ The human eye can distinguish about 10 million different colors!
✨ Adding a tiny white highlight can instantly make a drawn eye look shiny and alive.
🎨 Manga and anime often use oversized irises and multiple highlights to amplify emotion.
👀 People blink around 15–20 times per minute — a blink can add realism and expression to drawings.
🔎 The iris pattern is unique to each person, just like a fingerprint.
How do I teach my child to draw expressive eyes?
What materials do I need to draw expressive eyes with my child?
What ages is learning to draw expressive eyes suitable for?
What are the benefits of practicing expressive eye drawing with children?
