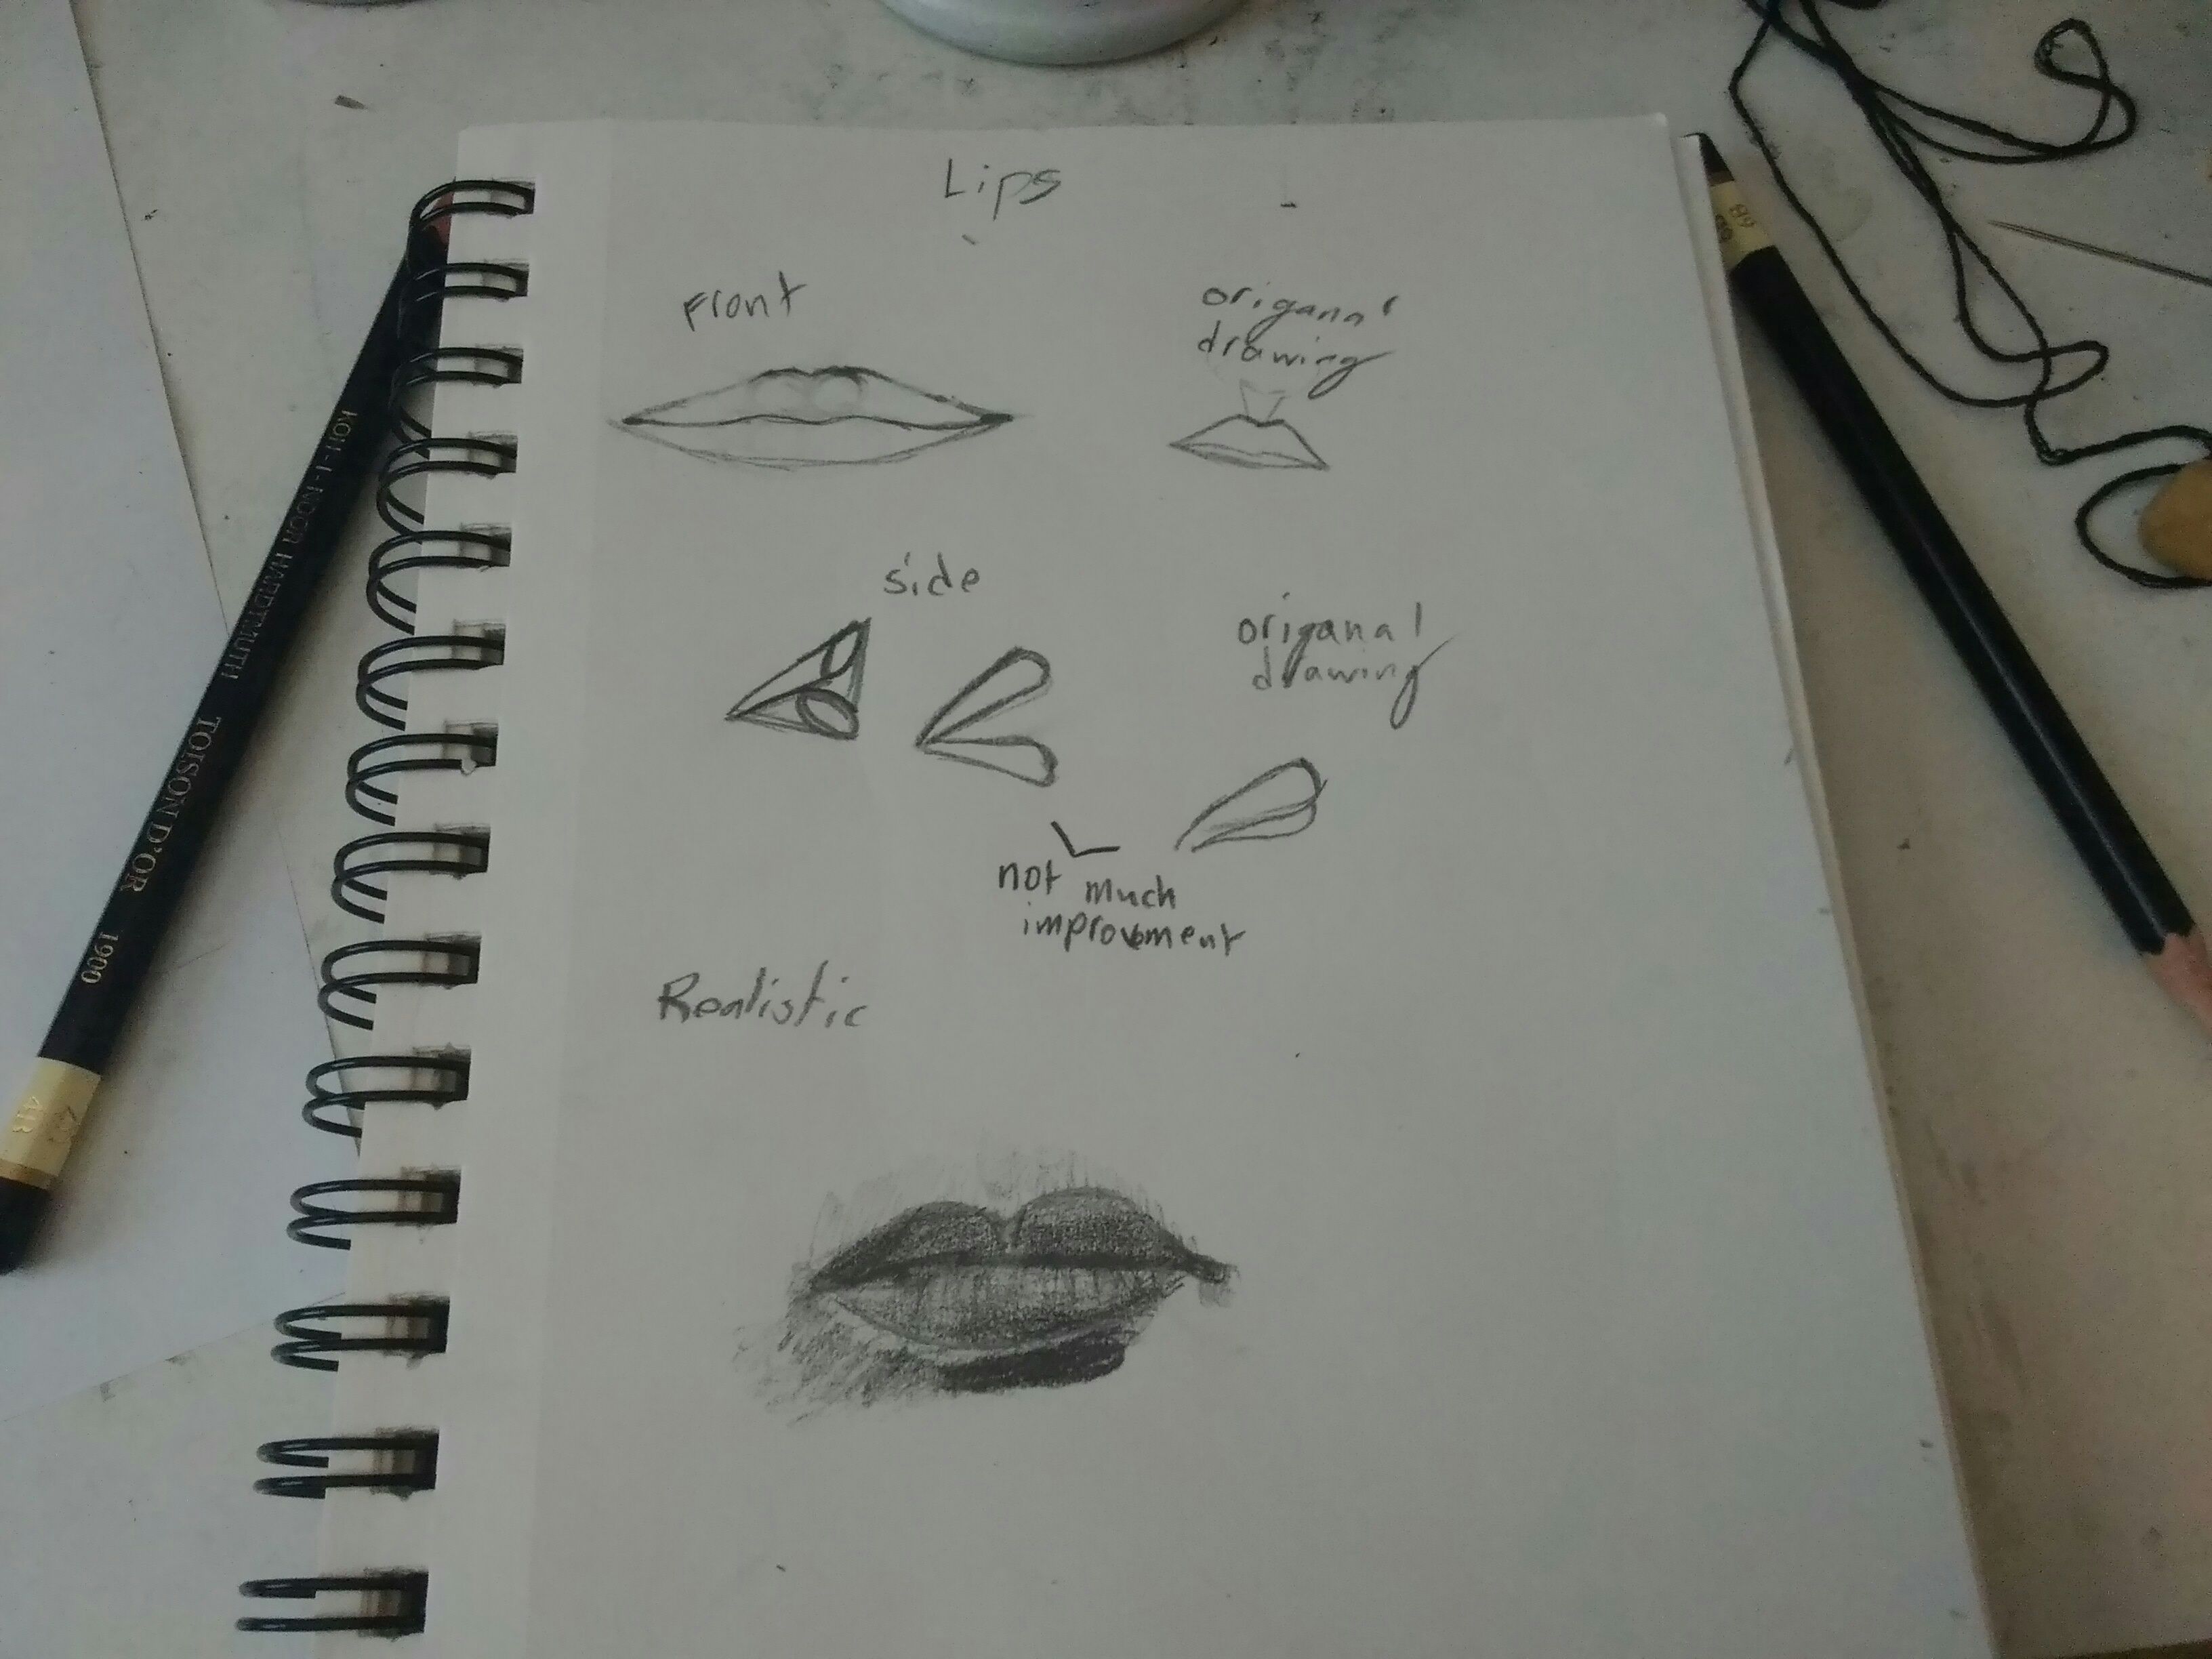
Draw a mouth from the front or side
Draw a mouth from the front and side using pencil, eraser, and simple shading to learn proportions, angles, and basic facial structure.

Drawing Apps
Step-by-step guide to draw a mouth from the front and side
Step 1
Gather your pencil eraser paper and tissue or blending stump so everything is ready.
Step 2
Lightly draw a horizontal guideline across the page where the front-view mouth will sit.
Step 3
Put two small vertical marks on the guideline to show the left and right corners of the mouth.
Step 4
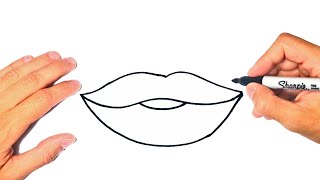
Sketch the top lip as a gentle M-shaped curve between the corner marks.
Step 5
Sketch the lower lip as a soft U-shaped curve that connects the corner marks.
Step 6
Draw a thin line between the lips to show where they meet.
Step 7
Lightly shade under the lower lip to make a shadow and show depth.
Step 8
Draw a vertical guideline near the side of the paper to mark the face edge for the side view.
Step 9
Add a short horizontal tick on that vertical guideline to mark the mouth level in the side view.
Step 10
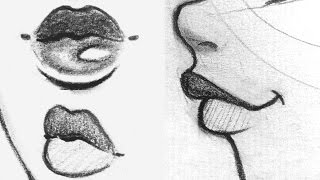
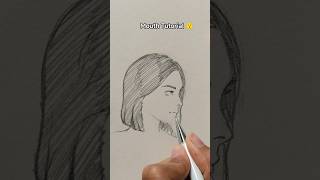
Sketch the upper lip in profile as a small outward curve from the vertical guideline.
Step 11
Sketch the lower lip in profile and draw a gentle curve back to suggest the chin.
Step 12
Add soft shading under the lower lip and at the back corner to create depth in the side view.
Step 13
Gently erase the extra guidelines so only the mouth shapes remain.
Step 14
Use your eraser to lift a tiny highlight on the lips to make them look shiny.
Step 15
Share your finished front-and-side mouth drawing on DIY.org.
Help!?
What can we use instead of a blending stump or tissue if we don't have one?
If you don't have a blending stump or tissue, use a rolled-up piece of clean cotton, a Q‑tip, or the rounded edge of a crumpled tissue to softly blend the light shading under the lower lip as the instructions describe.
My lips look flat or my shading is blotchy—what step is likely going wrong and how can I fix it?
Keep your horizontal guideline and corner marks very light, sketch the M-shaped top lip and U-shaped lower lip with gentle strokes, then apply soft shading under the lower lip and blend slowly with a tissue or stump, erasing extra guidelines afterward to avoid smudges and preserve the mouth shape.
How can this activity be changed for different ages or skill levels?
For preschoolers, simplify by tracing a printed mouth and using crayons on thick paper to practice the M and U shapes, while older kids can refine the profile curves, add subtle shading at the back corner and under the lower lip, and lift a tiny highlight with the eraser for realism.
How can we extend or personalize the front-and-side mouth drawing activity?
Try drawing different expressions by changing the M and U curves, add details like teeth or a tongue along the thin line between lips, color the lips with pencils or markers, and then photograph your front-and-side versions to share on DIY.org.
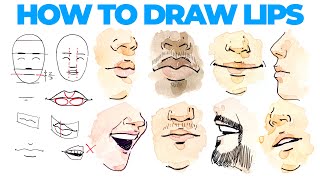
Watch videos on how to draw a mouth from the front and side
How to draw a Mouth Step by Step | Mouth Drawing Lesson
4 Videos
How to draw a Mouth Step by Step | Mouth Drawing Lesson
♡ How to Draw Lips | Front, Side, 3/4 View ♡
How to draw SIMPLE LIPS (mouth) | Easy tutorial for BEGINNERS!
How to draw Mouth in side face| Easy Tutorial
Facts about drawing facial features for kids
👄 Lip prints are unique to each person — the study of lip patterns is called cheiloscopy.
✏️ A common portrait rule: the corners of the mouth often line up roughly with the centers of the eyes.
🧠 More than 20 facial muscles work together to form expressions and move the lips for speaking and smiling.
🎨 A single small highlight on a lip can make it read as shiny and three-dimensional in your drawing.
🔍 In profile, the upper lip usually projects slightly more than the lower, giving faces distinct side silhouettes.
How do you draw a mouth from the front and side?
What materials do I need to draw mouths?
What ages is this mouth-drawing activity suitable for?
What are the benefits of drawing mouths from front and side?
