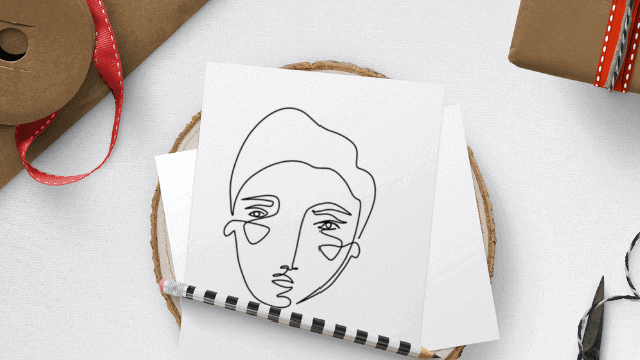
Draw a Man Face
Draw a man's face with pencil and eraser, practice proportions, add eyes, nose, mouth, hair, shading, and create a unique expression.

Drawing Apps
Step-by-step guide to draw a man's face
Step 1
Place your pencil eraser paper and tissue in front of you.
Step 2
Lightly draw a vertical oval for the head.
Step 3
Draw a faint vertical center line down the middle of the oval.
Step 4
Draw a faint horizontal eye line halfway down the oval.
Step 5
Lightly mark a hairline about one third of the way down from the top of the head.
Step 6
Lightly mark the base of the nose halfway between the eye line and the chin.
Step 7
Lightly mark the mouth line about one third of the distance below the nose line.
Step 8
Draw two almond-shaped eyes with pupils on the eye line.
Step 9
Draw the nose using simple curved lines from the nose base mark.
Step 10
Draw the mouth on the mouth line showing a smile frown or smirk to create a unique expression.
Step 11
Add ears on each side of the head between the eye line and the nose line.
Step 12
Sketch the hair starting at the hairline and give your character a fun hairstyle.
Step 13
Add soft shading under the chin along one side of the nose and below the lower lip using light pencil strokes.
Step 14
Gently blend the shaded areas with a tissue or blending stump to soften them.
Step 15
Share your finished man face drawing on DIY.org.
Help!?
What can we use instead of a blending stump or tissue if we don't have them?
Use a clean fingertip, cotton swab, or a small piece of crumpled tissue or paper towel to gently blend the soft shading under the chin, along one side of the nose, and below the lower lip.
My eyes look uneven after drawing the faint vertical center line and eye line—how can I fix them?
Lightly erase the misaligned almond-shaped eye, recheck spacing using the faint vertical center line and equal pencil-width measurements from the center, then redraw the eye on the eye line to match the other.
How can I adapt this Draw a Man Face activity for younger kids or older kids?
For younger children, simplify by using a thicker pencil or marker to draw a bold oval, a single eye line with large almond-shaped eyes and a simple mouth, while older kids can refine the hairline, add detailed hair texture from the hairline, practice soft shading under the chin and around the nose, and experiment with blending stump techniques.
How can we personalize or extend the finished man face before sharing it on DIY.org?
Personalize the finished drawing by changing the hairstyle at the hairline, adding glasses, a hat, facial hair, freckles, coloring with colored pencils, and sketching a simple shoulder line or background to give the character more story before uploading to DIY.org.
Watch videos on how to draw a man's face
How to Draw a Man's Face: Easy Step by Step Drawing Tutorial for Beginners
4 Videos
How to Draw a Man's Face: Easy Step by Step Drawing Tutorial for Beginners
How To Draw HUMAN FACES | Sketch Tutorial (for BEGINNERS)

Easiest Way to Draw a Human Face - Step-by-Step for Beginners!
Easiest Way to Quickly Sketch Human Faces | Complete Tutorial for Beginners!
Facts about portrait drawing for kids
🧍♂️ Artists often divide the face into five equal 'eye-widths' across the front to help place eyes and keep proportions realistic.
👁️ The iris pattern is unique to each person—artists can use tiny differences in the iris and eyelashes to make portraits feel individual.
✏️ Pencil grades range from hard (H) to soft (B); softer B pencils make darker, richer shading while H pencils make light construction lines.
🙂 Small changes to eyebrows or the corners of the mouth can flip an expression from happy to suspicious—minute tweaks matter!
⏱️ Quick gesture sketches (60–90 seconds) are a great practice: they train your eye to capture the overall face and expression before adding details.
How do I draw a man's face step-by-step?
What materials do I need to draw a man's face?
What ages is this drawing activity suitable for?
What are the benefits of drawing a man's face?
