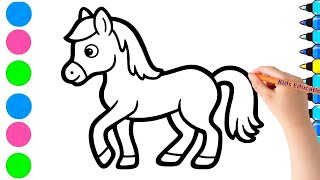
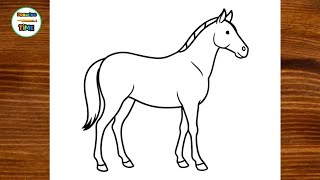
Draw a Horse w/ Kittyninja12
Follow Kittyninja12's step-by-step tutorial to draw a realistic horse, practicing shapes, proportions, and shading while adding your own creative details.


Drawing Apps
Step-by-step guide to draw a horse with Kittyninja12
Step 1
Gather all your materials and place them neatly on a clear table.
Step 2
Open Kittyninja12's step-by-step drawing tutorial on your screen.
Step 3
Watch the tutorial section that demonstrates the horse's basic shapes.
Step 4
Lightly sketch the basic shapes for the body and head as Kittyninja12 shows.
Step 5
Watch the tutorial section about proportions and where to place the legs and neck.
Step 6
Draw light guideline lines to mark the neck chest and where each leg will start.
Step 7
Watch the tutorial section that shapes the horse's head and muzzle.
Step 8
Sketch the head outline muzzle and ear positions using your guidelines.
Step 9
Watch the tutorial where Kittyninja12 refines the body outline mane tail and legs.
Step 10
Draw the body contours mane tail and leg outlines following the tutorial.
Step 11
Watch the tutorial section that shows facial details hooves and muscle lines.
Step 12
Draw the eyes nostrils mouth hooves and gently define basic muscle lines.
Step 13
Watch the tutorial where Kittyninja12 explains shading and fur texture.
Step 14
Add shading and fur texture with light pencil strokes and gently blend with your tissue or stump.
Step 15
Share your finished drawing on DIY.org.
Help!?
I don't have a blending stump or tissues—what can I use instead for the shading step?
If you don't have a blending stump or the tissue listed for the 'shading and fur texture' step, use a folded tissue, cotton swab, or the corner of a clean soft cloth and try a softer pencil (2B–4B) for smoother tones.
My horse's legs and neck look out of proportion after sketching the basic shapes—how can I fix that?
If proportions look wrong after the 'basic shapes' and 'guidelines' steps, lightly erase the offending parts, re-measure distances by holding your pencil against the screen tutorial to copy proportions, and redraw the guideline lines before refining the body contours and legs.
How should I change this activity for younger or older children?
For preschoolers simplify Kittyninja12's 'basic shapes' into large circles and squares and let them color, for elementary-age kids follow the 'head/muzzle' and 'guideline' steps with thicker pencils, and for teens focus on the 'muscle lines' and advanced 'shading and fur texture' using a stump and varied pencil grades.
What are some ways to extend or personalize the finished horse drawing before sharing it on DIY.org?
To personalize the drawing after completing the 'mane, tail, and leg outlines' and 'shading' steps, add unique coat markings, a background scene, colored pencils or watercolors, or create a small time-lapse video of your process to upload to DIY.org.
Watch videos on how to draw a horse with Kittyninja12
how to draw a horse step by step for kids !
4 Videos
how to draw a horse step by step for kids !

Easy Horse Drawing for Kids 🐎 | Learn to Draw, Color & Paint with Simple Shapes 🎨
How to Draw a Horse ? | Step by Step Simple and Fun Horse Drawing Tutorial - Drawing Time

Learn How to Draw a Horse Easily! 🐴 | Step-by-Step Tutorial for Kids & Beginners | GG Kids Art
Facts about animal drawing and sketching for kids
🐴 Horses can sleep standing up thanks to a special "stay apparatus" in their legs that locks their joints.
✏️ Many artists begin with simple shapes (circles, ovals, triangles) to map a horse's body before adding details.
🎨 Shading (like chiaroscuro) uses light and dark to make flat drawings look three-dimensional and lifelike.
📐 Artists often use 'head-length' or pencil-measurements to keep animal proportions consistent and accurate.
🔁 Repeating the same horse pose several times builds muscle memory—practice is one of the fastest ways to improve!
How do I draw a realistic horse with Kittyninja12's step-by-step tutorial?
What materials do I need to draw a realistic horse with Kittyninja12?
What ages is the 'Draw a Horse w/ Kittyninja12' activity suitable for?
What are the benefits and safety tips for kids doing the Draw a Horse with Kittyninja12 activity?
