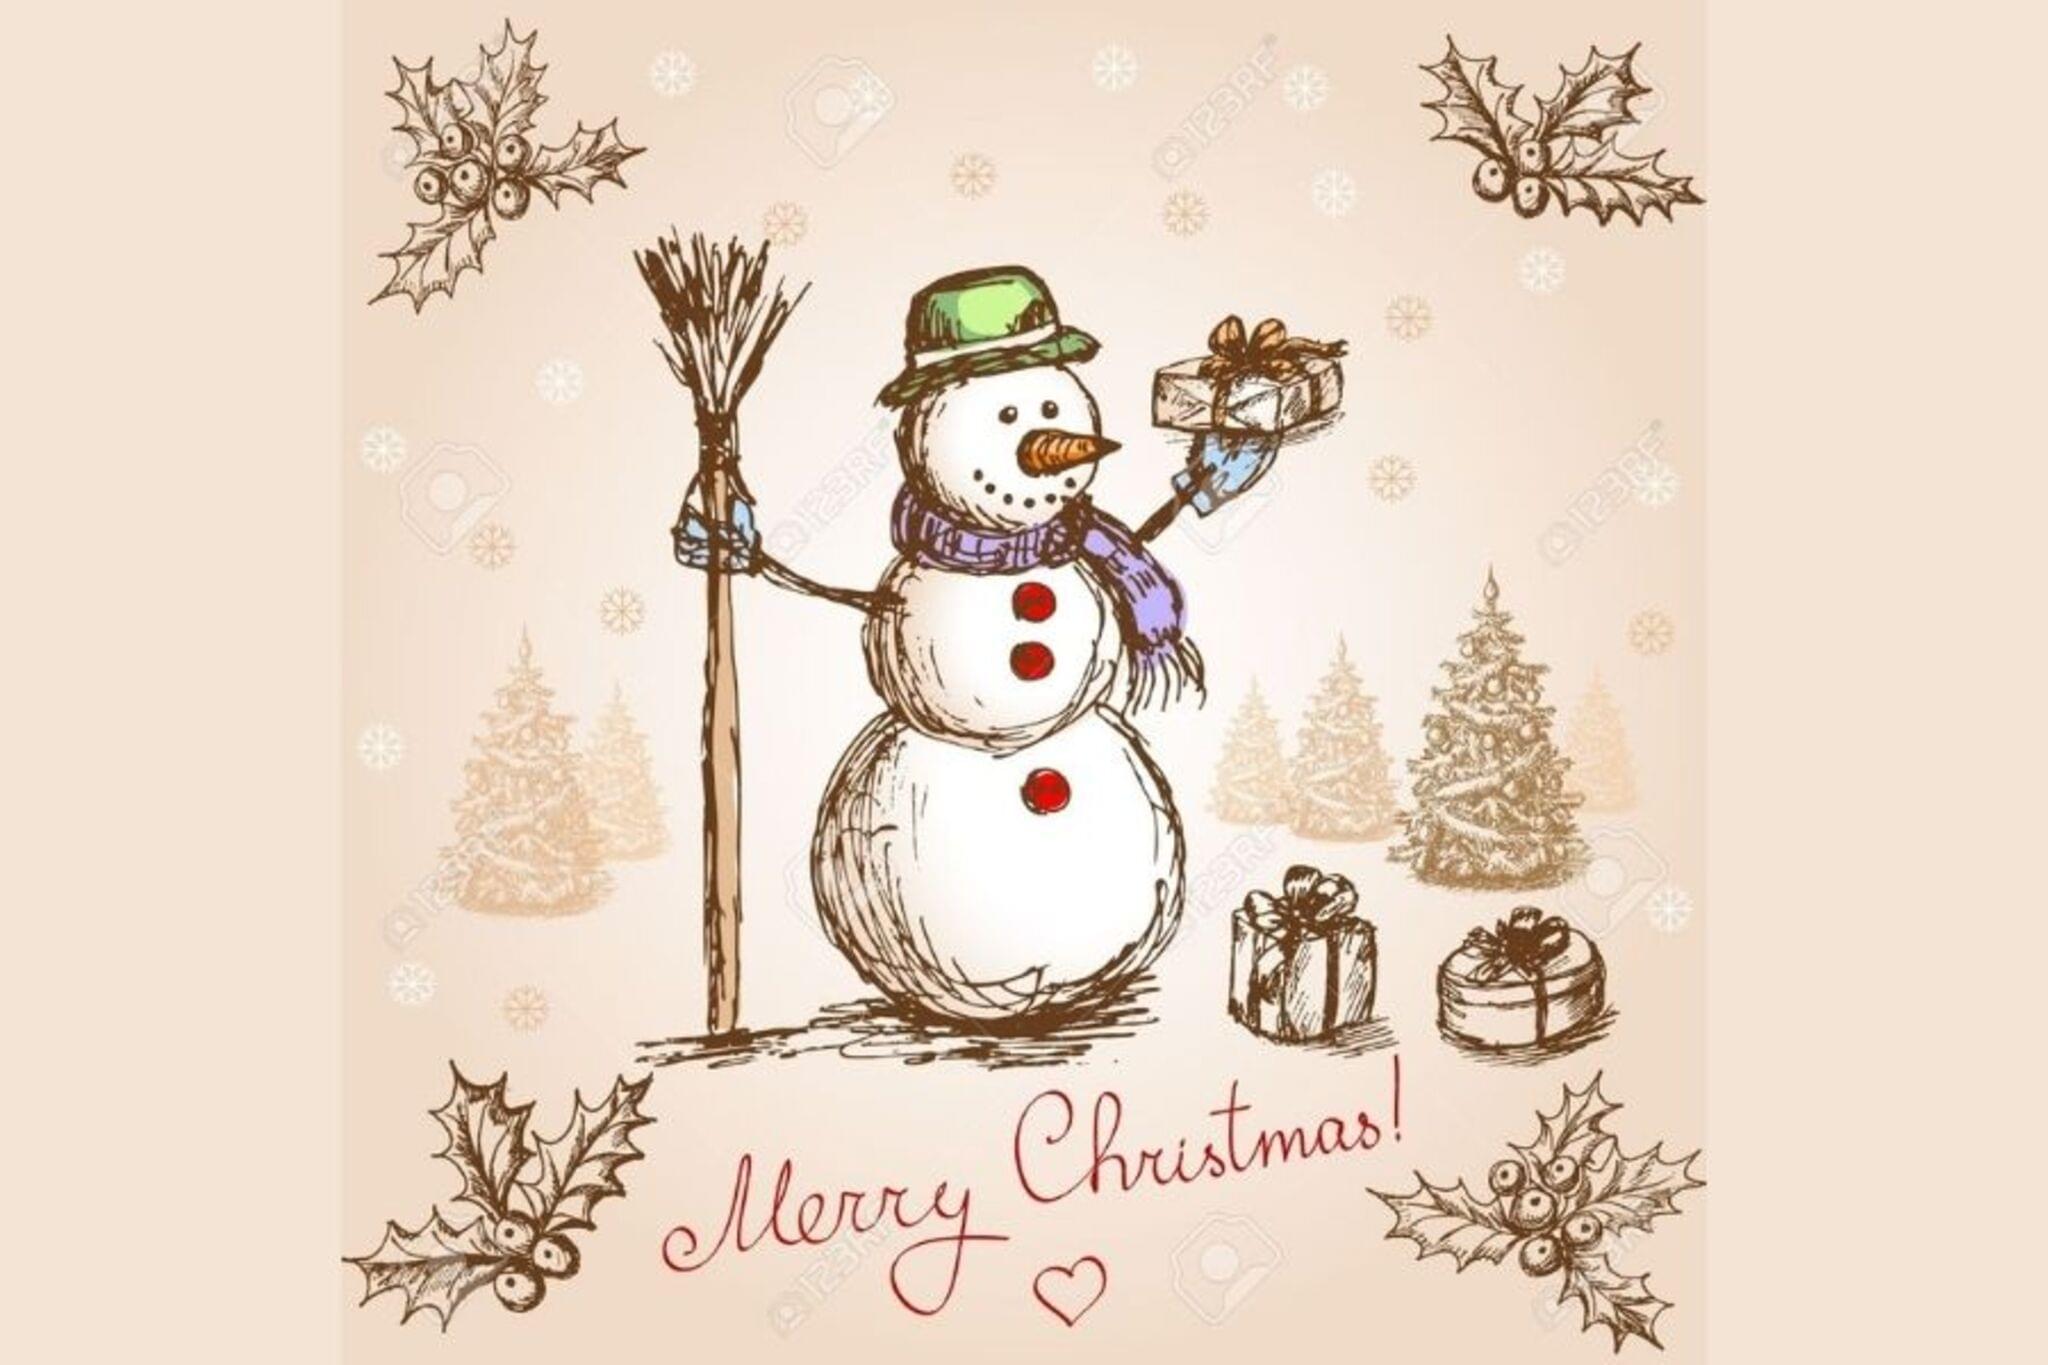
Draw a Fashionable Snowman
Draw a fashionable snowman on paper with markers, adding stylish hats, scarves, patterns, and color. Practice proportions, shapes, and creative design.


Step-by-step guide to Draw a Fashionable Snowman
How-To Build a Snowman ⛄ | Step by Step for Kids!!
Step 1
Gather your paper pencil eraser and markers.
Step 2
Lightly draw three stacked circles with the biggest at the bottom the medium one in the middle and the smallest on top.
Step 3
Draw two round eyes near the top of the smallest circle.
Step 4
Draw a long triangular carrot nose pointing to the side from the center of the top circle.
Step 5
Draw a curved smile made of small dots or short lines under the nose.
Step 6
Draw three round buttons down the front of the middle and bottom circles.
Step 7
Draw two twig arms coming out from the sides of the middle circle.
Step 8
Draw a stylish hat on top of the snowman’s head like a beanie a fedora or a top hat.
Step 9
Draw a scarf around the neck area with two flowing ends hanging down.
Step 10
Add patterns to the hat scarf and body such as stripes polka dots or zigzags.
Step 11
Trace the snowman’s main outlines with a marker to make it bold.
Step 12
Color the hat scarf buttons nose and any patterns using your markers.
Step 13
Add simple background details like falling snowflakes or a snowy ground.
Step 14
Write your name and the date in a corner of the paper.
Step 15
Share your finished fashionable snowman on DIY.org.
Help!?
What can I use instead of markers if I don't have them?
Use colored pencils, crayons, or watered-down poster paint to color the hat, scarf, buttons, nose, and patterns during the 'Color the hat scarf buttons nose and any patterns' step.
My circles look uneven or wobbly—how can I fix that?
Lightly redraw the three stacked circles using a coin, cup, or round lid as a template and erase any heavy lines with your eraser before you trace the snowman’s main outlines with a marker.
How can I change this activity for younger or older kids?
For younger kids pre-draw the three stacked circles and let them add eyes, nose, stickers and simple buttons, while older kids can add detailed hat and scarf patterns, shading, and a more complex background before sharing on DIY.org.
How can we make the fashionable snowman more creative or personal?
Personalize it by gluing fabric or ribbon for the scarf, using textured paper or glitter for the hat, adding unique patterns to the body, writing your name and the date in a corner, and photographing it to share on DIY.org.
Watch videos on how to Draw a Fashionable Snowman
Create Your Own Stylish Snowman: Step-by-Step DIY Tutorial!
4 Videos
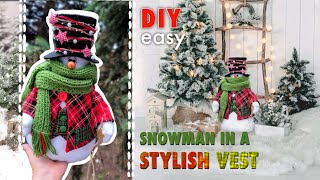
Create Your Own Stylish Snowman: Step-by-Step DIY Tutorial!
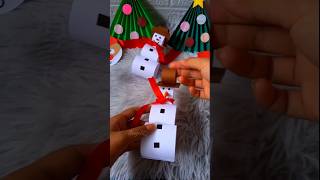
DIY SNOWMAN TUTORIAL: Easy Winter Craft for All Ages!
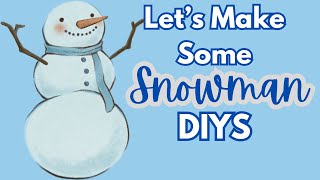
Easy And Adorable Snowman Crafts To Make At Home!
Step-by-Step Guide for How To Make A Snowman: The Best Winter Crafts
Facts about drawing and design for kids
☃️ Most classic snowmen are made with three stacked circles — a head, a middle, and a big base — because it's stable and easy to shape.
🎨 Fashion designers still begin with quick sketches called fashion illustrations to plan outfits and accessories.
🧣 Scarves come in so many patterns and textures that changing one accessory can totally transform a look.
🎩 A hat can change a character's personality instantly — a top hat feels fancy, a beanie feels cozy, and a beret feels artsy.
🖍️ Markers have different tips (fine for detail, broad for filling) — use both to add crisp patterns and bold color to your snowman.
How do I draw a fashionable snowman step by step?
What materials do I need to draw a fashionable snowman?
What ages is drawing a fashionable snowman suitable for?
What are the benefits of drawing fashionable snowmen and any safety tips or variations?
