Draw a Fashion Illustration
Draw a fashion illustration of a model wearing an original outfit using pencils, markers, and color; learn proportions, fabric details, and creative styling.


Step-by-step guide to draw a fashion illustration
Step 1
Gather all your materials and find a flat table to work on.
Step 2
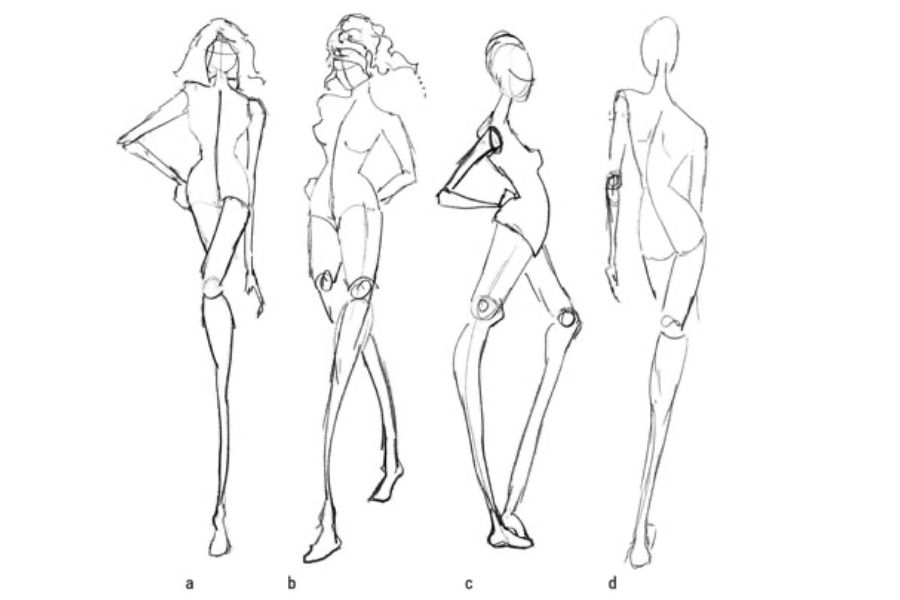
Decide on a fun pose and lightly draw a simple stick figure to show the head torso arms and legs.
Step 3
Use your ruler to measure and mark nine equal head lengths down the center line to set fashion proportions.
Step 4
Draw the head chest waist and hip shapes over the stick figure using the head length marks to place them.
Step 5
Sketch long graceful arms and legs over the stick figure lines to make your fashion model look tall and elegant.
Step 6
Outline the basic shapes of your original outfit over the figure for top bottom and accessories.
Step 7
Add fabric details like folds seams buttons pockets or drape lines to show how the clothes move.
Step 8
Refine your drawing by darkening the final lines and gently erasing the extra construction marks.
Step 9
Carefully ink the important lines with your fine tip black marker and let the ink dry.
Step 10
Fill in the main colors of the outfit using markers to block in the color areas.
Step 11
Use colored pencils to add shading texture and small pattern details for depth and fabric feel.
Step 12
Put small highlights on shiny parts of the outfit with a light pencil or leave tiny white paper spots to show light.
Step 13
Sign your name and date in a corner to show it is your original design.
Step 14
Take a photo of your finished fashion illustration and share it on DIY.org.
Help!?
What can I use instead of a fine-tip black marker or alcohol markers if I can't find them?
For inking the important lines in step 8 you can use a sharpened black gel pen or a waterproof felt-tip pen, and for blocking in color in step 11 you can substitute colored pencils or watered-down watercolor paints layered for solid color.
My proportions look off when I measure nine head lengths—how can I fix that?
Measure the head height with your ruler once, mark it at the top of the center line, then use the ruler to step down and lightly mark each of the nine equal head lengths before drawing the head, chest, waist and hip shapes in steps 3–4 so you can erase and refine them in step 7.
How should I change the activity for younger children or for older kids who want a challenge?
For younger kids skip the nine-head rule and use a pre-drawn stick figure or 4–6 head proportions and let them color freely after outlining the outfit in step 5, while older kids can add complex fabric details, patterns and layered shading with colored pencils in steps 10–12 and ink with technical pens in step 8.
What are some ways to make my fashion illustration more unique or advanced after finishing the basic steps?
Personalize the design by gluing small fabric swatches or adding metallic pencil highlights in step 12, create a mini lookbook of variations, then sign and date in step 13 and photograph the finished illustration for sharing on DIY.org as in the final step.
Watch videos on how to draw a fashion illustration
How to draw a Fashion Illustration | Step by step | Basic Croquis in front Pose | 9 Heads
4 Videos
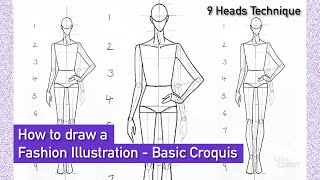
How to draw a Fashion Illustration | Step by step | Basic Croquis in front Pose | 9 Heads

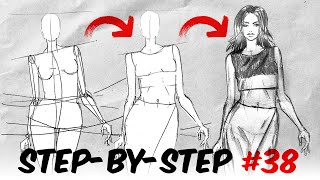
Easy Fashion Illustration: Step-by-Step Model Drawing for Beginners
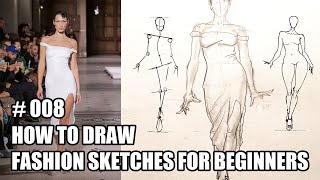
How to draw fashion sketches for beginners. Illustration tutorial. Model drawing design
How to draw fashion sketches for beginners | Fashion Illustration Tutorial
Facts about fashion illustration and design for kids
🎨 Fashion illustrators often draw models with extra-long legs and necks—it makes outfits look more dramatic and stylish!
✏️ A quick, body-proportioned sketch designers use is called a "croquis" and can be done in just a few minutes.
🧵 Illustrations use tiny marks like hatching, dots, and swirls to show fabric textures such as silk, denim, or lace.
🖍️ Artists often pair bold markers for flat color with colored pencils for texture and shading—best of both worlds!
👗 Fashion sketches were essential in the 19th and 20th centuries to show new clothing ideas before photographs became common.
How do I guide my child to draw a fashion illustration of a model wearing an original outfit?
What materials do I need to draw a fashion illustration with pencils, markers, and color?
What ages is drawing fashion illustration suitable for?
What are the benefits of drawing fashion illustrations for children?
