DIY Ramadan Decoration w/ DIY Star Hamda121
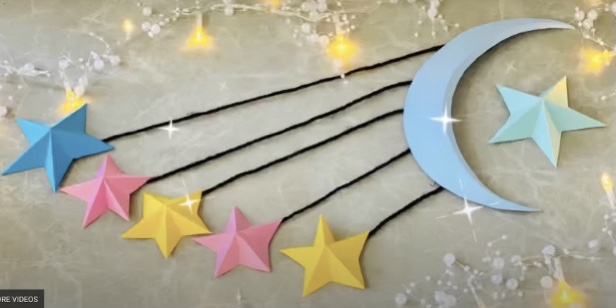
Make a colorful Ramadan star decoration using paper, string, glue, and safe cutting; practice measuring, folding, and hanging it at home.


Step-by-step guide to DIY Ramadan star decoration (DIY Star Hamda121)
Step 1
Gather all your materials on a clear table so you can reach everything easily.
Step 2
Use the ruler and pencil to draw a square about 15 cm by 15 cm (about 6 inches by 6 inches) on your colored paper.
Step 3
Cut out the square carefully with your child-safe scissors while an adult watches.
Step 4
Fold the square diagonally from one corner to the opposite corner and press the crease flat.
Step 5
Fold the triangle in half again from corner to corner and press the crease flat.
Step 6
Open the paper flat so you can see the creases that meet in the center.
Step 7
Use the pencil to lightly draw a star shape that uses the creases as guides so the star will be symmetrical.
Step 8
Cut out the star by following the pencil lines carefully while an adult watches.
Step 9
Decorate both sides of your star with coloring materials and glue any extra paper accents you like.
Step 10
Let any glue or ink dry fully before moving to the next step.
Step 11
Punch a small hole near the top point of the star or stick a small piece of tape to make a place for the string.
Step 12
Thread a piece of string or yarn through the hole and tie a knot to make a hanging loop.
Step 13
Hang your colorful Ramadan star decoration in a window or on a door where everyone can see it.
Step 14
Take a photo of your finished star and share your creation on DIY.org.
Help!?
What can we use if we don't have colored paper, a ruler, or a hole punch?
Use plain printer paper, scrapbook or magazine pages cut into a 15×15 cm square, measure 15 cm by using a book edge or folded paper as a makeshift ruler for step 2, and make the hanging hole by sticking tape or gently poking a small hole with a blunt paperclip as suggested in step 11.
My star looks uneven or tears when I cut it — what should we do?
Refold along the diagonal creases from steps 3–5 so they meet exactly, redraw the star lightly with pencil on the creases before cutting in step 6, ask an adult to help with careful cutting, and reinforce the hole area with tape per step 11 to prevent tearing when threading the yarn in step 12.
How can we adapt this activity for toddlers or older kids?
For toddlers, pre-cut the 15×15 cm squares and pre-fold or draw the star outline for them to color and glue (steps 2–6 and 8), while older kids can measure precisely, layer extra colored paper for multi-layer stars and add sequins or glitter glue to decorate (steps 2, 8) before threading the string in step 12.
How can we make the Ramadan star decoration more special or last longer?
Personalize both sides with names or Ramadan messages using metallic pens and glue on extra paper accents from step 8, add beads to the yarn when making the loop in step 12, and seal the star with clear-drying glue or laminate it before punching the hole in step 11 so it lasts on a window or door and then photograph it for DIY.org in step 13.
Watch videos on how to make a DIY Ramadan star decoration (DIY Star Hamda121)
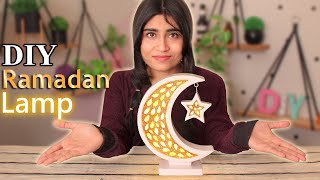
DIY Moon and Star Lamp Tutorial: Create Enchanting Ramadan Decor
4 Videos

DIY Moon and Star Lamp Tutorial: Create Enchanting Ramadan Decor
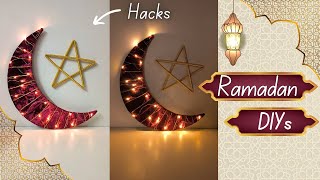
DIY Moon & Star Ramadan Lamp 🌙✨Ramadan Decoration Ideas #RamadanDecor
🌙Ramadan/Eid Special Home Decor✨| Ramadan DIY|How to make Moon and Star with Paper|Eid DIY @nazuart
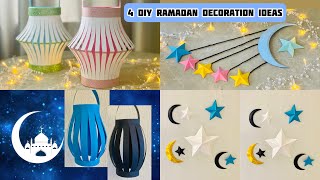
4 DIY Ramadan Decoration Ideas🌙| Easy Paper Crafts for Ramadan Mubarak⭐️| Eid decoration ideas
Facts about Ramadan crafts for kids
🌙 Ramadan follows the lunar calendar, so it moves about 10–12 days earlier each year.
🏮 In Egypt, colorful Ramadan lanterns called fanous have decorated streets and homes for centuries.
✂️ Papercutting has been practiced for over 1,000 years, beginning soon after paper was invented in China.
⭐ Star shapes are popular in Islamic geometric patterns—8-point stars are especially common in decorations.
📐 Folding paper is great math practice: 1 fold makes 2 halves, 2 folds make 4 quarters, 3 folds make 8 slices!
How do I make a DIY Ramadan star decoration (DIY Star Hamda121)?
What materials do I need for the DIY Ramadan star Hamda121?
What ages is the DIY Ramadan star activity suitable for?
What are the benefits of making a DIY Ramadan star?
