DIY Jewelry: Create a How-to Video! Jewelry Edition!
Make a beaded friendship bracelet and film a simple how-to video showing materials, step-by-step assembly, and editing tips for sharing safely online.


Step-by-step guide to make a beaded friendship bracelet and create a how-to video
12 DIY JEWELRY IDEAS - HANDMADE JEWELRY IDEAS - EASY PAPER CRAFT JEWELRY and more…
Step 1
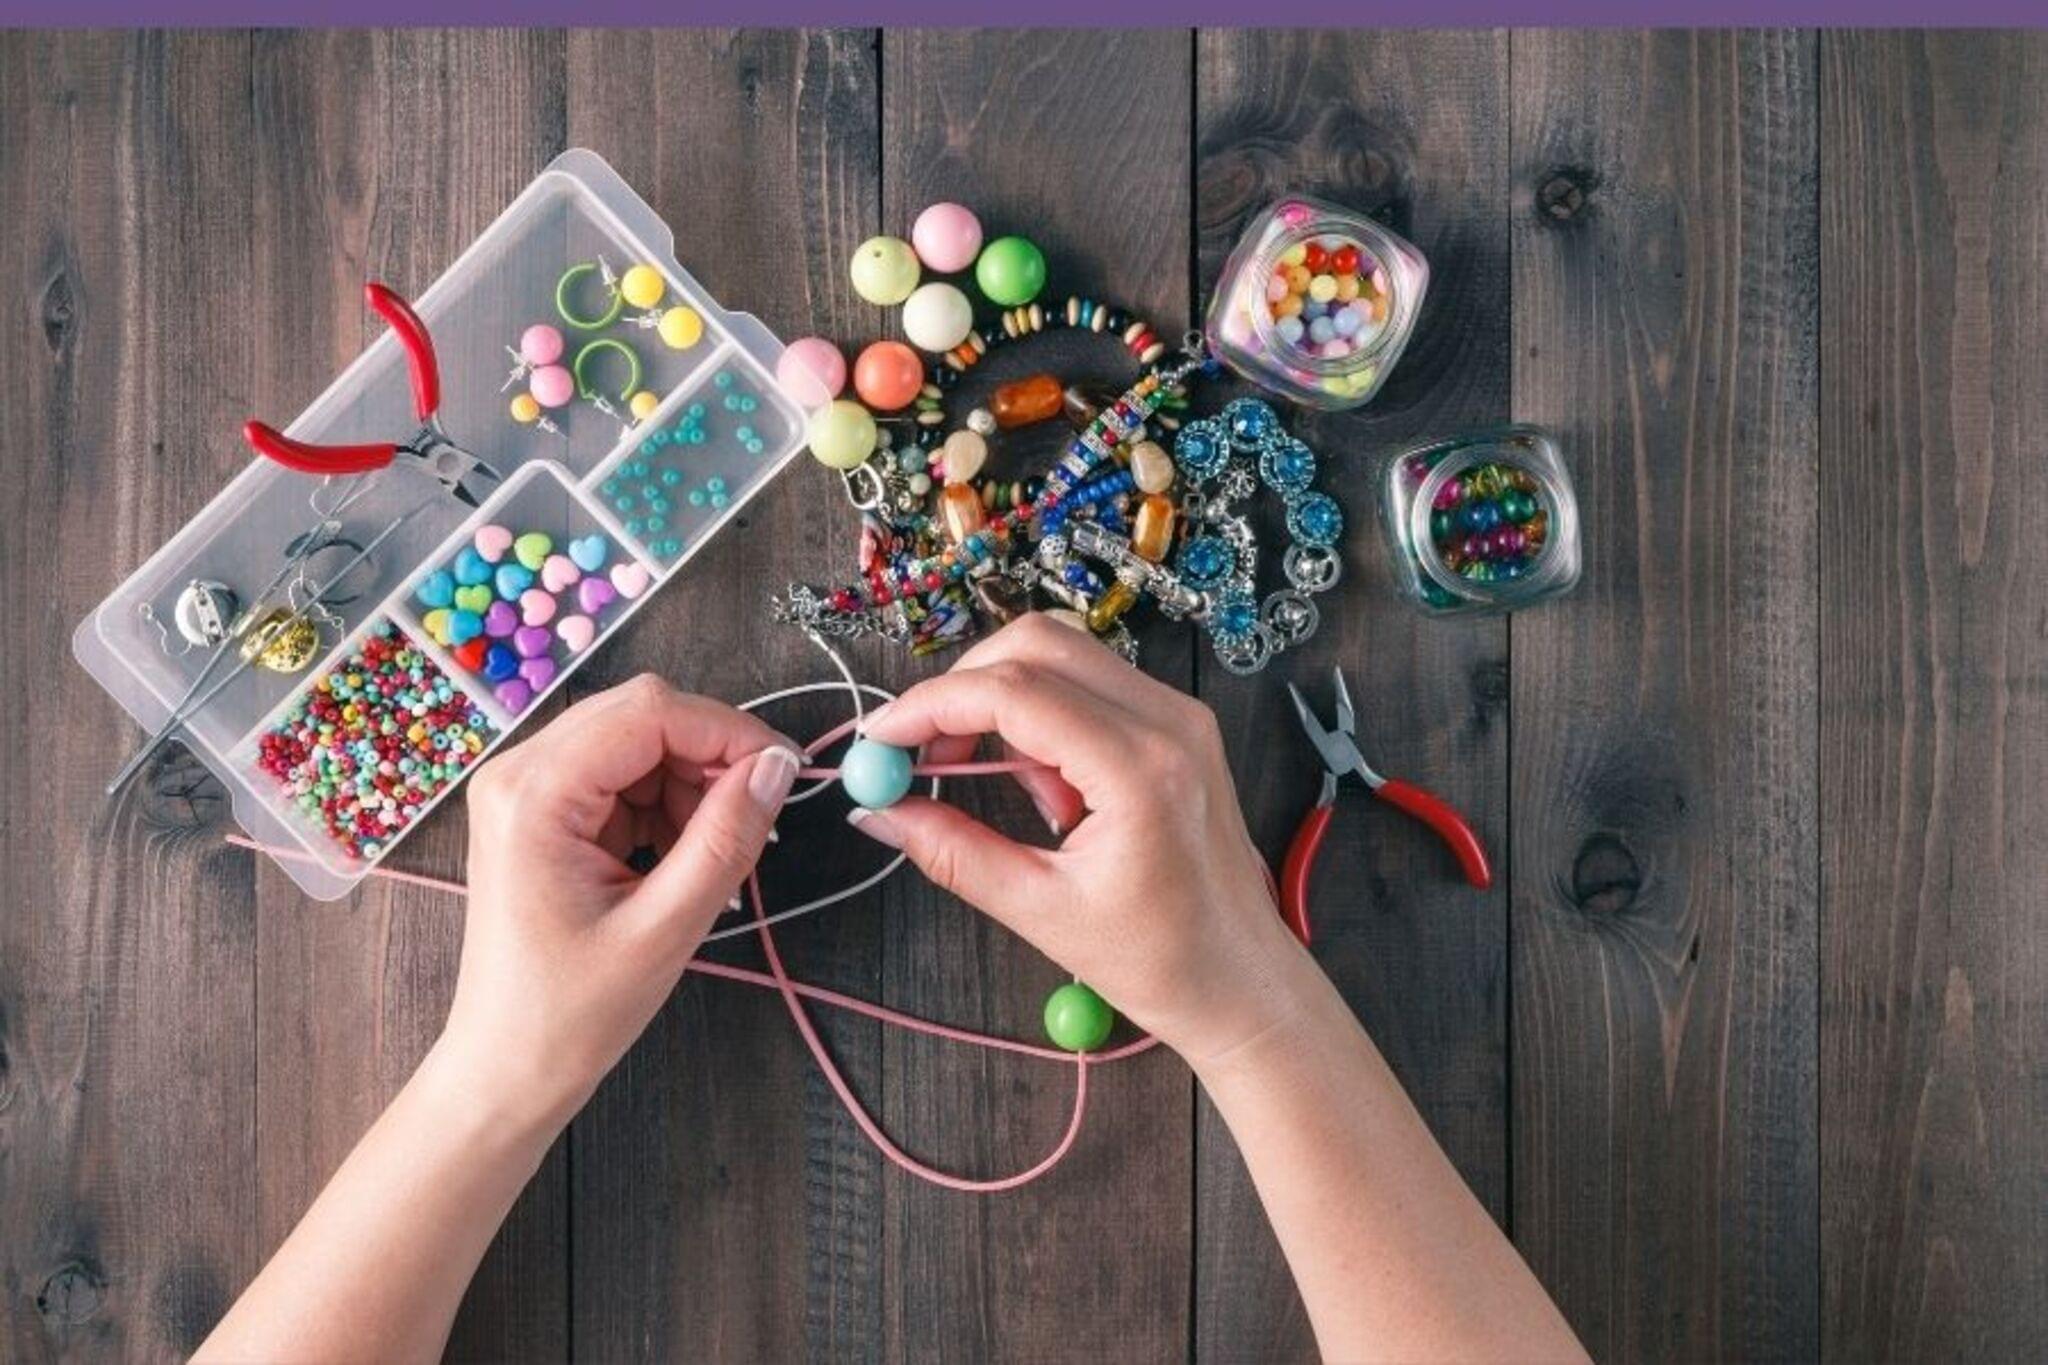
Gather all the materials from the list and place them on a flat surface.
Step 2
Measure and cut three equal strands of floss about 60 cm long using the ruler and scissors.
Step 3
Tie the three strands together with a tight overhand knot leaving about a 5 cm tail.
Step 4
Secure the knotted end to the table or your clothing using clear tape or a safety pin on a clipboard.
Step 5
Separate the strands into three even sections and begin a simple braid by crossing the outside strand over the middle strand.
Step 6
Braid until the bracelet reaches your wrist size leaving about 5 cm unbraided at the end.
Step 7
If you want beads, slide them onto the strands now before finishing the braid.
Step 8
Tie a final tight knot at the end of the braid and trim any extra string, leaving tails for tying the bracelet on your wrist.
Step 9
Write a short 3-line script that says the materials then the steps then one quick editing or safety tip.
Step 10
Set up a clean well-lit workspace and lay out your finished bracelet and materials neatly for filming.
Step 11
Record a short clip showing each material while you name it aloud following your script.
Step 12
Record a hands-only clip showing the knot, the secured start, the braiding action, and the finished knot while you talk through the steps slowly.
Step 13
Edit the clips to trim long pauses and add short captions and a clear title.
Step 14
Check privacy by removing or blurring any personal details in the video and ask an adult to review before posting.
Step 15
Share your finished how-to jewelry video and bracelet creation on DIY.org.
Help!?
What can I use if I don't have embroidery floss or clear tape?
If you don't have the listed floss, use three equal strands of thin yarn, hemp cord, or narrow ribbon cut to about 60 cm, and if you don't have clear tape use a safety pin clipped to clothing or a binder clip on a clipboard to secure the knotted start.
My braid keeps coming undone or the knot slips—what should I do?
Make sure the initial overhand knot is pulled tight leaving the 5 cm tail and secure it firmly to the table with clear tape or a safety pin on a clipboard, then finish with a strong final knot and trim leaving tails so the braid and any beads don't slip.
How can I adapt this project for a younger child or a teen?
For younger kids, have an adult pre-measure and cut longer strands, use larger beads and a clipboard or clothespin to hold the start while they practice simple braiding, and for teens try four- or five-strand braids, add beads before finishing, and film hands-only clips with short captions when editing.
How can we personalize or level-up the finished bracelet and video?
Personalize the bracelet by mixing floss colors and adding beads or charms before the final knot, and level up the how-to video by trimming long pauses, adding short captions and a clear title, and asking an adult to review privacy before posting.
Watch videos on how to make a beaded friendship bracelet and film a how-to video
16 DIY HANDMADE JEWELRY IDEAS - Bracelet, Necklace and more..
4 Videos

16 DIY HANDMADE JEWELRY IDEAS - Bracelet, Necklace and more..
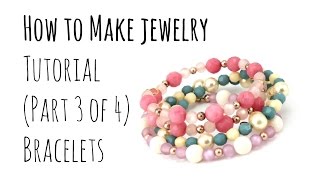
How to Make Jewelry: DIY Bracelets (Part 3 of 4) Beginners Tutorial

How to Make Jewelry: DIY Earrings (Part 2 of 4) Beginners Tutorial
How to Make Jewelry: Tutorial for Beginners (Part 1 of 4)
Facts about jewelry making for kids
🧶 Friendship bracelets come from Central and South American weaving traditions and became a global craze in the 1970s.
🎨 Beads are made from glass, wood, metal, clay, and even seeds—archaeologists have found beads used for decoration thousands of years ago.
🎥 Short how-to videos (often under 2 minutes) tend to keep viewers' attention—so a quick, clear demo helps your bracelet tutorial shine.
📝 Planning three simple shots—materials, close-up step-by-step, and the finished bracelet—makes filming and editing much easier.
🔒 When sharing online, protect your privacy: use a nickname, avoid showing school or home details, and always get a parent or guardian's OK.
How do I make a beaded friendship bracelet and film a simple how-to video?
What materials and tools do I need to make and film a beaded friendship bracelet?
What ages is making beaded friendship bracelets and filming a how-to video suitable for?
What are the benefits of making bracelets and how can we stay safe when sharing the how-to video online?
