DIY Holiday Card #DTIYS
Make a colorful DIY holiday card using paper, markers, stickers, and simple folds. Design, decorate, and write a warm message to share.


Step-by-step guide to make a DIY holiday card
DIY christmas card | How to make christmas card | Christmas card ideas
Step 1
Gather all your materials on a clean table so everything is ready to use.
Step 2
Fold one sheet of paper in half carefully to make the card base.
Step 3
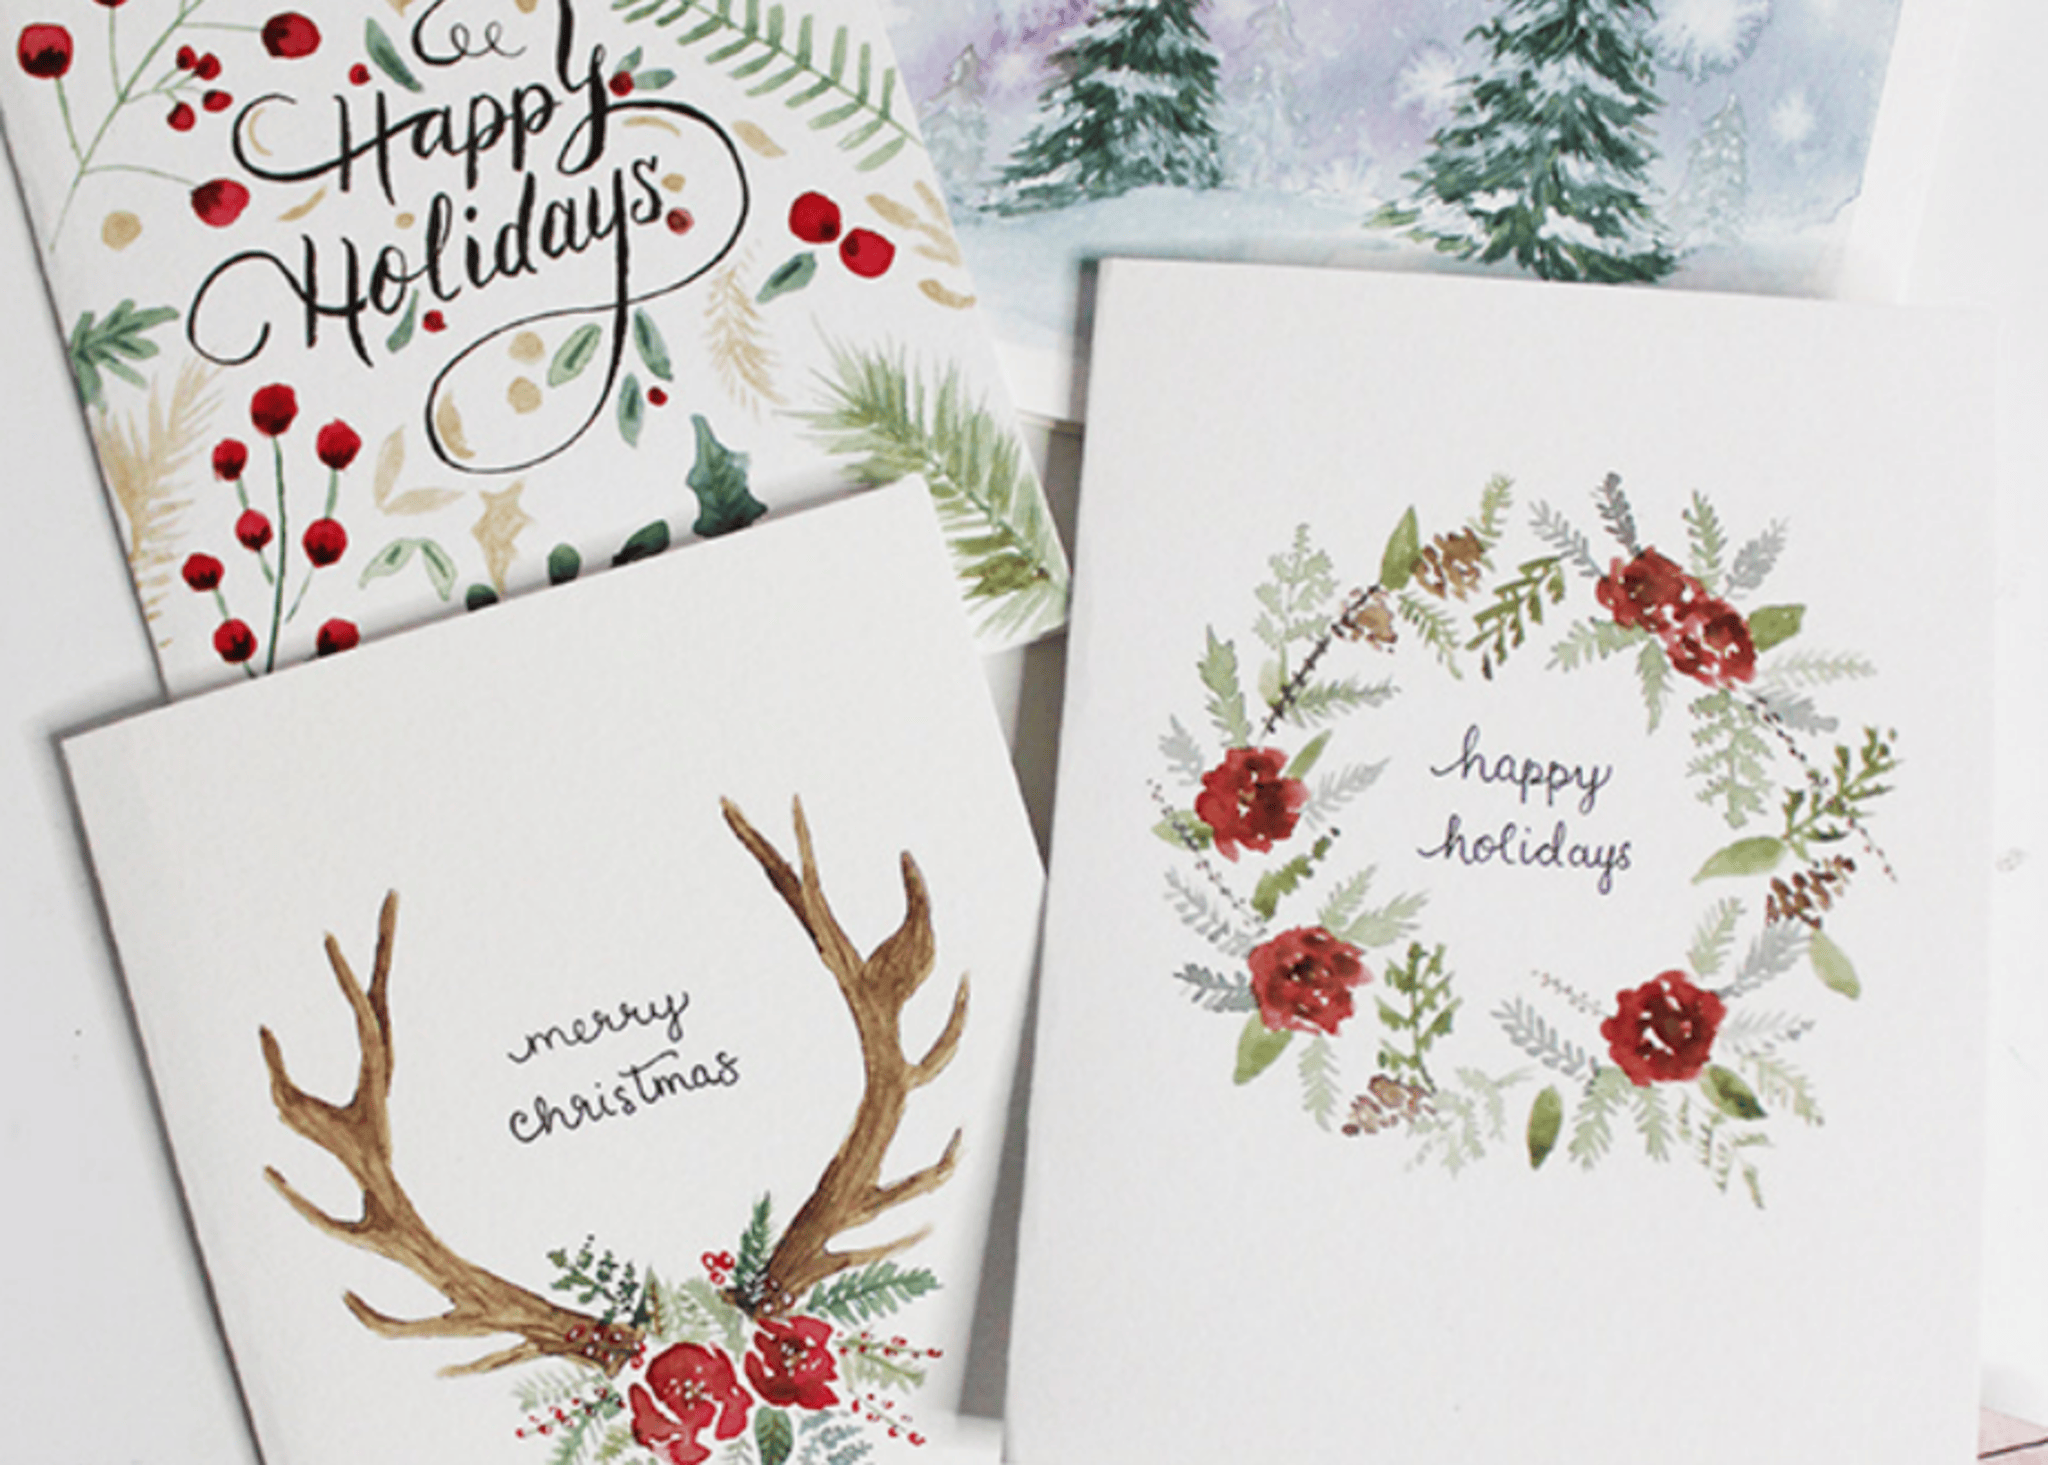
Pick a holiday theme for your card like snowy night reindeer or cozy fireplace.
Step 4
Lightly sketch the main picture on the front of the card with your pencil.
Step 5
Color your pencil drawing using markers or other coloring materials.
Step 6
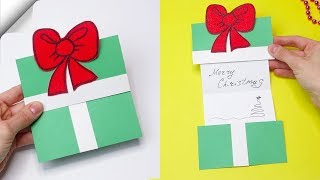
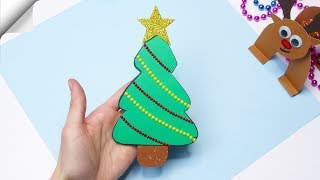
Cut small shapes from extra paper to make layered decorations using scissors.
Step 7
Glue the paper shapes onto the front of the card where you want them.
Step 8
Add stickers to the front and inside to decorate and make it sparkle.
Step 9
Write a warm holiday message inside the card with a pen or marker.
Step 10
Let any glue and ink dry completely before closing the card.
Step 11
Share your finished holiday card on DIY.org
Help!?
What can I use instead of markers, extra paper, or glue if I can't find them?
If you don't have markers or extra paper, color the pencil sketch in step 5 with crayons or colored pencils and make layered decorations for step 6 by cutting shapes from old greeting cards or cereal boxes, attaching them with a glue stick or double-sided tape.
Why does my card wrinkle or the ink smudge and how can I fix it?
To prevent wrinkling or smudging, use only a thin layer of glue and press glued shapes flat under a heavy book while drying after step 6, and let marker or pen ink dry completely before closing the card in step 9.
How can I adapt this activity for different age groups?
For younger kids, pre-fold the card base in step 2 and give large pre-cut shapes and stickers for steps 6–7, while older kids can add a detailed pencil sketch in step 4, intricate layered cuts in step 5, or pop-up features when gluing in step 6.
How can we enhance or personalize the card before sharing on DIY.org?
Make the card extra special by adding a pop-up element or glued cotton snow to the front in step 6, metallic or glitter stickers in step 7, or a small photo inside before writing your holiday message in step 8 and sharing in step 10.
Watch videos on how to make a DIY holiday card
DIY christmas cards How to make christmas card Christmas card ideas
4 Videos

DIY christmas cards How to make christmas card Christmas card ideas
DIY christmas cards How to make christmas card Christmas card ideas
DIY christmas cards | How to make christmas card | Christmas card ideas

DIY christmas cards easy | How to make christmas card | Christmas card ideas
Facts about paper crafts for kids
✉️ Americans buy about 6.5 billion greeting cards every year — that’s a lot of heartfelt messages!
🎄 The first commercial Christmas card was created in England in 1843 by artist John Calcott Horsley.
✂️ Traditional origami uses only folds (no glue or scissors), turning one square of paper into amazing shapes.
🎨 Bright, warm colors like red and yellow are often used in holiday cards because they feel cheerful and energetic.
💌 Many people keep special handwritten cards for years as treasured keepsakes and memories.
How do you make a DIY holiday card for #DTIYS?
What materials do I need to make a DIY holiday card?
What ages is this DIY holiday card activity suitable for?
What are the benefits, safety tips, and variations for holiday card making?
