Design Lighting for Your Room
Design and create simple, safe LED lighting for your room using sketches, measurements, paper or plastic shades, tape, batteries, and brightness testing.


Step-by-step guide to design lighting for your room
Learn Lighting and Shading Easy | Simple Lighting Concepts | Art Lessons for Kids
Step 1
Choose a spot in your room where you want your new light to shine.
Step 2
Measure the space where the light will go so you know how big to make the shade.
Step 3
Sketch a simple shade shape and size on paper using your measurements.
Step 4
Cut the shade pieces from cardstock and tracing paper or thin plastic following your sketch.
Step 5
Fold and tape the pieces together to make the shade shape you drew.
Step 6
Look at one LED and find the long leg (positive) and the short leg (negative).
Step 7
With adult supervision touch the long LED leg to the flat side of a coin cell and the short leg to the rim to check that the LED lights.
Step 8
Tape the LED legs gently to the coin cell so the LED stays lit and the battery does not short.
Step 9
Push the lit LED so it shines out through the opening of your shade.
Step 10
Secure the LED and battery inside the shade with tape so they do not move.
Step 11
Turn off room lights and look at the brightness of your new lamp to see how it looks.
Step 12
If you want the light dimmer add a thin layer of tracing paper over the shade opening and tape it in place.
Step 13
If you want the light brighter slide the LED slightly closer to the shade opening and resecure it.
Step 14
Mount or place your finished lamp in the chosen spot using removable tape and make sure the battery can be removed safely.
Step 15
Take a photo of your finished lighting design and share your creation on DIY.org
Help!?
What can we use if we can't find coin cell batteries, tracing paper, or cardstock?
Use a small AAA/AA battery holder (with adult help) to test and power the LED instead of a coin cell for step 6, substitute wax paper or a white sandwich bag for tracing paper in steps 4 and 11, and use a flattened cereal box or poster board in place of cardstock for cutting and folding the shade in steps 3–5.
My LED won't light or the battery seems to short—what should I check or fix?
Double-check in step 6 that the LED's long leg touches the flat side of the coin cell and the short leg touches the rim, reseat or replace the battery if it flickers, and put a small piece of tape under LED legs when you tape them in step 7 to prevent shorting against metal or the shade.
How can I adapt this activity for different ages?
For preschoolers skip measuring and let them decorate a premade cup or milk-carton shade while an adult handles step 6–9, for elementary kids have them measure, sketch, cut, and tape the shade in steps 2–5 with supervision for step 6, and for older kids challenge them to design to-scale shades and experiment with multiple LEDs or battery holders under adult supervision.
How can we extend or personalize our finished lamp beyond the basic instructions?
Add colored cellophane or small gel filters over the shade opening to change light color, use multiple LEDs inside and mount them at different distances as in step 12 to vary brightness, decorate the exterior of the shade before mounting in step 13, and take a photo of your finished design to share in step 14.
Watch videos on how to design lighting for your room
How to Add LED Lights to Your Kids Room
4 Videos
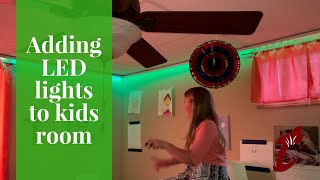
How to Add LED Lights to Your Kids Room

16 MAGICAL DIY LIGHTS AND LAMP IDEAS

DIY FAIRY LIGHTS CURTAIN BACKDROP | HOW TO PUT UP FAIRY LIGHTS!✨
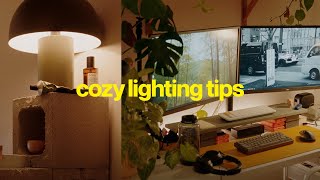
6 simple lighting tips to create a cozy atmosphere (on a budget)
Facts about lighting design and basic electronics
💡 LEDs use up to 80% less energy than incandescent bulbs, making them perfect for kid-friendly room projects.
🔋 Most small LEDs need about 2–3 volts, so two AA batteries (3V) will often light one for many hours.
📏 Brightness is measured in lumens — a cozy bedside or reading lamp is usually around 400–800 lumens.
🎨 A paper or plastic shade scatters an LED's directional beam to create softer, more even room light.
🔬 LEDs can last 25,000–50,000 hours, which can be many years of use as a night-light.
How do I help my child design and create simple, safe LED lighting for their room?
What materials do I need to design LED room lighting with kids?
What ages is this LED lighting design activity suitable for?
What safety precautions should parents take when designing LED lighting with kids?
