Design and create a gear
Design and create a cardboard gear, cut teeth, assemble axle, test meshing with another gear and observe how gear size changes speed and direction.


Step-by-step guide to design and create a cardboard gear
Step 1
Gather all materials on a clear table so you can work without losing anything.
Step 2
Place a cup or use a compass to draw two different-sized circles on the cardboard for two gears.
Step 3
Cut out the two cardboard circles carefully with scissors or a craft knife.
Step 4
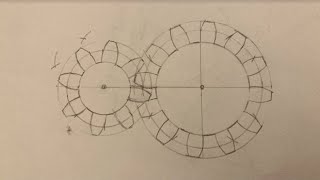
Find and mark the center of each circle by drawing two straight lines across and marking their crossing point.
Step 5
Pick how many teeth each gear will have and write that number on each circle.
Step 6
Wrap the piece of string once around a circle and mark where the string meets to measure its circumference.
Step 7
Measure the marked string length with the ruler and divide that number by the tooth count to get one tooth spacing.
Step 8
Fold or mark the string into equal segments using the tooth spacing measurement so each fold is one tooth wide.
Step 9
Lay the folded string around the circle and make small pencil marks at each fold to mark every tooth position.
Step 10
Cut small triangular teeth at each pencil mark around the edge of each circle.
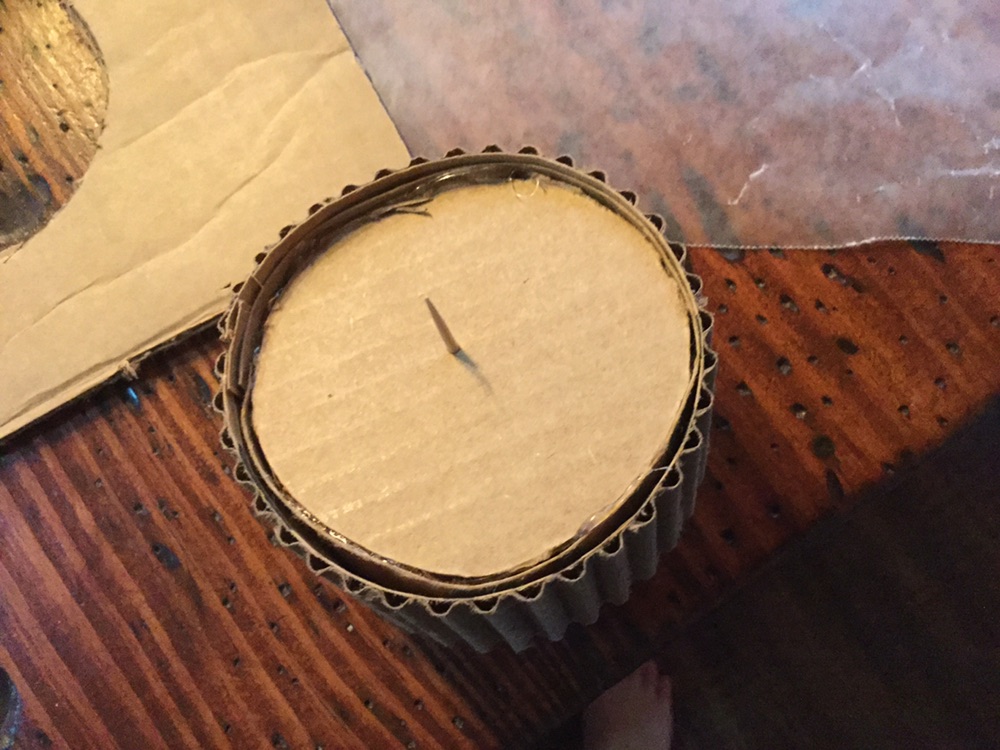
Step 11
Make a hole at each circle’s center slightly wider than your straw or skewer and push the straw or skewer through to make an axle; secure with tape or a brad.
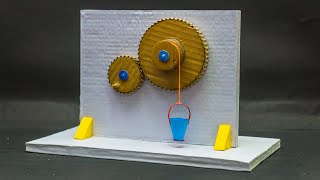
Step 12
Put the two gears on their axles with their teeth touching and turn one gear to watch the other move and notice how direction and speed change.
Step 13
Try different-sized gear pairs and count how many turns the small gear makes while the big gear makes one turn to see the speed change, then share your finished creation on DIY.org
Help!?
What can we use if we don't have cardboard, a cup, or a straw/skewer?
Use a cereal box or corrugated packaging instead of cardboard, trace any round lid or jar if you don't have a cup or compass to draw circles, and substitute a pencil or wooden dowel for the straw or skewer axle.
My gears wobble or won't mesh properly—what should I check or fix?
Make sure the center hole is only slightly wider than the straw/skewer so the axle isn't loose, confirm teeth were evenly spaced using the folded string marks before cutting, and if needed tighten the axle with tape or replace tape with a brad to reduce wobble.
How can I change the activity for younger or older kids?
For preschoolers have an adult pre-cut the circles and triangular teeth and let them mark and decorate, for elementary kids let them measure the string, fold for tooth spacing and cut with supervision, and for older kids let them use a craft knife, experiment with different tooth counts, and record gear turns.
How can we extend or personalize our finished gears?
Glue the axles into holes on a cardboard base to build multi-gear trains, paint or label each gear, try more size combinations to observe speed changes and count turns as suggested, and share photos or a video on DIY.org.
Watch videos on how to design and create a cardboard gear
School Science Projects | Gear Working Model
4 Videos
School Science Projects | Gear Working Model

Kids First Intro to Gears
How to make Cardboard Gears at home || Homemade Gear at Home
Drawing Gears with a Compass (simplified method)
Facts about simple machines and gears
🔭 The Antikythera mechanism (around 100 BC) is the oldest known geared device — an ancient analog “computer” for astronomy.
⚙️ Gear ratio = driven gear teeth ÷ driver gear teeth; if the driven gear has twice the teeth it spins at half the speed.
🔁 When two spur gears mesh they rotate in opposite directions — meshing flips the rotation.
📏 Corrugated cardboard is perfect for prototyping gears: it's light, easy to cut, and holds its shape well.
🕰️ Gears come in tiny sizes for watches (under 1 mm) and huge industrial sizes taller than a person.
How to design and create a cardboard gear
Materials needed for a cardboard gear project
What ages is this cardboard gear activity suitable for?
Benefits, safety tips, and variations for cardboard gears
