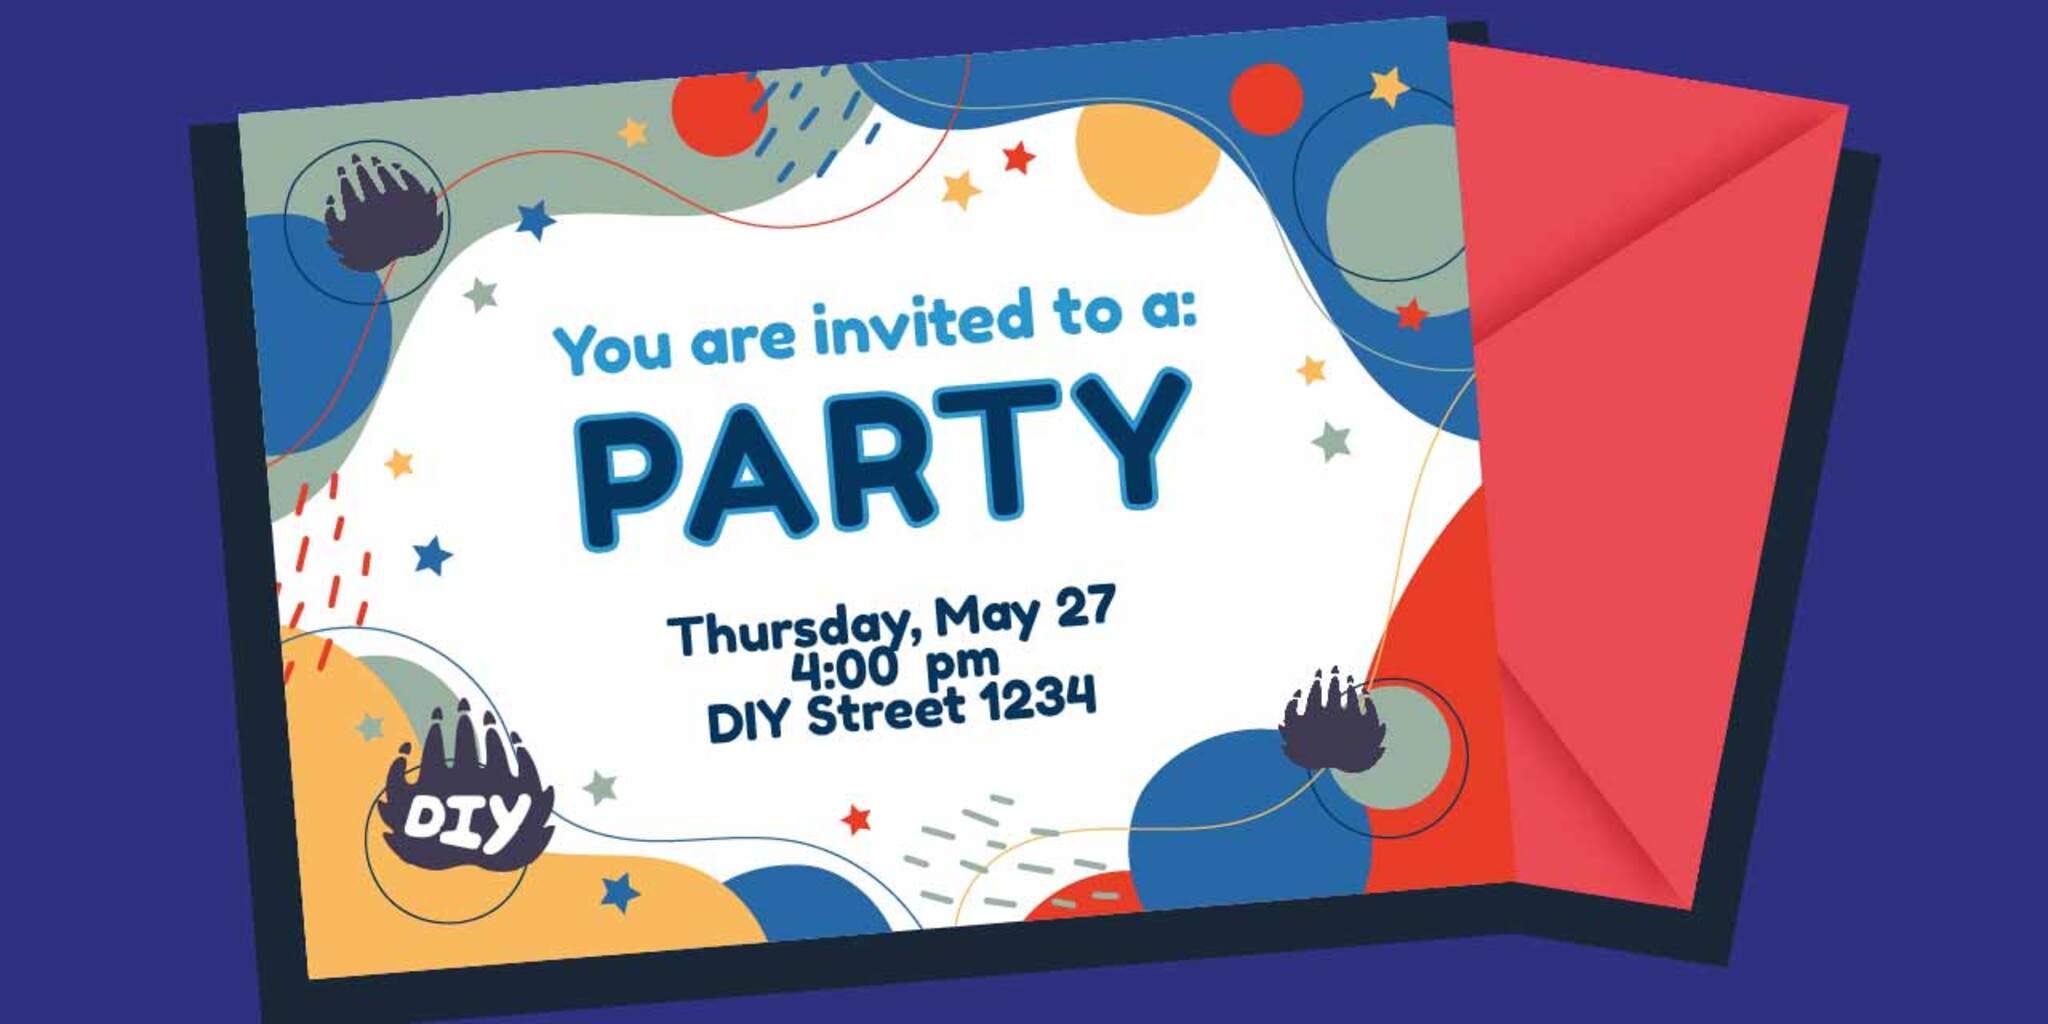
Design an Invitation
Design and decorate a party invitation using paper, markers, stickers, and stamps; practice layout, clear wording, and sharing event details with style.


Step-by-step guide to design an invitation
EASY Animated Canva Birthday Invitation + Online RSVP (Kids parties, Quinceañera & More!)
Step 1
Gather your materials
Step 2
Clear a flat workspace
Step 3
Decide the invitation size you want
Step 4
Fold or cut the paper to match your chosen size
Step 5
Use the ruler and pencil to draw light margin lines and boxes for the title main details and RSVP
Step 6
Write the party title in pencil at the top in big clear letters
Step 7
Trace the title with a marker to make it bold and fun
Step 8
Write the event details who what when where time and RSVP in neat writing
Step 9
Trace the details with a marker or colored pencil so they are easy to read
Step 10
Add a colorful border or background with your coloring materials
Step 11
Add stickers to decorate and stick to your party theme
Step 12
Use stamps to add extra designs and fun shapes
Step 13
Erase any visible pencil lines gently with your eraser
Step 14
Put the finished invitation into the envelope and seal it
Step 15
Share your finished creation on DIY.org
Help!?
I don't have a ruler, envelope, or stamps—what can I use instead?
Use the straight edge of a hardcover book to draw your margin lines, fold an extra sheet of paper into a makeshift envelope and seal it with a sticker, and replace postage stamps with a hand-drawn postmark or decorative sticker seal.
My marker bled through the paper and my pencil lines smudged—how can I fix or avoid that?
Place a scrap sheet under the invitation before tracing, use fine-tip markers or colored pencils for the details, wait for the ink to dry completely, then gently erase visible pencil lines with your eraser.
How can I adapt this invitation activity for different age groups?
For preschoolers pre-draw the boxes and let them add stickers and coloring, for early elementary let them write and trace the event details themselves, and for older kids challenge them to design a themed border, use stamps, or make matching RSVP cards.
What are ways to enhance or personalize the finished invitation?
Add a glued photo or themed stickers near the title, layer stamps or colored backgrounds for extra design, create a decorative border with your coloring materials, and decorate the envelope to match before sealing and sharing on DIY.org.
Watch videos on how to design an invitation
how to make a simple birthday invitation card || kids craft
4 Videos
how to make a simple birthday invitation card || kids craft
Make a Birthday Invitation in Word - Easy Tutorial
Create Digital Kids' Birthday Invitations with Canva | Party Baby Essentials
Canva Tutorial #1 : How to make Kids Birthday Invitation | electronic invitation | DIY Invitation
Facts about card making for kids
✉️ People have sent written invitations for thousands of years — ancient cultures invited guests to feasts, ceremonies, and festivals.
🎨 Good layout and contrast make information pop — designers use visual hierarchy so the most important details are seen first.
✍️ Hand-lettered or stamped invitations feel extra personal; many folks keep special party invites as keepsakes.
📏 Even simple tools like a ruler or grid make cards look neat — professional designers rely on grids for balanced layouts.
🎉 A great invitation answers the 5 W's: Who, What, When, Where, and How to RSVP so guests know exactly what to expect.
How do I help my child design and decorate a party invitation?
What materials do we need to design and decorate party invitations?
What ages is this invitation-design activity suitable for?
What are the benefits, safety tips, and variations for making invitations?
