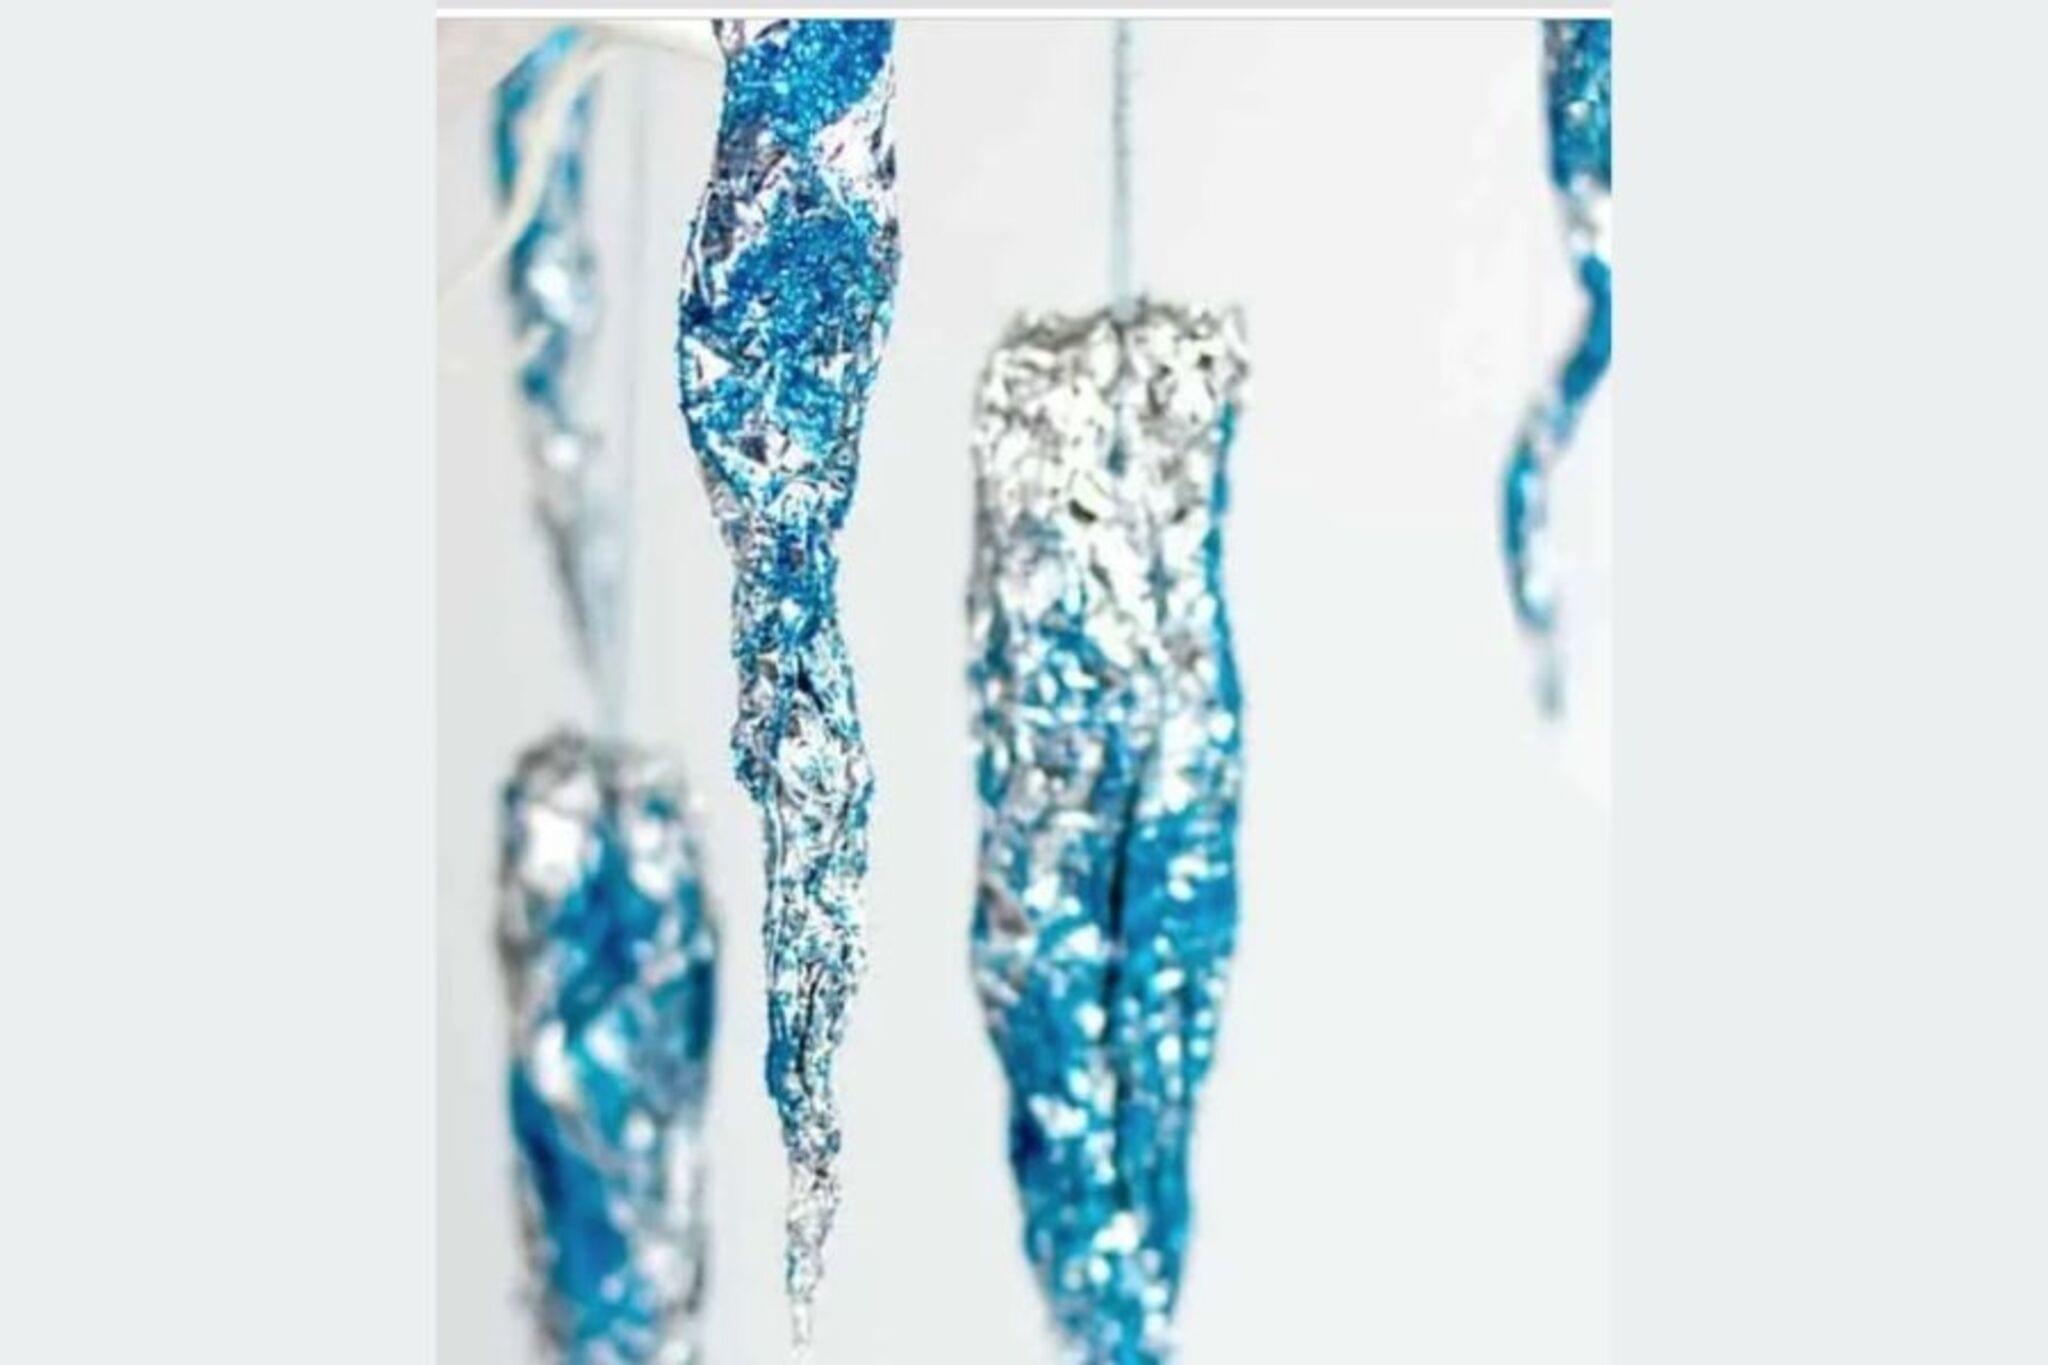
Create Your Very Own Sparkly Icicles
Make sparkly icicles using salt, glue, and glitter on string. Observe crystal growth, practice measuring, and safely decorate winter displays.


Step-by-step guide to create your very own sparkly icicles
🎄 Christmas Diy Super Sparkling Icicles Ornaments 🎄
Step 1
Gather all Materials Needed and bring them to a clear table or counter to make a tidy workspace.
Step 2
Use the ruler to measure and mark three string lengths on the string for short medium and long icicles.
Step 3
Cut the string at each mark using child-safe scissors to make three separate strings.
Step 4
Tie one end of each string to the pencil or stick so the strings can hang down when the pencil is rested on a cup.
Step 5
Lay the strings flat on the tray and squeeze white glue onto each string to form a pointy icicle shape near the tied end.
Step 6
While the glue is wet sprinkle table salt generously over each glue icicle so the salt sticks.
Step 7
While the glue is still sticky sprinkle glitter or sequins over the salt to add sparkle.
Step 8
Gently shake each string so extra loose salt and glitter fall back onto the tray or paper towel.
Step 9
Leave the tray in a safe place and let the glue dry completely for several hours or overnight.
Step 10
In the small cup pour warm water and stir in table salt spoonful by spoonful until some salt no longer dissolves to make a saturated solution.
Step 11
Rest the pencil across the top of the cup so each dried icicle hangs into the saturated salt solution and leave undisturbed for about 24 hours so crystals can grow.
Step 12
Carefully lift the pencil and remove the icicles from the cup and place them on the tray to dry.
Step 13
If you want add a final tiny glue dot and a little extra glitter to any spot that needs more sparkle and let it dry.
Step 14
Take a photo of your sparkly icicles and share your finished creation on DIY.org
Help!?
I don't have table salt—what can I use instead for the salt coating and crystal solution?
You can substitute Epsom salt or kosher salt for table salt in both the 'sprinkle table salt generously' step and the 'pour warm water and stir in table salt' saturated-solution step, but expect different crystal shapes and dissolve rates.
My icicles didn't grow crystals after 24 hours—what might have gone wrong?
Check that each dried icicle was fully hanging into the cup (not touching the sides), that you made a truly saturated solution in the 'pour warm water and stir in table salt' step (some salt should remain undissolved), and that the cup was left completely undisturbed for about 24 hours.
How can I adapt this activity for different ages?
For younger children, an adult can pre-measure and cut the strings and tie them to the pencil and assist with squeezing the white glue, while older kids can measure the three lengths themselves, experiment with adding food coloring to the glue, or try different salts when making the saturated solution.
How can we make the icicles more decorative or longer-lasting?
After removing and drying the icicles, follow the 'add a final tiny glue dot and a little extra glitter' step for touch-ups, consider threading small beads onto the string before tying to the pencil, or hang finished icicles on LED fairy lights to highlight the crystals.
Watch videos on how to create your very own sparkly icicles
How to make Paper ICICLES and Cotton Ball Snow DECORATIONS
3 Videos
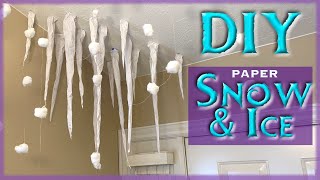
How to make Paper ICICLES and Cotton Ball Snow DECORATIONS
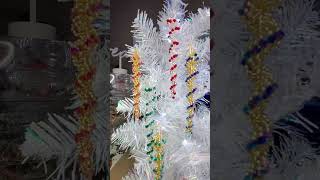
How to Make Sparkly Icicle Ornaments for Your Tree!
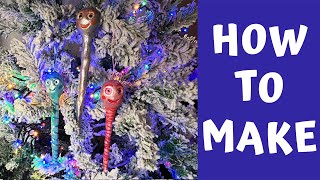
Create AMAZING Funny Icicles for Your Christmas Tree!
Facts about crystal growth and simple chemistry
❄️ Real icicles form from freezing water dripping and refreezing, but your salt 'icicles' grow as a solution evaporates—it's a different kind of winter magic!
🔬 Crystals form when a solution becomes saturated and particles lock into repeating patterns; table salt often makes tiny cube-shaped crystals.
🧂 Table salt is called sodium chloride (NaCl) and its crystals can be seen clearly with even a magnifying glass—perfect for curious eyes!
✨ Glitter and glue won't speed up crystal growth, but they make your icicles sparkle and look like festive ornaments.
📏 Measuring your icicles each day and noting how long they take to grow is a fun way to practice science and see changes over time.
How do I make sparkly icicles with salt, glue, and glitter?
What materials do I need to make salt-and-glue sparkly icicles?
What ages is the sparkly icicles craft suitable for?
What are the benefits of making sparkly icicles and how can I keep it safe?
