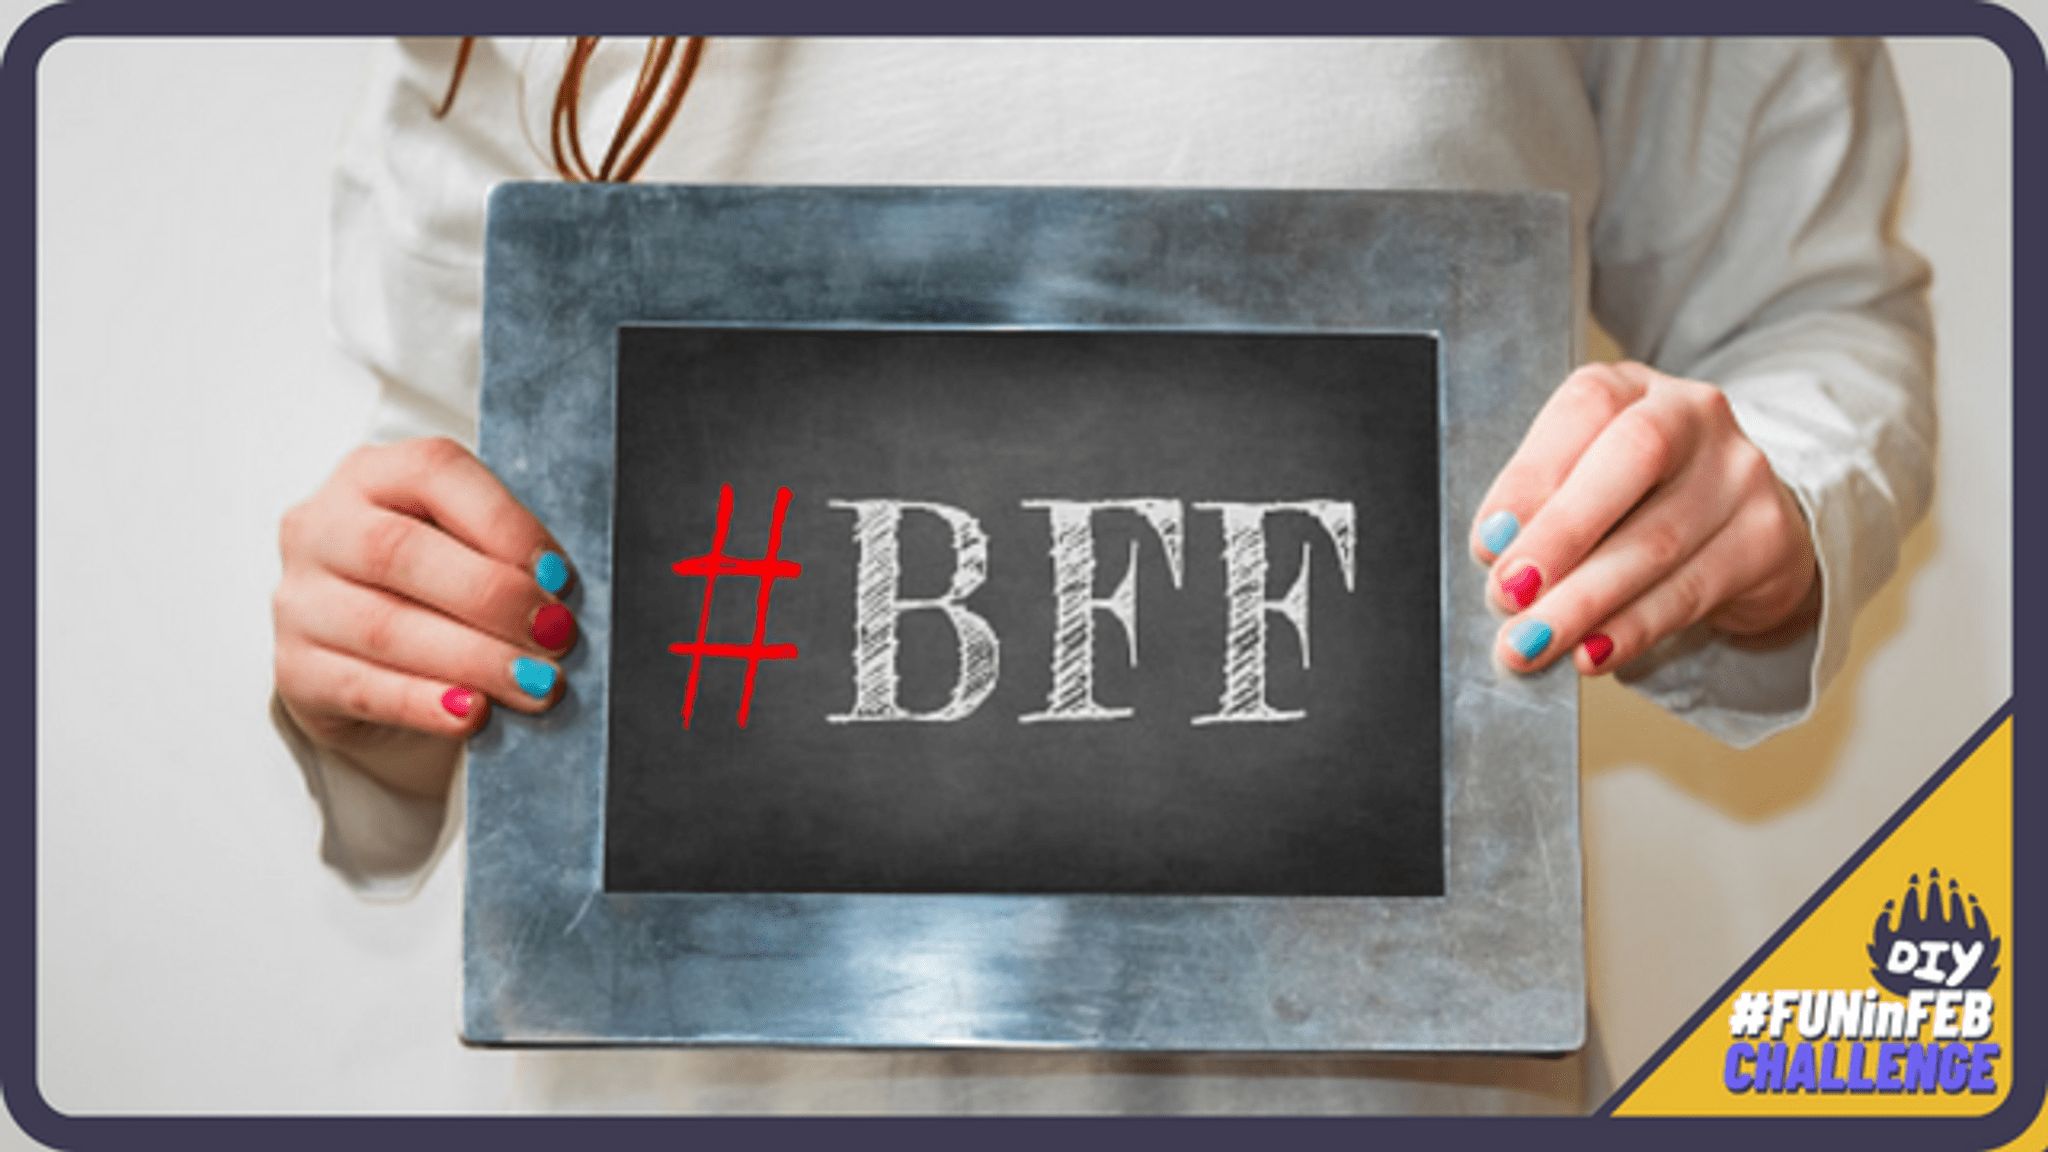
Create Anything for your #DIYBFF
Make a personalized friendship bracelet and handmade card using large beads, thread, and markers. Practice patterns, measuring, and thoughtful gift design.


Step-by-step guide to Create Anything for your #DIYBFF
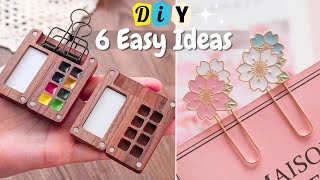
Easy Crafts for Home: 10 Fun DIY Projects You Must Try! 🏡👐
Step 1
Measure your friend's wrist by wrapping the thread or using the ruler and add about 6 extra centimeters for knots.
Step 2
Cut one long piece of thread to the length you measured so you have enough to knot and hang beads.
Step 3
Tape one end of the thread to the table to keep it steady while you add beads.
Step 4
Lay your beads out on a sheet of paper to create and practice a repeating pattern you like.
Step 5
Thread the beads onto the free end of the thread following the pattern you planned.
Step 6
Keep adding beads until the beaded section reaches the wrist length you measured earlier.
Step 7
Remove the tape and tie a strong double knot at the ends to secure the beads.
Step 8
Trim the extra thread but leave small tails so the knot stays secure.
Step 9
Fold the cardstock in half to make a greeting card shape.
Step 10
Decorate the front of the card with drawings and colours using your markers.
Step 11
Write a short thoughtful message inside the card to tell your friend why they’re special.
Step 12
Attach the bracelet to the card with a small dab of glue or a piece of tape so it looks like a present.
Step 13
Share a photo of your finished friendship bracelet and handmade card on DIY.org
Help!?
If I don't have the thin thread or cardstock listed, what can I use instead?
Use embroidery floss, thin yarn, or strong sewing thread for the bracelet and cut up a cereal box or manila folder as a substitute for the folded cardstock card.
What should I do if beads keep sliding off or the knot won’t stay tied?
While following the 'tape one end of the thread to the table' step, add an extra piece of tape or a safety pin as a bead stopper, finish with the instructed 'tie a strong double knot', and put a tiny dab of glue on the knot to secure it.
How can I change the activity for a 4-year-old versus a 10-year-old?
For a 4-year-old use large pony beads and pipe cleaners or pre-cut shorter thread and have an adult do the final 'tie a strong double knot', while a 10-year-old can plan complex repeating patterns on the paper, use smaller seed beads, and add charms or a clasp before attaching the bracelet to the card.
How can I make the bracelet and card more special or longer-lasting?
Spell your friend's name with alphabet beads during the 'lay your beads out' step, decorate the card front with stickers or pressed flowers as you 'decorate the front of the card', and attach the bracelet with a ribbon loop or small jump ring instead of tape for a nicer presentation and easier removal.
Watch videos on how to Create Anything for your #DIYBFF
6 Amazing DIY Art & Craft Projects You Can Try at Home!
4 Videos
6 Amazing DIY Art & Craft Projects You Can Try at Home!
TOP 30+ DIY Creative Craft Ideas You can Make in 5 mins 💡 Easy Paper Crafts 🖍️ Tiny DIY Craft

26 DIY PROJECTS | CREATIVE HOME DECOR IDEAS YOU'LL ACTUALLY WANT TO TRY 🛠✨
30 DIY Projects Absolutely Anyone Can Do
Facts about children's beadwork and card-making
🧵 Friendship bracelets come from Indigenous traditions in Central and South America and became a popular camp craft worldwide.
🌈 Colors often carry meanings—kids choose shades like red for love or yellow for friendship to make designs more personal.
🔁 Most friendship-bracelet patterns use just two knot types (forward and backward); repeating sequences creates surprisingly complex designs.
🎁 A tiny handmade card or bracelet can feel more special and memorable than a store-bought gift.
📏 Measuring tip: add about 6–8 inches (15–20 cm) extra thread when you measure a wrist so there's enough for tying and beads.
How do I make a personalized friendship bracelet and handmade card for my DIY BFF?
What materials do I need to make a friendship bracelet and handmade card?
What ages is this friendship bracelet and card activity suitable for?
What are the benefits of making a friendship bracelet and handmade card?
