Create a simple scene for a LEGO® minifig
Build a simple LEGO® minifig scene with a house, tree, and vehicle; stage and photograph it to tell a short story.


Step-by-step guide to create a simple scene for a LEGO® minifig
I Built LEGO Theme Park with Minifigures ...
Step 1
Gather all the Materials and put them on a clear table.
Step 2
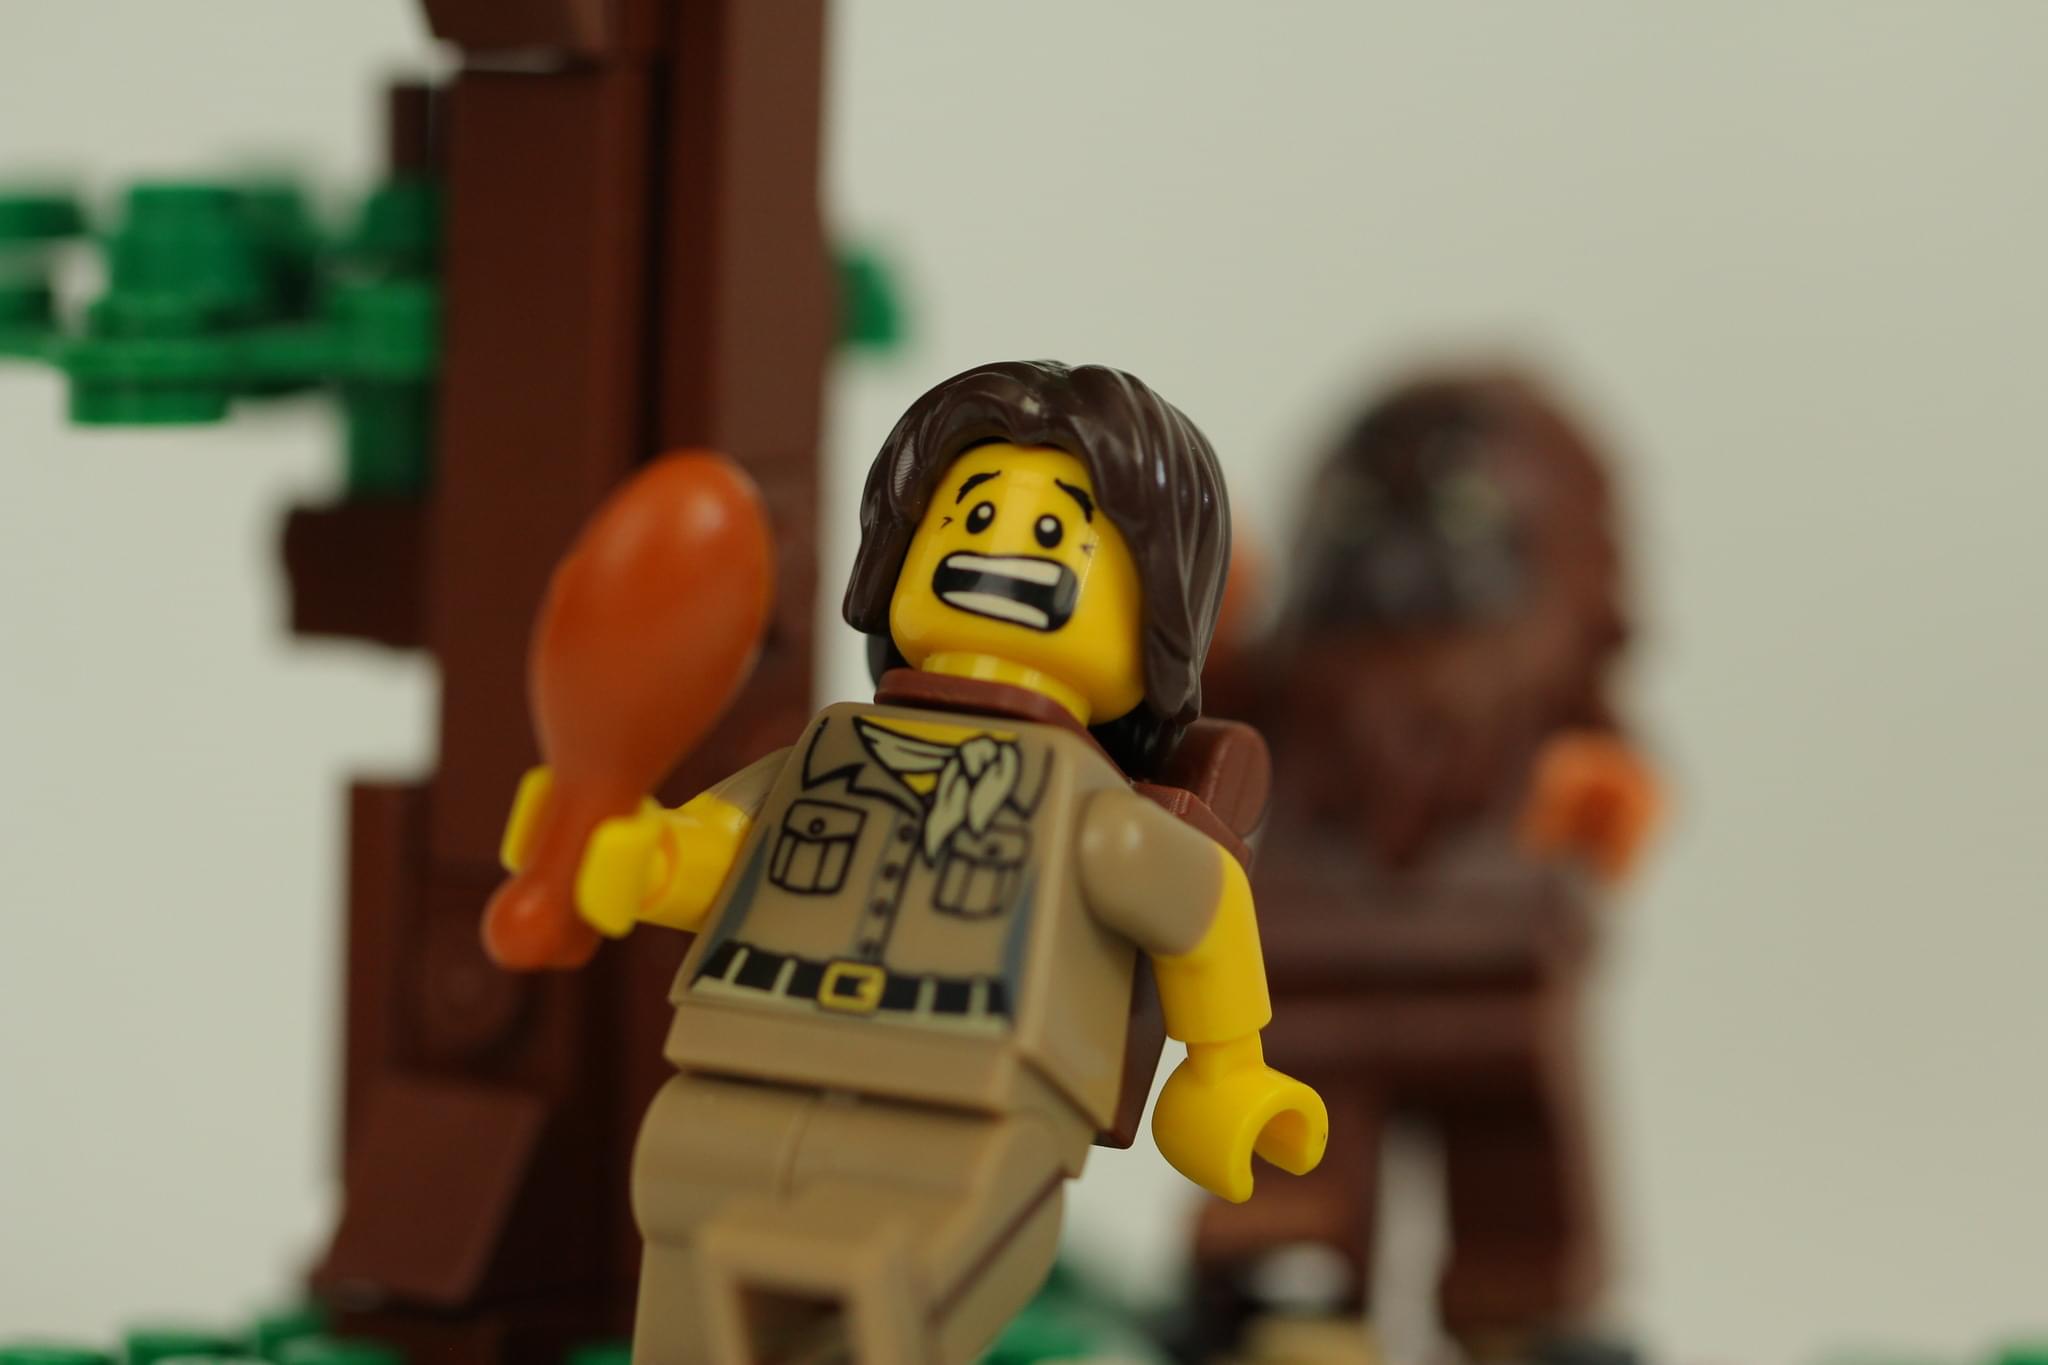
Choose one LEGO minifigure to be the main character of your scene.
Step 3
Build a small house on the baseplate using the house bricks.
Step 4
Add a door and a window to the house so the minifig can go inside.
Step 5
Build a simple tree using the green and brown bricks and connect it to the baseplate.
Step 6
Build a small vehicle using the wheels and vehicle parts.
Step 7
Place the vehicle beside the house where your story needs it.
Step 8
Add small props like flowers roof tiles or a mailbox to make the scene interesting.
Step 9
Put the minifig in a pose that shows what they are doing in the story.
Step 10
Make a plain backdrop by taping the paper behind your scene to hide distractions.
Step 11
Move the scene near a window or lamp so it is brightly lit.
Step 12
Ask an adult to help you take photos of the scene.
Step 13
Pick your favorite photo from the ones you took.
Step 14
Write one short sentence that tells the story shown in your photo.
Step 15
Share your finished creation and the sentence on DIY.org.
Help!?
What can I use if I don't have a LEGO baseplate, wheels, or backdrop paper?
Use a piece of stiff cardboard or a cereal box lid as a baseplate, bottle caps or small toy wheels taped to a flat base for the vehicle wheels, and plain printer or construction paper taped behind the scene as the backdrop.
My house keeps falling apart or the tree won't stay on the baseplate—what should I do?
Press the house and tree bricks together firmly and secure any loose pieces to the baseplate with small pieces of double-sided tape or sticky putty so they stay in place when you pose the minifig and move the scene for photos.
How can I adapt this activity for younger or older kids?
For younger kids, choose larger bricks and simple steps like building only the house and placing the minifig with adult help for taking photos, and for older kids, add more detailed roof tiles, extra props like a mailbox or flowers, and write a longer story sentence to post on DIY.org.
How can we make the scene more special or extend the project after we take photos?
Personalize the scene by adding handmade props (for example a painted cardboard mailbox), try a short stop-motion sequence using the lamp for consistent lighting, or build an interior for the house and write a short story to share with your favorite photo on DIY.org.
Watch videos on how to build a simple LEGO® minifig scene
How To Build LEGO Minifigure Habitats! #legotutorial
4 Videos

How To Build LEGO Minifigure Habitats! #legotutorial

LEGO City Adventures | Ride Along Kid! | WildBrain Kids
LEGO Minifigure Park Bench 🧱🌳 Relax in Brick Style! 🏞️🪑 #lego

How are LEGO® Minifigures Made? | EXTENDED | LEGO Factory Behind The Scenes
Facts about LEGO building and toy photography
🧱 LEGO's company began in 1932, and the modern interlocking brick design was patented in 1958.
🧑🚀 The LEGO minifigure debuted in 1978 and is about 4 centimeters tall — perfect for tiny stories!
📸 Toy photography is a popular hobby where people stage toys and take photos to tell fun stories — you can start with a phone camera and a lamp.
🌳 A diorama is a miniature scene that uses scale, props, and lighting to make a tiny world feel real.
🎬 Staging and photographing a LEGO scene uses the same basic idea as stop-motion animation to show action and emotion.
How do you create and photograph a simple LEGO® minifig scene to tell a short story?
What materials do I need to build and stage a LEGO® minifig scene?
What ages is making a LEGO® minifig scene suitable for?
What are the benefits of building and photographing LEGO® minifig scenes?
