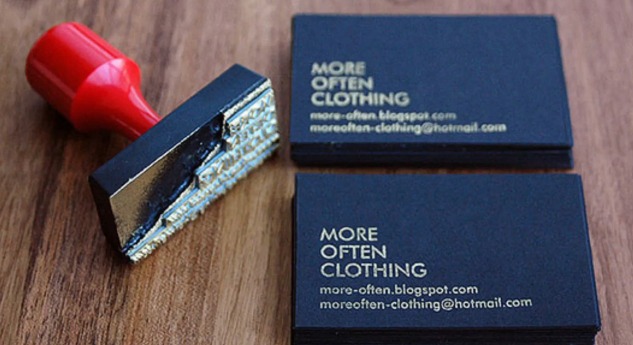
Create a business card
Design and create a personalized business card using cardstock, markers, ruler, scissors, and stickers, learning layout, lettering, and neat cutting skills.


Step-by-step guide to create a business card
let's make some quick business cards ✂️ DIY tutorial
Step 1
Lay out all your materials on a clean table so everything is easy to reach.
Step 2
Use the ruler and pencil to draw a rectangle about the size of a credit card (3.5 inches by 2 inches) on the cardstock.
Step 3
Carefully cut out the rectangle along your pencil lines with scissors.
Step 4
Use the ruler and pencil to draw a faint border and a small square or corner for your logo.
Step 5
Lightly sketch a simple logo or symbol inside the logo area with your pencil.
Step 6
Trace and color the logo with markers to make it bold and bright.
Step 7
Write your name in big neat letters on the main part of the card using a marker.
Step 8
Write your title or what you do under your name in smaller neat letters.
Step 9
Add one contact line or fun detail (like an email or favorite hobby) beneath the title with a marker.
Step 10
Wait for the marker ink to dry completely so nothing smudges.
Step 11
Gently erase any leftover pencil guide lines so the card looks clean.
Step 12
Add stickers to decorate the card and press them down so they stick well.
Step 13
Take a photo of your finished business card and share your creation on DIY.org
Help!?
What can we use if we don't have cardstock or a ruler?
Use sturdy printer paper folded in half or a piece of a cereal box instead of cardstock, and use a straight-edged book or a credit card as a ruler to draw the 3.5 inch by 2 inch rectangle.
My rectangle edges came out crooked when I cut—how can I fix or avoid this?
Place the pencil-drawn rectangle on a flat surface and slowly cut with sharp scissors following the pencil lines or use a ruler and a craft knife on a cutting mat to trim straight edges before erasing guide lines.
How can I adapt this activity for different ages?
For preschoolers, pre-cut the credit-card-size rectangles and let them color the logo and add stickers; for school-age kids, have them measure with the ruler and write their name and title; for older kids, challenge them to design a detailed logo and use fine-point markers for neat lettering.
How can we enhance or personalize the business card beyond the basic steps?
After completing the steps of drawing, coloring, writing your name and adding stickers, personalize by using colored cardstock, laminating the card for durability, adding a tiny QR code or extra contact line, or making a matching set to photograph and share on DIY.org.
Watch videos on how to create a business card
Create a simple business card in word and customise
4 Videos
Create a simple business card in word and customise
Create a Stunning Business Card in Canva (No Design Skills Needed)
3 Simple Card Making Templates | Creativity Made Simple Vol. 7

4. Designing your Business Card in Canva | Skills
Facts about graphic design for kids
💼 Business cards (also called visiting or calling cards) date back to 17th-century Europe when people handed them out to announce visits.
📏 Standard sizes vary: the US/Canada common size is 3.5 × 2 inches, while much of Europe uses 85 × 55 millimetres.
🎨 Font choices change the card's personality — serifs read traditional, sans-serifs feel modern, and script fonts feel friendly or fancy.
♻️ Eco-friendly options like recycled cardstock and seed paper (which can be planted to grow flowers) are popular for cards.
✂️ Neat cutting and finishing (rounded corners, laminates) help cards last longer and feel more professional.
How do I make a personalized business card with my child?
What materials do I need to design and create a child's business card?
What ages is creating a business card suitable for?
What are the benefits and safety tips for making business cards with kids, and are there variations?
