Craft Your own Paper Flowers
Make colorful paper flowers using paper, child-safe scissors, glue, and pipe cleaners. Learn cutting, folding, and arranging to create a bouquet to display.


Step-by-step guide to make your own paper flowers
Step 1
Gather all the materials listed and put them on your table.
Step 2
Clear a small workspace so you have room to cut and glue.
Step 3
Draw a teardrop petal shape on the scrap paper to make a template.
Step 4
Cut out the petal template with the child safe scissors.
Step 5
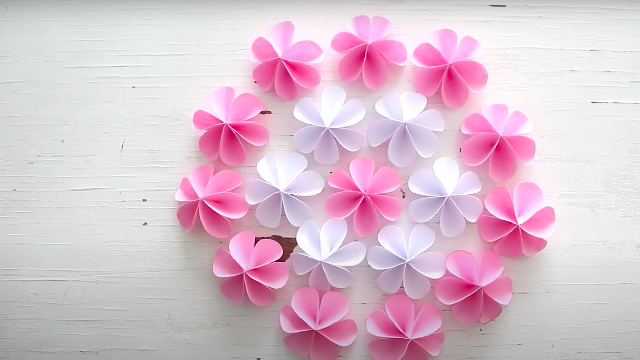
Trace the template six times onto a sheet of colored paper for one flower.
Step 6
Cut out the six traced petals carefully.
Step 7
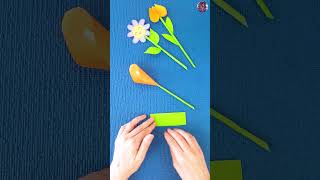
Fold each petal gently lengthwise to give it a curved shape.
Step 8
Glue the base of one petal to the top end of a pipe cleaner.
Step 9
Glue the remaining petals one at a time around the pipe cleaner until the flower looks full.
Step 10
Cut a small circle from a contrasting color of paper for the flower center.
Step 11
Glue the small circle to the middle of the petals to finish the flower.
Step 12
Repeat steps 5 to 11 two or three more times to make a colorful bouquet.
Step 13
Arrange your finished flowers in the vase or jar to display them.
Step 14
Share a photo of your finished paper flower bouquet on DIY.org
Help!?
What can we use if we don't have pipe cleaners or colored paper?
If you don't have pipe cleaners use a wooden skewer or bendable floral wire as the stem, and if you lack colored paper cut petals from magazine pages or plain printer paper and color them before tracing the teardrop template in step 3.
My petals keep slipping down the pipe cleaner when I glue them—what should I do?
Apply a small dot of glue at the base of each petal and press it onto the pipe cleaner for 10–15 seconds during steps 8–9, or wrap a short piece of tape or thin floral wire around the glued bases to hold them while the glue dries.
How can I adapt this activity for different ages?
For preschoolers pre-cut the six petals (step 6) and let them use a glue stick for steps 8–9 while an adult helps press petals, and for older kids have them redesign the teardrop template in step 3, add layered petals, or paint details before assembling.
How can we extend or personalize the paper flower bouquet?
Make varied-sized flowers by tracing different-sized petal templates in step 3, add green paper leaves to the pipe cleaners before arranging in the vase, and replace the paper center in step 10 with buttons, beads, or a dab of glitter for a custom look.
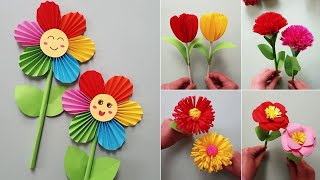
Watch videos on how to make your own paper flowers
How to Make Flower with Colored Paper | Making Paper Flowers Step by Step
4 Videos
How to Make Flower with Colored Paper | Making Paper Flowers Step by Step
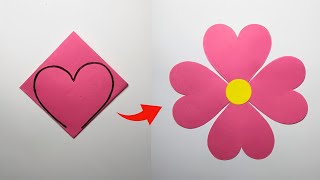
Flower Making | How to make a simple paper flowers step by step🌸
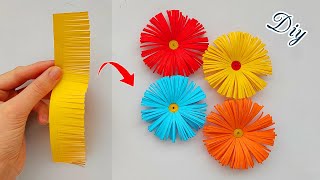
How To Make Easy Paper Flowers 🌸| DIY Paper Flower Craft Ideas Tutorial
DIY Paper Flower Tutorial | Easy Step-by-Step Craft for Beginners
Facts about paper crafts for kids
🌸 Paper flowers have been made for centuries — ancient China and Mesoamerica used paper blooms in festivals and ceremonies.
✂️ Traditional origami is made with only folds (no cutting or glue), so paper-flower projects mix papercraft and origami ideas!
🎨 Crepe paper stretches and holds curves, which makes it great for shaping lifelike petals.
🌈 You can create beautiful gradient petals by brushing watered-down markers or watercolor onto paper.
🧼 Pipe cleaners (chenille stems) were invented for cleaning pipes but are now a crafty favorite for making bendable flower stems.
How do I make colorful paper flowers with my child?
What materials do I need to craft paper flowers?
What ages is this paper flower craft suitable for?
What are the benefits of making paper flowers with kids?
