Build Your Own Candy Dispenser
Build a simple candy dispenser using cardboard, a lever, and recycled materials. Learn basic mechanics and safe crafting skills independently.


Step-by-step guide to Build Your Own Candy Dispenser
Step 1
Gather all materials and set them on a clean table so everything is easy to reach.
Step 2
Use the ruler and pencil to draw a rectangle about 15 cm by 10 cm on the cardboard for the base.
Step 3
Cut out the rectangle base carefully with scissors while an adult watches.
Step 4
Draw and cut a back panel the same width as the base and about 15 cm tall from the cardboard.
Step 5
Tape the back panel upright along one long edge of the base so it stands vertical.
Step 6
Place the paper tube or small cup on the back panel so it angles down toward the front of the base.
Step 7
Tape the tube to the back panel and base to hold it firmly at that angle.
Step 8
Cut a small rectangular flap the size of the tube exit from cardboard to act as the release door.
Step 9
Tape the flap across the tube exit along one edge so it can swing open as a hinge.
Step 10
Tape the popsicle stick to the outside of the flap so pressing the stick lifts the flap like a lever.
Step 11
Glue or tape a small folded cardboard tab inside the tube just above the flap to act as a stopper for one candy.
Step 12
Decorate your dispenser with colouring materials or stickers to make it fun and personal.
Step 13
Fill the tube with small wrapped candies up to the stopper so they wait to drop.
Step 14
Press the lever to test one candy release and adjust the stopper or flap if needed until one candy drops each press.
Step 15
Take a photo or write about your finished candy dispenser and share your creation on DIY.org
Help!?
What can we use instead of the paper tube or popsicle stick if we don't have them?
If you don't have a paper tube for step 6, use a tightly rolled cardboard strip from a cereal box and, if popsicle sticks are missing for step 11, use a plastic spoon handle or a folded cardboard strip taped to the flap.
Why does more than one candy drop or why do candies jam, and how can I fix it?
If multiple candies drop or they jam during testing in steps 15–16, move or thicken the folded cardboard tab stopper inside the tube (step 13) so one candy rests against it and make sure the flap hinge is taped snugly.
How can I change the activity for younger or older kids?
For younger children, have an adult cut the base and back panel (steps 2–4) and let them tape, decorate (step 12), and press the lever, while older kids can create an adjustable stopper (step 13) or add a rubber-band ‘spring’ to the popsicle-stick lever (step 11) for more challenge.
How can we improve or personalize the dispenser after finishing?
After decorating (step 12), personalize and extend the dispenser by adding a second angled tube and a cardboard selector flap to choose which tube releases candy or glue a clear plastic window to the back panel so you can watch candies move.
Watch videos on how to Build Your Own Candy Dispenser
Cardboard Candy Dispenser Machine - Fun DIY Project for Kids
3 Videos
Cardboard Candy Dispenser Machine - Fun DIY Project for Kids

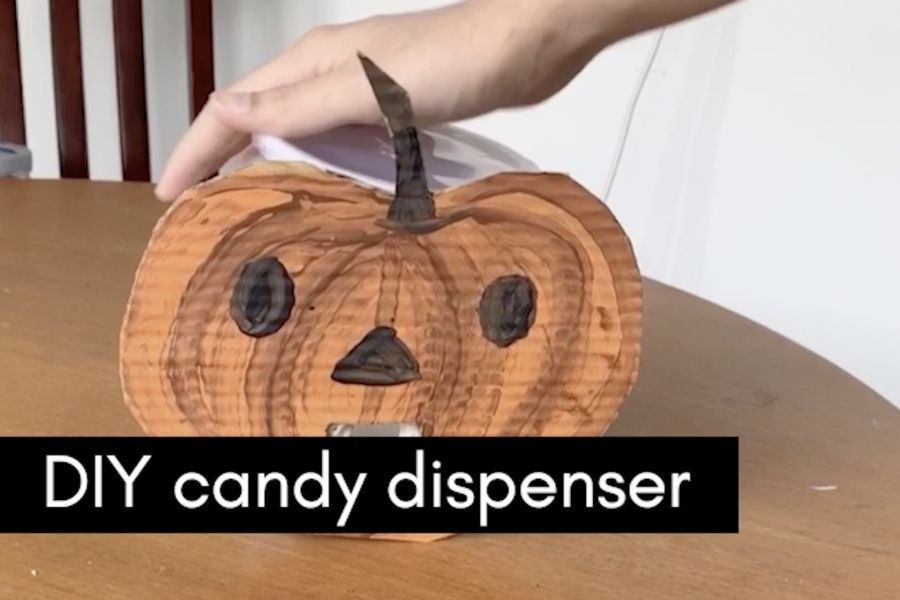
DIY candy dispenser at home (super easy)

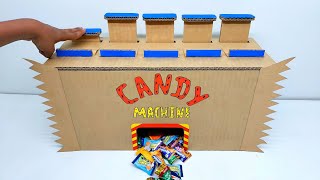
DIY Mini Candy Dispenser Machine from Cardboard | How to Make Smart Candy Vending Machine at Home
Facts about simple machines and recycled crafts
🍬 PEZ started in 1927 in Austria as a peppermint for adults and later became a kid-favorite dispenser toy.
⚖️ A lever is one of six simple machines — moving the pivot (fulcrum) can make lifting or dispensing much easier.
♻️ Cardboard is one of the most commonly recycled materials, and recycling it saves trees, water, and energy.
📦 Corrugated cardboard was invented in the 19th century and is used worldwide for boxes because it's light and strong.
🛠️ Building a simple lever-based dispenser is a fun way to learn basic mechanics: small changes in design change how candy flows.
How do you build a simple candy dispenser?
What materials do I need to build a candy dispenser?
What ages is this candy dispenser activity suitable for?
What are the safety tips for making a candy dispenser?
