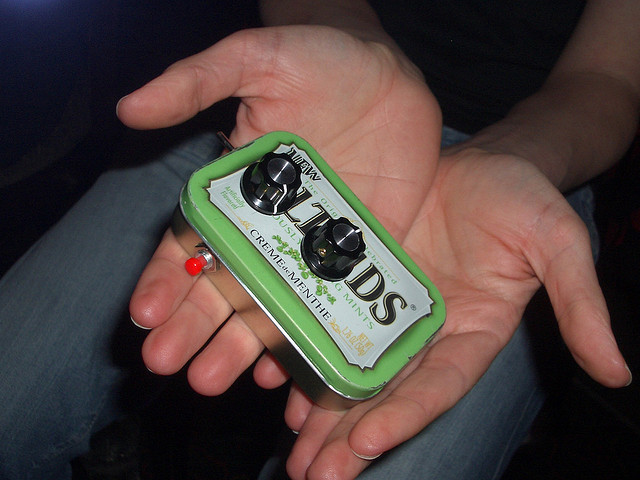
Build an atari punk console
Build a simple Atari Punk Console synthesizer with wires, resistors, potentiometers, and a speaker, learning basic electronics with adult supervision.


Step-by-step guide to build an Atari Punk Console synthesizer
Build an Atari Punk Console in 5 minutes using a solderless breadboard!
Step 1
Place the two 555 ICs on the breadboard so each chip straddles the center gap and the pins point toward you.
Step 2
Clip the battery wires to the breadboard rails by attaching the red wire to the positive rail and the black wire to the negative rail.
Step 3
Connect power to the chips by wiring both 555 pin 1 rows to the negative rail and wiring both 555 pins 4 and 8 to the positive rail.
Step 4
Add the timing capacitors by inserting a 10nF capacitor from the pin2/pin6 node of each 555 to the negative rail (one capacitor per chip).
Step 5
Put a 10k resistor from the positive rail to pin7 (DISCH) of each 555 (one resistor per chip).
Step 6
Wire a 100k potentiometer as the timing control for each chip by connecting one outer lug of each pot to pin7 of that chip and the other outer lug to the pin2/pin6 node of the same chip.
Step 7
Make the oscillator link by connecting pin3 (OUT) of the first 555 to pin5 (CTRL) of the second 555 through a 10nF coupling capacitor.
Step 8
Couple the audio output by connecting the positive lead of the 100µF electrolytic capacitor to pin3 (OUT) of the second 555 and make sure the capacitor’s negative lead goes to the speaker positive terminal.
Step 9
Connect the speaker negative terminal to the negative rail on the breadboard.
Step 10
Attach the 9V battery to the battery clip to power the circuit and ask an adult to double-check your wiring first.
Step 11
Turn the pots slowly to hear the sounds change and fine-tune them until you like the tones.
Step 12
Share a photo or video of your finished Atari Punk Console project on DIY.org
Help!?
What can I use instead of the two 555 ICs or the 100µF electrolytic capacitor if they are hard to find?
If you can't find two 555s use a single NE556 dual-timer (rewire pins per the NE556 pinout) or any LM555-compatible chip, and substitute the 100µF electrolytic with another 100µF polarized capacitor of equal voltage rating while keeping its positive lead connected to pin3 of the second 555 as in the instructions.
I built the circuit but there's no sound — what should I check first?
First verify the 9V battery is clipped onto the rails and that both 555 pin1 rows go to the negative rail while pins 4 and 8 go to the positive rail, check the 10nF timing capacitors and the 10k resistors are in the pin2/pin6 and pin7 nodes respectively, ensure the 100µF electrolytic positive lead is on pin3 of the second 555 and that the speaker negative terminal is connected to the negative rail.
How can I adapt this Atari Punk Console project for younger or older children?
For younger kids (5–8) have an adult place the 555s, timing caps, and battery on the breadboard and let them turn the 100k pots to hear changes, for 8–12-year-olds supervise while they insert resistors, pots, and the coupling caps, and for teens challenge them to rewire the design into a NE556, solder the components, or add controls like CV inputs replacing a 100k pot.
What are simple ways to enhance or personalize the finished Atari Punk Console?
Add visual feedback by wiring LEDs with ~220Ω resistors from each 555 pin3 to the negative rail, swap one 100k potentiometer for an LDR to make tones respond to light, or mount the breadboard in a decorated enclosure and add a 3.5mm output jack after the 100µF output capacitor for headphones.
Watch videos on how to build an Atari Punk Console synthesizer
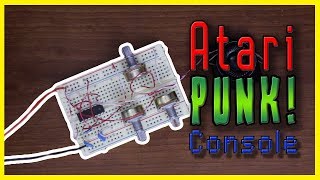
From scratch to sound: APC-16 DIY Atari Punk Console 💥Full build on my channel! #diysynth #synth
4 Videos
From scratch to sound: APC-16 DIY Atari Punk Console 💥Full build on my channel! #diysynth #synth
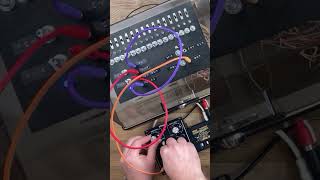
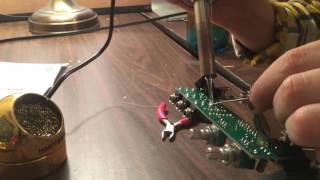
Atari Punk Console Breadboard Build
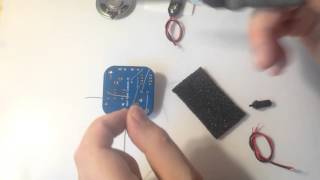
Atari Punk Console Kit Build Guide
Synthrotek Atari Punk Console (APC) DIY Kit - Build and Demo - Midiverse - TV
Facts about electronics for kids
🎮 The Atari Punk Console gets its name because its bleepy, chiptune-like sounds resemble early Atari video game noises.
🧩 Many APC builds use two simple oscillators (often made with a 556 dual-timer or two 555 timer chips) to create pitched tones and weird timbres.
🔋 DIY Atari Punk Consoles commonly run on a single 9V battery — low voltage but always use adult supervision for soldering and tool use.
🎚️ Turning the potentiometers changes resistance, which alters oscillator timing — that’s how you change pitch and textures with the knobs.
🔊 Adding a small amplifier chip like an LM386 can boost the output so a tiny speaker is loud enough for a little jam session.
How do you build an Atari Punk Console with a child?
What materials do I need to make an Atari Punk Console?
What ages is building an Atari Punk Console suitable for?
What safety precautions should I take when making this synth with kids?
