Build a voltage divider
Build a simple voltage divider using two resistors and a small battery to reduce voltage and dim an LED, learning basic circuits safely.


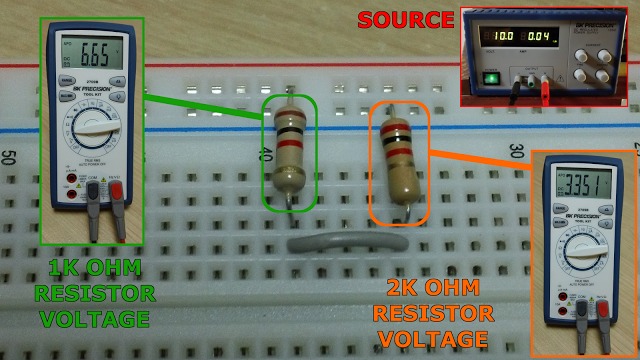

Step-by-step guide to build a simple voltage divider
Voltage Divider Circuit Explained!
Step 1
Gather all Materials Needed and clear a small flat workspace so you can build safely.
Step 2
Push the 3V coin cell into the coin cell holder so the battery sits snugly and will not fall out.
Step 3
Place the solderless breadboard on your workspace and find the long top rail for positive and the long bottom rail for negative.
Step 4
Insert the 1 kΩ resistor (R1) so one leg goes into the positive rail and the other leg goes into an empty row to make the top resistor connection.
Step 5
Insert the 2 kΩ resistor (R2) so one leg goes into the same empty row as R1's free leg and the other leg goes into the negative rail to complete the divider.
Step 6
Place the LED so the longer leg (anode) is in the same row as the R1 and R2 junction and the shorter leg (cathode) goes into the negative rail to set correct polarity.
Step 7
Use a jumper wire to connect the battery holder positive lead to the breadboard positive rail.
Step 8
Use a jumper wire to connect the battery holder negative lead to the breadboard negative rail.
Step 9
Look at the LED to see if it lights dimly; this shows the voltage at the middle of the divider is lower than the battery.
Step 10
Take a picture and share your finished voltage divider and LED dimming experiment on DIY.org
Help!?
What can I use instead of the 3V coin cell or coin cell holder if I can't find them?
Use a 2×AA battery pack with its holder and connect the positive and negative leads to the breadboard rails just like step 7 and 8, or carefully tape a CR2032 to wires while observing polarity and making sure the battery sits snugly as in step 2.
My LED doesn't light — what should I check?
Check that the LED's longer leg (anode) is in the same row as the R1/R2 junction, confirm R1 and R2 legs share the same row to form the midpoint, and verify the coin cell is snug in the holder with jumper wires correctly connecting the holder leads to the breadboard positive and negative rails (steps 2–8).
How can I adapt this activity for younger children or older kids?
For younger children, pre-insert the resistors and battery and have them only place the LED and jumpers to see the dimming quickly, while older kids can change resistor values, replace R2 with a potentiometer, and measure the midpoint voltage with a multimeter to calculate expected voltages.
How can we extend or personalize the voltage divider experiment?
Replace R2 with a potentiometer to vary LED brightness, try different resistor pairs (for example 470 Ω and 1 kΩ) to compare dimming, add a second LED at other nodes, and then take the picture in step 9 to document results.
Watch videos on how to build a simple voltage divider
Voltage Dividers - Electronics Basics 12
4 Videos
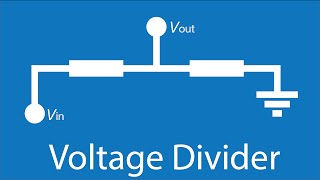
Voltage Dividers - Electronics Basics 12
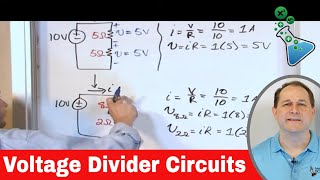
What is a Voltage Divider Circuit? Examples & Calculations

Understanding voltage divider and How to use it as voltage sensor - Electronic Basic #3

How voltage dividers work - Voltage Division | Basic Electronics
Facts about basic electronics and circuits for kids
🔋 Many common batteries kids use are 1.5 V (AA) or 9 V — small and safe enough for simple LED experiments with a resistor.
💡 LEDs are current-driven: too much current can burn them out, so a resistor or limiter is essential.
⚖️ A voltage divider splits voltage between two resistors so the output voltage follows Vout = Vin × R2 ÷ (R1 + R2).
🧮 Ohm's law (V = I × R) is the basic rule you use to calculate how big a resistor you need.
🎚️ Dimming an LED with a voltage divider is simple but wastes extra energy as heat compared to PWM dimming.
How do you build a simple voltage divider to dim an LED?
What materials do I need to build a voltage divider and dim an LED?
What ages is this voltage divider activity suitable for?
What are the benefits, safety tips, and variations for a voltage divider project?
