Build a machine that can lift marbles
Build a simple marble-lifting machine from cardboard, rubber bands, pulleys, and levers to lift and move marbles while exploring mechanical advantage and problem-solving.


Step-by-step guide to build a machine that can lift marbles
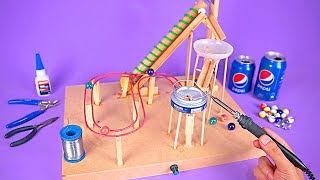
Create an Amazing Marble Machine DIY from Recycled Materials
Step 1
Gather all your materials and put them on a clear table so you can reach everything easily.
Step 2
Cut a cardboard base about 30 cm long and 15 cm wide to give your machine a sturdy floor.
Step 3
Cut two cardboard uprights about 10 cm tall and mark matching notches about 2 cm from the top of each upright.
Step 4
Stand the two uprights on the base about 10 cm apart and tape them upright so they do not wobble.
Step 5
Slide the pencil through the notches across the uprights to make a rotating axle that can turn like a pulley.
Step 6
Tie one end of a piece of string to the small cup or to the bottle cap so it becomes your marble bucket.
Step 7
Drape the loose string over the pencil axle so the cup hangs down on one side and the string hangs free on the other side.
Step 8
Cut a cardboard strip about 12 cm long to use as a lever and poke a paper fastener through its center.
Step 9
Push the paper fastener through the base near the hanging cup so the cardboard strip can pivot up and down like a seesaw.
Step 10
Position the lever so marbles rolled onto one end will tip them into the hanging cup when the lever lifts.
Step 11
Turn the pencil axle to wind the string and lift the cup to carry a marble upward and across to a new spot.
Step 12
Add or move rubber bands or change how many turns you wind to make lifting easier and notice how the machine’s effort changes.
Step 13
Take a photo or write a sentence about what you learned and share your finished marble-lifting machine on DIY.org
Help!?
What can we use instead of a pencil for the rotating axle if we don't have one?
Use a wooden dowel, straight chopstick, or sturdy skewer the same thickness as the pencil and slide it through the notches across the uprights to make the axle.
The cup won't lift or the string slips when I turn the pencil — what should I check?
Make sure the string is tied securely to the small cup or bottle cap, the pencil axle can rotate freely in the notches (remove excess tape), and add rubber bands or wind more turns around the axle as suggested to increase lifting force.
How can I adapt this activity for a 4-year-old or a 10-year-old?
For younger kids (around 4), pre-cut the cardboard base and uprights and pre-poke the notches so they can focus on tying the string and placing the cup, while older kids (10+) can redesign the lever length, change how many turns they wind, or add extra pulleys to explore mechanical advantage.
How can we make the marble-lifting machine more fun or challenging?
Decorate the cardboard base and cup, attach a cardboard ramp to carry marbles to a new spot, or add a counterweight and vary rubber bands or turns to measure how the machine’s effort changes.
Watch videos on how to build a machine that can lift marbles
Make a Amazing Marble Machine DIY from Recycled Materials
4 Videos
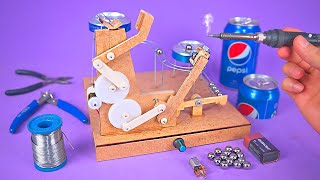
Make a Amazing Marble Machine DIY from Recycled Materials
Create a Incredible DIY Marble Machine from Recycled Materials
DIY Marble Machine made with Materials Recyclables

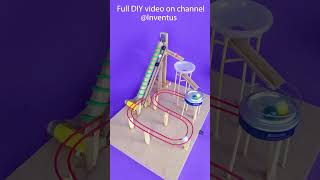
How to make Marble Run with escalator out of cardboard
Facts about simple machines and mechanical advantage
🏺 Marbles have been found in ancient Egyptian tombs and date back over 4,500 years — kids have played with them for millennia!
🛠️ A single movable pulley can halve the force needed to lift a load, making heavy lifts much easier.
⚖️ Change the lengths of a lever's arms and you change its mechanical advantage — longer effort arms make lifting lighter.
🪢 Rubber bands store elastic potential energy — stretch one and it can release energy to move a marble or power a mechanism.
📦 Corrugated cardboard is surprisingly strong for its weight because of a fluted middle layer, so it's great for machine prototypes.
How do I build a simple marble-lifting machine with cardboard, rubber bands, pulleys, and levers?
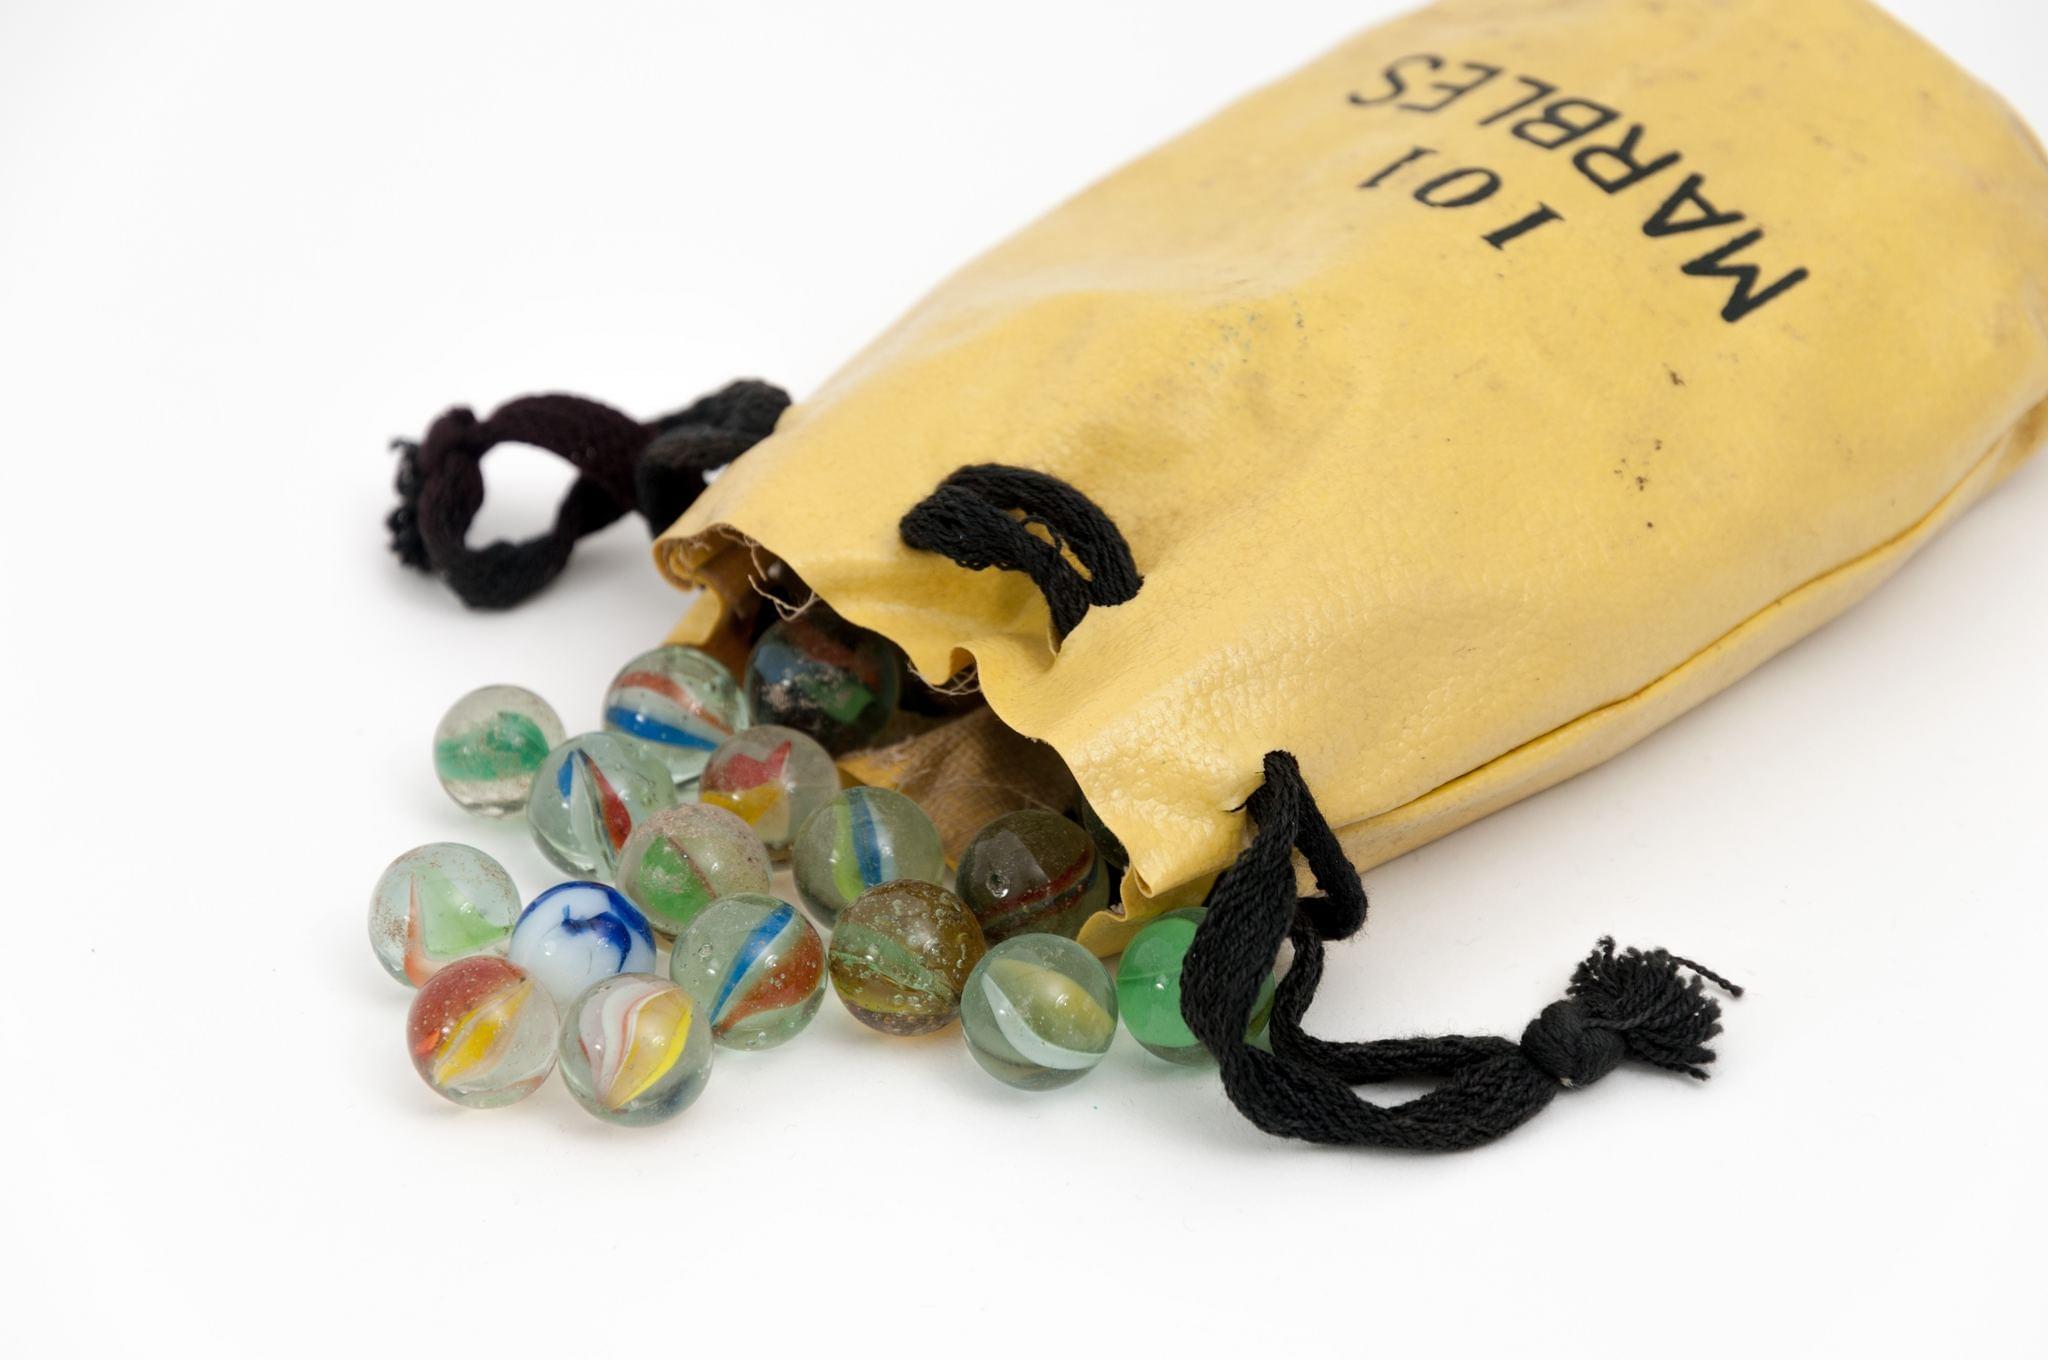
What materials do I need to build a marble-lifting machine?
What ages is a marble-lifting machine activity suitable for?
What are the learning benefits and safety tips for making a marble-lifting machine?
