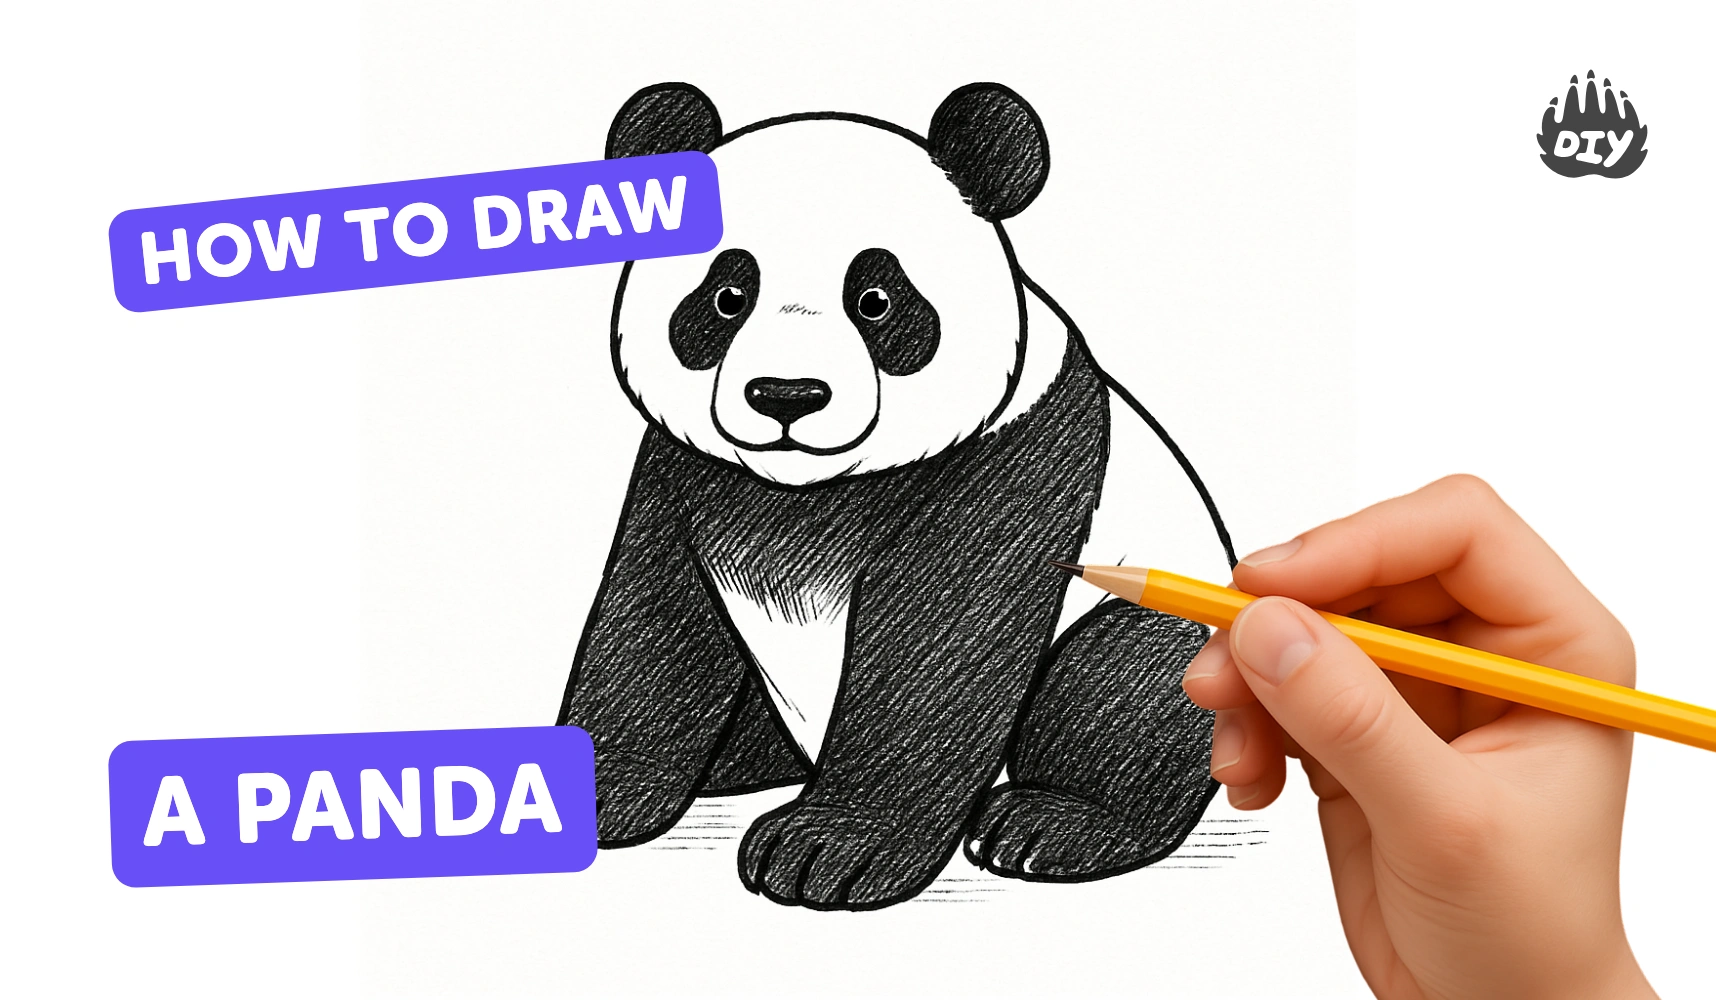
How to draw a panda - a free panda drawing guide
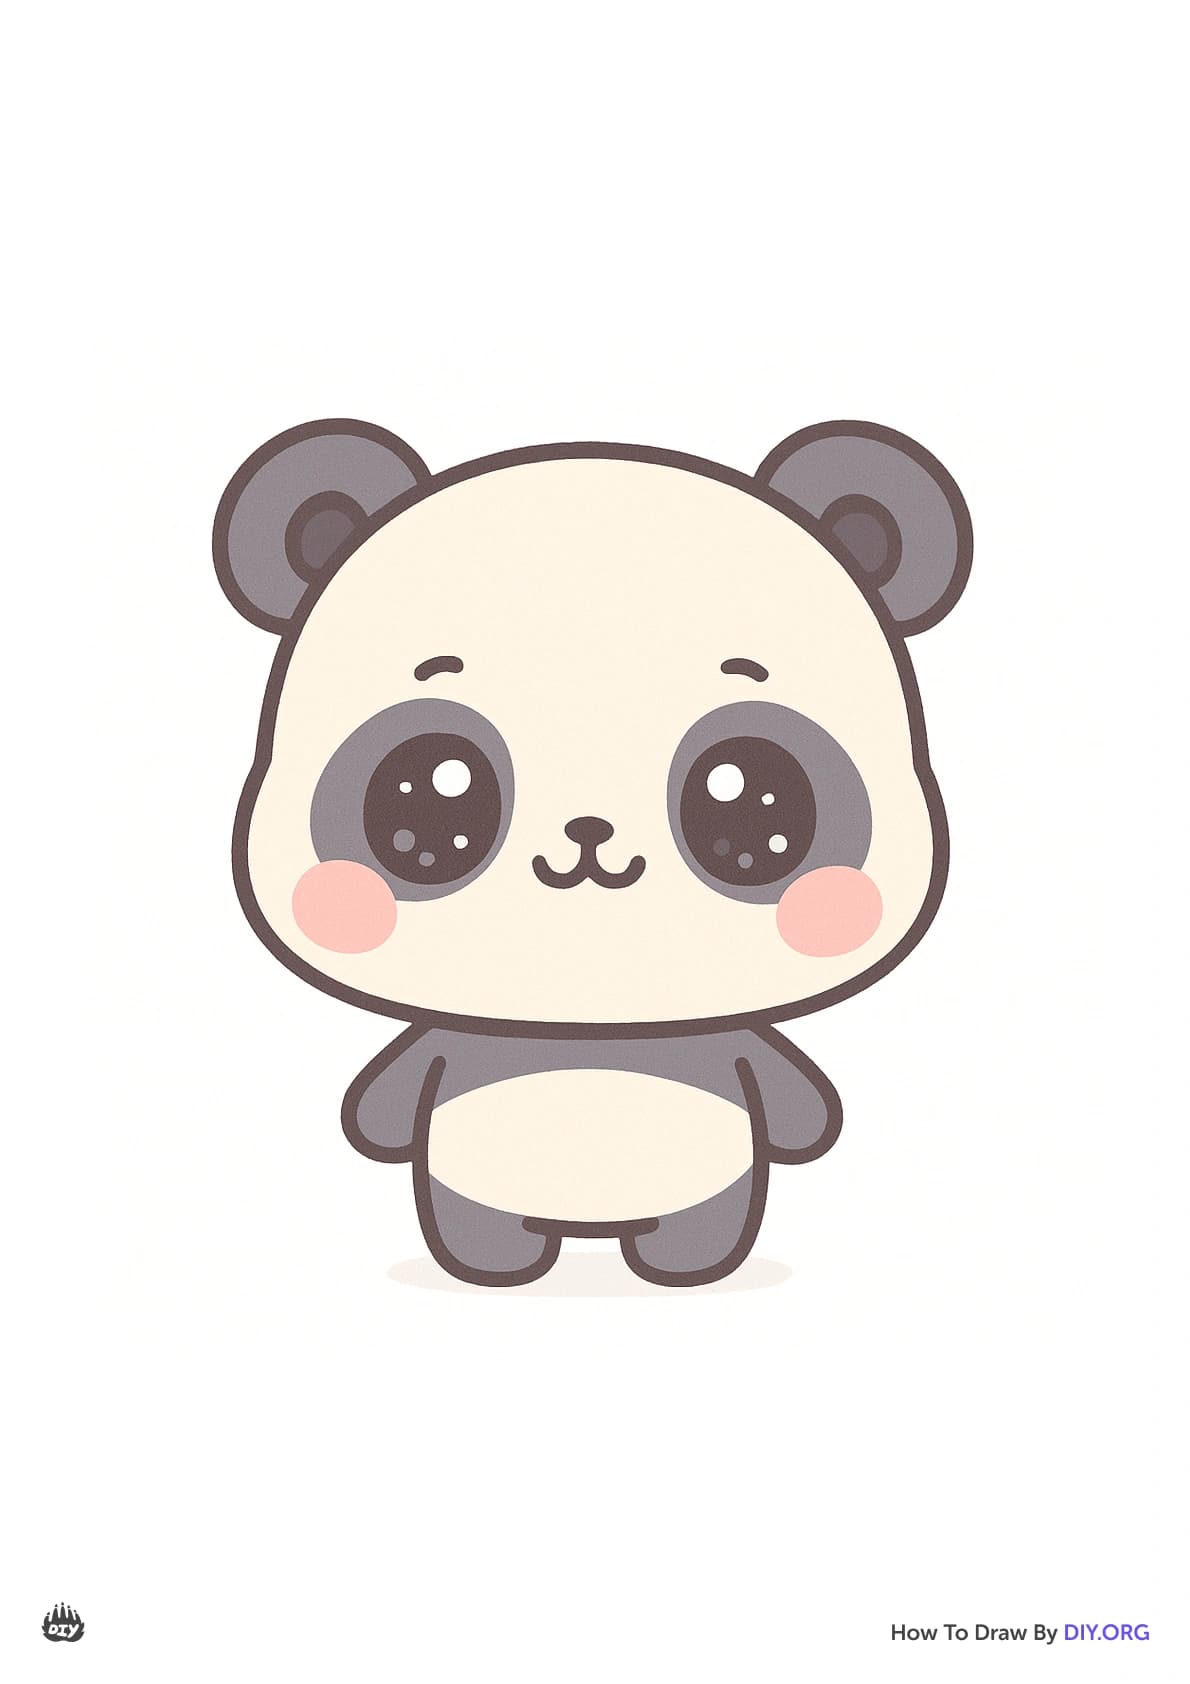
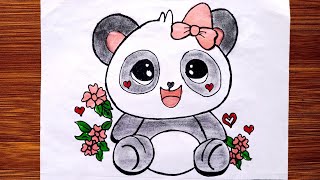
Draw a panda using simple shapes, lines, and shading. Practice proportions, symmetry, and texture while creating your finished panda illustration.

Drawing Apps
Get inspired with these

Instructions
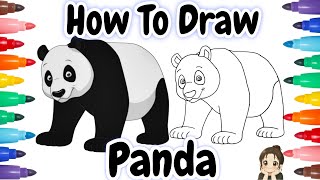
HOW TO DRAW A PANDA EASY STEP BY STEP - DRAWING A PANDA EASY
Step 1
Place your paper on a flat surface where you can draw comfortably.
Step 2
Lightly draw a large circle near the top center of the paper for the panda’s head.
Step 3
Draw a slightly smaller oval that touches the bottom of the head for the panda’s body.
Step 4
Add two rounded ears on top of the head by drawing two small semicircles.
Step 5
Lightly sketch a vertical center line and a horizontal eye line across the head to help position the face.
Step 6
Draw two big rounded eye patches on the horizontal eye line, spaced evenly left and right.
Step 7
Draw a small circle inside each eye patch for the pupil and keep a tiny white spot for a shiny highlight.
Step 8
Draw a small rounded triangle on the center line below the eye line for the nose.
Step 9
Draw a short curved line under the nose for the mouth.
Step 10
Draw two rounded arms on the sides of the body and two short rounded legs at the bottom.
Step 11
Add short curved strokes around the head and body to show fur texture.
Step 12
Trace the final outlines you want to keep with the black marker.
Step 13
Fill the eye patches ears arms and legs with the black marker.
Step 14
Add light gray shading under the chin and on the belly and blend gently with the gray colored pencil.
Step 15
Share your finished panda drawing on DIY.org
Help!?
What can we use if we don't have a black marker or a gray colored pencil?
If you don't have a black marker, use a black crayon, felt-tip pen, or cut and glue black construction-paper patches to fill the eye patches, ears, arms and legs, and substitute the gray colored pencil's light shading under the chin and on the belly with a soft graphite pencil or light gray crayon blended gently.
My panda's face looks lopsided or the eye patches are uneven—what should I do?
Keep your initial head and body shapes very light and use the vertical center line and horizontal eye line from the instructions to position the eye patches symmetrically, erase and adjust before you trace with the black marker, and save the tiny white highlight in each pupil until after filling to avoid covering it.
How can I adapt this activity for younger or older kids?
For younger children, pre-draw the large head and body (steps 2–3) and let them trace and color the eye patches, ears, arms and legs with a black marker, while older kids can add more fur texture strokes, careful gray shading under the chin and on the belly, and refine proportions using the guideline lines.
How can we extend or personalize the panda drawing after finishing the basic steps?
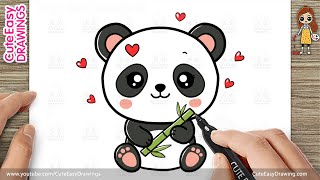
After tracing and filling the panda, personalize it by adding a bamboo background with green colored pencils, creating a family of pandas in different sizes by repeating the circle-and-oval steps, or using black paper collage for the patches and adding a name banner to share on DIY.org.
Related videos
How to Draw a Cute Panda | Easy Step by Step
4 Videos
How to Draw a Cute Panda | Easy Step by Step
Easy Drawing: Learn How to Draw a Cute Panda | Kids Drawing Tutorial
""HOW TO DRAW A CUTE PANDA ✨EASY STEP BY STEP || Cute Panda Drawing Tutorial #pandadrawing #cute
How To Draw A Panda For Kids 🐼 Cartoon Panda Easy Drawing | Wild Animals Step-by-Step Drawing
Fun Facts
🐼 Giant pandas can spend up to 14 hours a day eating bamboo — perfect excuse to give your panda a chubby belly!
✏️ Start with simple shapes: a circle for the head and ovals for the body and paws — great for step-by-step drawing.
🎭 Panda eye patches are often slightly different on each side — making them asymmetrical gives personality.
🖤 The black-and-white fur helps with camouflage and temperature control — use light shading to show fluffy texture.
🐾 Baby pandas are tiny at birth (about 100 grams) — drawing a mini cub makes an adorable scene!
How do you draw a panda step-by-step?
What materials do I need to draw a panda with my child?
What ages is drawing a step-by-step panda suitable for?
What are the benefits of drawing a panda for kids?
