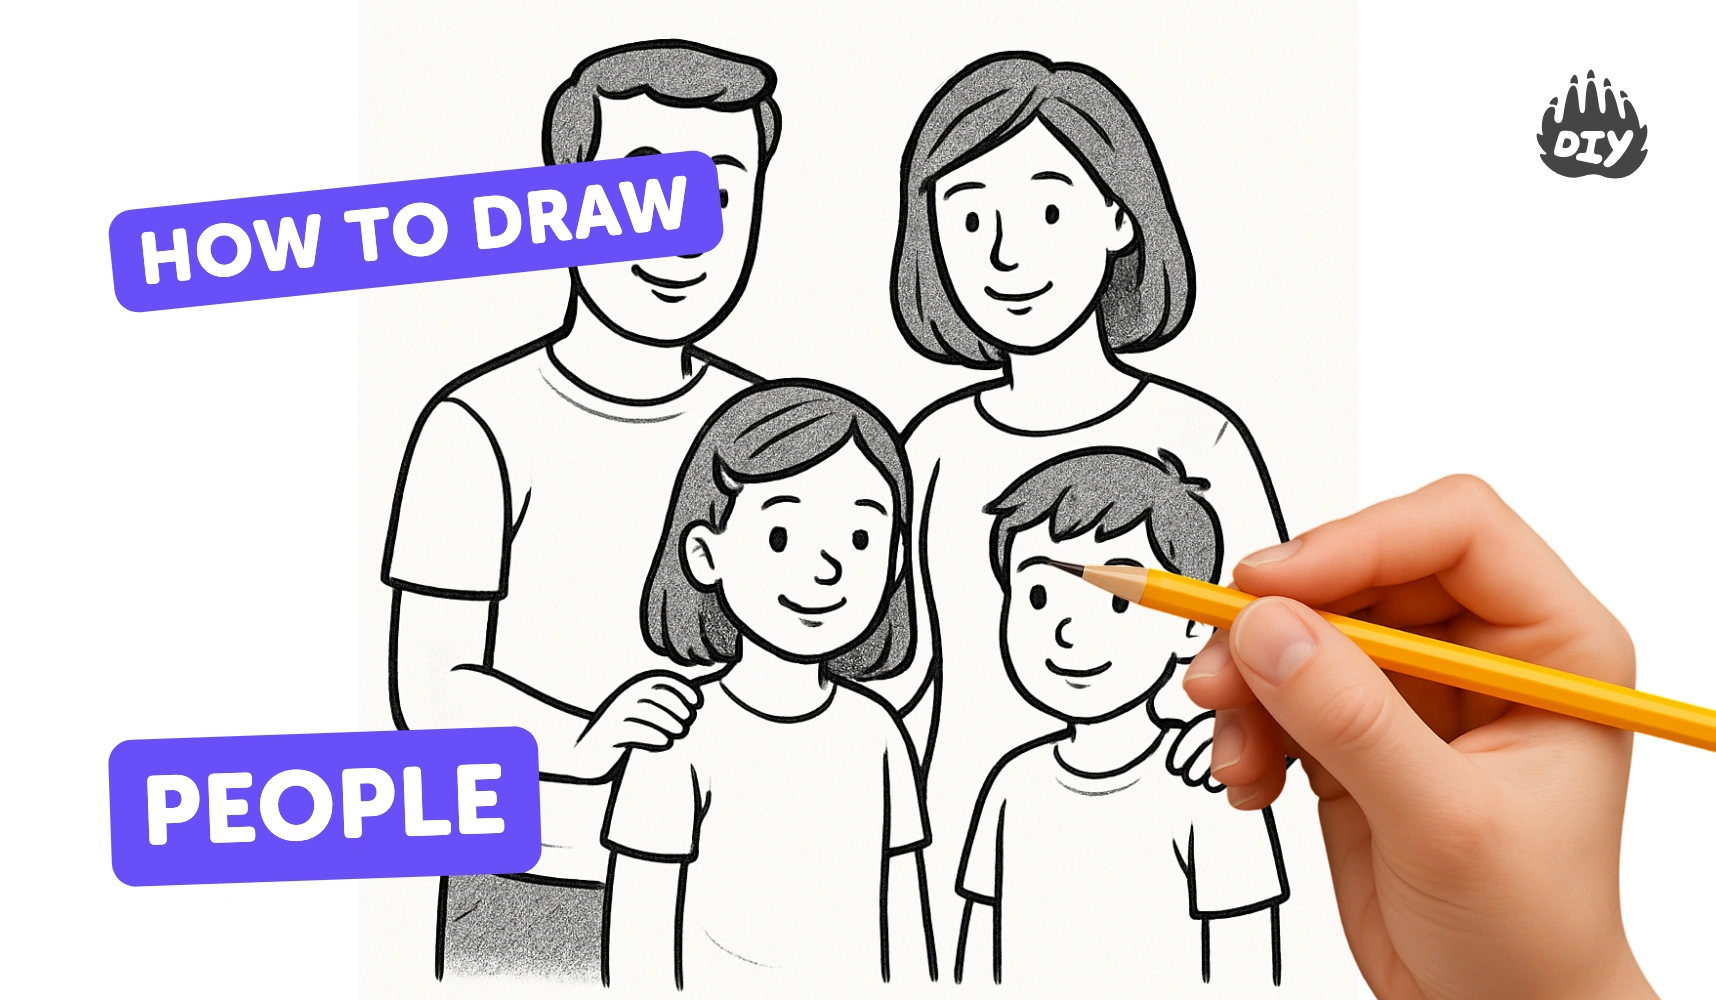
How to draw people - a free people drawing guide
Draw full-body people by using simple shapes, basic proportions, and facial features. Practice posing and shading to create expressive characters.

Drawing Apps
Photos of full-body people drawings


Step-by-step guide to draw full-body people
Learn how to draw portraits - How to draw a face step-by-step - Easy tutorial for kids
Step 1
Gather your materials and place the paper in front of you.
Step 2
Draw a light vertical line down the middle of the paper to be your center guideline.
Step 3
Near the top of the center line draw a circle for the head.
Step 4
Inside the head circle draw a light vertical line and a horizontal line crossing in the middle to mark where the face will go.
Step 5
Measure the head's height and make about seven small marks straight down the center line to set the body's proportions.
Step 6
Draw a short horizontal line at the top mark for the shoulders and another smaller horizontal line at the lower mark for the hips.
Step 7
Sketch an oval between the shoulder and hip lines for the chest and a smaller oval at the hip line for the pelvis.
Step 8
Draw straight lines from the shoulder and hip areas to where the hands and feet will be and put small circles at shoulder elbows hips and knees to mark joints.
Step 9
Block in the arms and legs by drawing long ovals along the limb lines and add simple mitten-shapes for hands and wedge-shapes for feet.
Step 10
Draw smooth outer lines over your shapes to create the final body outline.
Step 11
Erase the center guideline and extra construction marks carefully to clean up the drawing.
Step 12
Using the head guide draw the eyes on the horizontal line add a small nose below and place a mouth a bit under the nose.
Step 13
Add hair and clothing details to show who your character is and pick a light source then shade with short strokes to show roundness.
Step 14
Share your finished character on DIY.org
Help!?
What can I use if I don't have drawing paper, a ruler, or an eraser?
Use any clean printer paper or a page from a sketchbook for the paper, the straight edge of a book or folded magazine to draw the light vertical center guideline and mark the seven head-height points, and a clean fingertip or soft bread crumb to lift graphite if you don't have an eraser.
My person looks out of proportion or too stiff—what should I check and fix?
Re-measure the body using the head circle as your unit by making or adjusting the seven small marks down the center line, keep the shoulder/hip lines, joint circles and limb ovals light and loose before drawing the smooth outer lines, and erase heavy construction marks slowly to avoid tearing the paper.
How can I adapt the activity for younger or older kids?
For younger children simplify to a head circle, a single torso oval and mitten hands (skip the seven marks), for elementary ages follow the full seven-head proportion method with ovals for chest/pelvis, and for older kids add more anatomy detail and the shading step using a chosen light source.
What are easy ways to extend or personalize the finished character?
Add distinct hair, clothing details and props, choose a light source then use short strokes to shade for roundness, try new poses by moving the shoulder/hip lines and joint circles, and photograph your final character to share on DIY.org.
Watch videos on how to draw full-body people
How To Draw A Self Portrait: For Kids!
4 Videos
How To Draw A Self Portrait: For Kids!

How to Draw People using Shapes | Art Lessons for Kids
🎨 **How to Draw PEOPLE - Simple Tutorial for Kids** 🧒👧
The First, EASY Step To Draw Bodies (For Beginners)
Facts about figure drawing for kids
🖊️ Artists often start full-body drawings by blocking shapes with simple forms like circles, ovals, and cylinders to keep proportions easy.
⏱️ Gesture drawings are usually very quick — from 30 seconds to a few minutes — to capture movement and pose rather than details.
📏 A useful rule for proportions: an adult figure is often drawn about 7½ to 8 heads tall to keep the body looking balanced.
🎭 Research by psychologists like Paul Ekman suggests there are six basic facial expressions (happiness, sadness, fear, anger, surprise, disgust) recognized across cultures.
🌗 Chiaroscuro, the strong use of light and shadow popularized in the Renaissance, helps flat drawings look three-dimensional.
How do I teach my child to draw full-body people step by step?
What materials do I need to draw full-body people with my child?
What ages is drawing full-body people suitable for kids?
What are the benefits of practicing full-body figure drawing for children?
