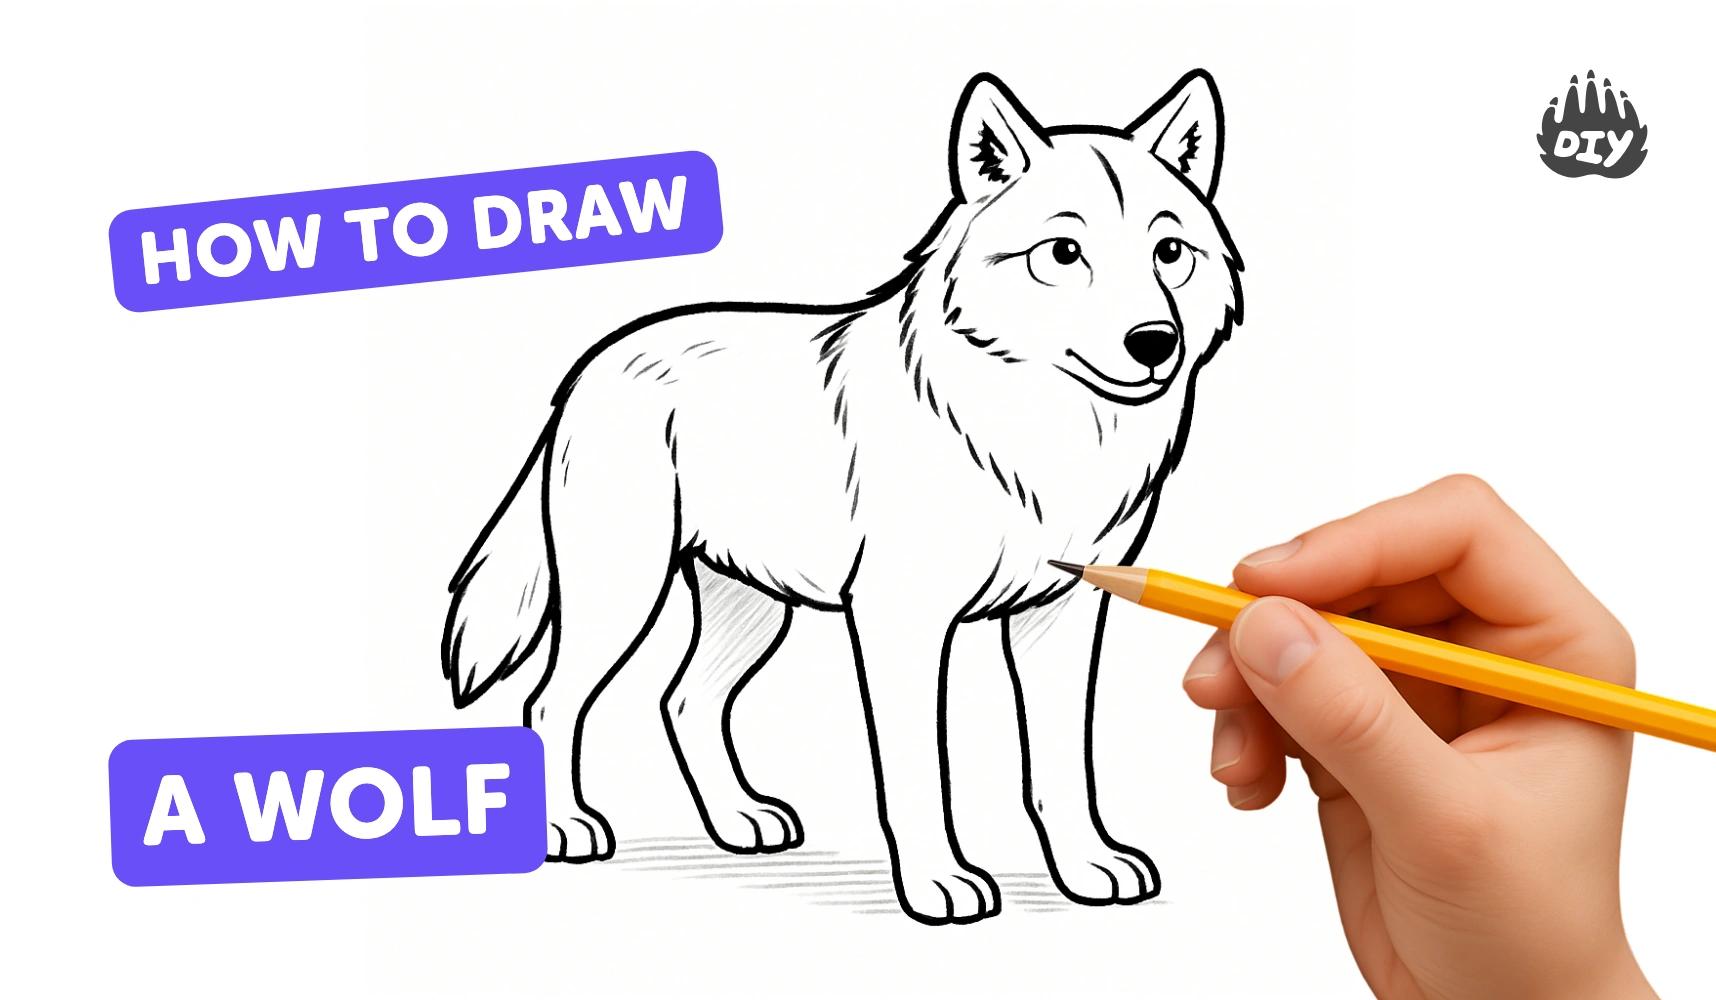
How to draw a wolf - a free wolf drawing guide
Draw a realistic wolf step-by-step using simple shapes, proportions, and shading for ages 7–13. Practice observation and texture to improve drawing skills.

Drawing Apps
Get inspired with these


Instructions
How to Draw a Cute Wolf Step by Step! 🐺✏️ Easy Animal Drawing Tutorial for Beginners
Step 1
Place your paper and the wolf reference photo in front of you so you can see both clearly.
Step 2
Draw a light horizontal guideline across the paper to mark the wolf's eye level.
Step 3
Sketch a light circle where the skull will be to find the head size.
Step 4
Draw a larger oval overlapping the head circle to block in the wolf's body.
Step 5
Add a long narrow oval extending from the head circle to mark the muzzle.
Step 6
Draw a light vertical center line through the head to help place facial features.
Step 7
Add two triangle shapes on top of the head circle for the ears.
Step 8
Mark the two eye spots on the eye guideline using small light dots.
Step 9
Draw the eye shapes and darken the pupils while keeping a small white highlight.
Step 10
Sketch the nose at the end of the muzzle and a simple line for the mouth below it.
Step 11
Block in simple leg and tail shapes using long ovals or rectangles for placement.
Step 12
Refine the wolf outline by cleaning up construction lines and sharpening jaw and ear shapes.
Step 13
Shade the drawing with light directional pencil strokes to show form and add short fur strokes and darker shadows where needed then blend lightly for smoothness.
Step 14
Share your finished wolf drawing on DIY.org
Help!?
What can we use if we don't have a printed wolf reference photo or a blending stump?
If you don't have a printed wolf reference photo or a blending stump, place the wolf image on a tablet or phone next to your paper as described in 'Place your paper and the wolf reference photo' and use a clean tissue, cotton swab, or your fingertip to 'blend lightly' while drawing with a regular HB or 2B pencil and eraser.
My wolf's muzzle is too short and the eyes look uneven — how do I fix that?
Lightly erase and adjust the long narrow muzzle oval and the small eye dots on the horizontal eye guideline, re-checking positions against the head circle and the light vertical center line before you 'refine the wolf outline' so proportions match.
How can I change the activity for younger or older kids?
For younger kids (3–6) simplify to the big head circle, body oval, triangle ears, and a single muzzle oval without detailed shading, while older kids (10+) can add detailed directional pencil strokes, short fur strokes, darker shadows, blending techniques, and more precise jaw and ear refinement as in the final steps.
What are fun ways to extend or personalize the wolf drawing after it's finished?
Personalize and extend the activity by adding a background scene, experimenting with colored pencils or light watercolor over the refined outline, creating multiple fur patterns while keeping the eye highlight and pupil detail from step 8, and then photograph your final piece to 'share your finished wolf drawing on DIY.org'.
Related videos
How To Draw a Wolf for Beginners | Sketch Art Lesson (Step by Step)
4 Videos
How To Draw a Wolf for Beginners | Sketch Art Lesson (Step by Step)
How To Draw a Wolf | Sketch Tutorial
How to DRAW a WOLF Easy Step by Step
🐺 How to Draw a Simple Howling Wolf | Step-by-Step Lesson 🌕
Fun Facts
🐺 Wolves have longer muzzles, larger heads, and bigger paws than most domestic dogs — great reference points for realistic proportions.
✏️ Many artists start with simple shapes (circles, ovals, triangles) to block in a wolf’s head and body before adding details.
🎨 Pencil shading using light, directional strokes and layered values helps mimic fur texture and create depth.
👀 Wolf eyes are often yellow, amber, or light brown; adding a tiny white highlight makes them look alive on paper.
🧭 Studying the wolf skull and muscle placement helps you place the snout, jawline, and facial features accurately.
How do I teach my child to draw a realistic wolf step by step?
What materials do I need to draw a realistic wolf with my child?
What ages is drawing a realistic wolf suitable for?
What are the benefits, safety tips, and variations for this wolf drawing activity?
