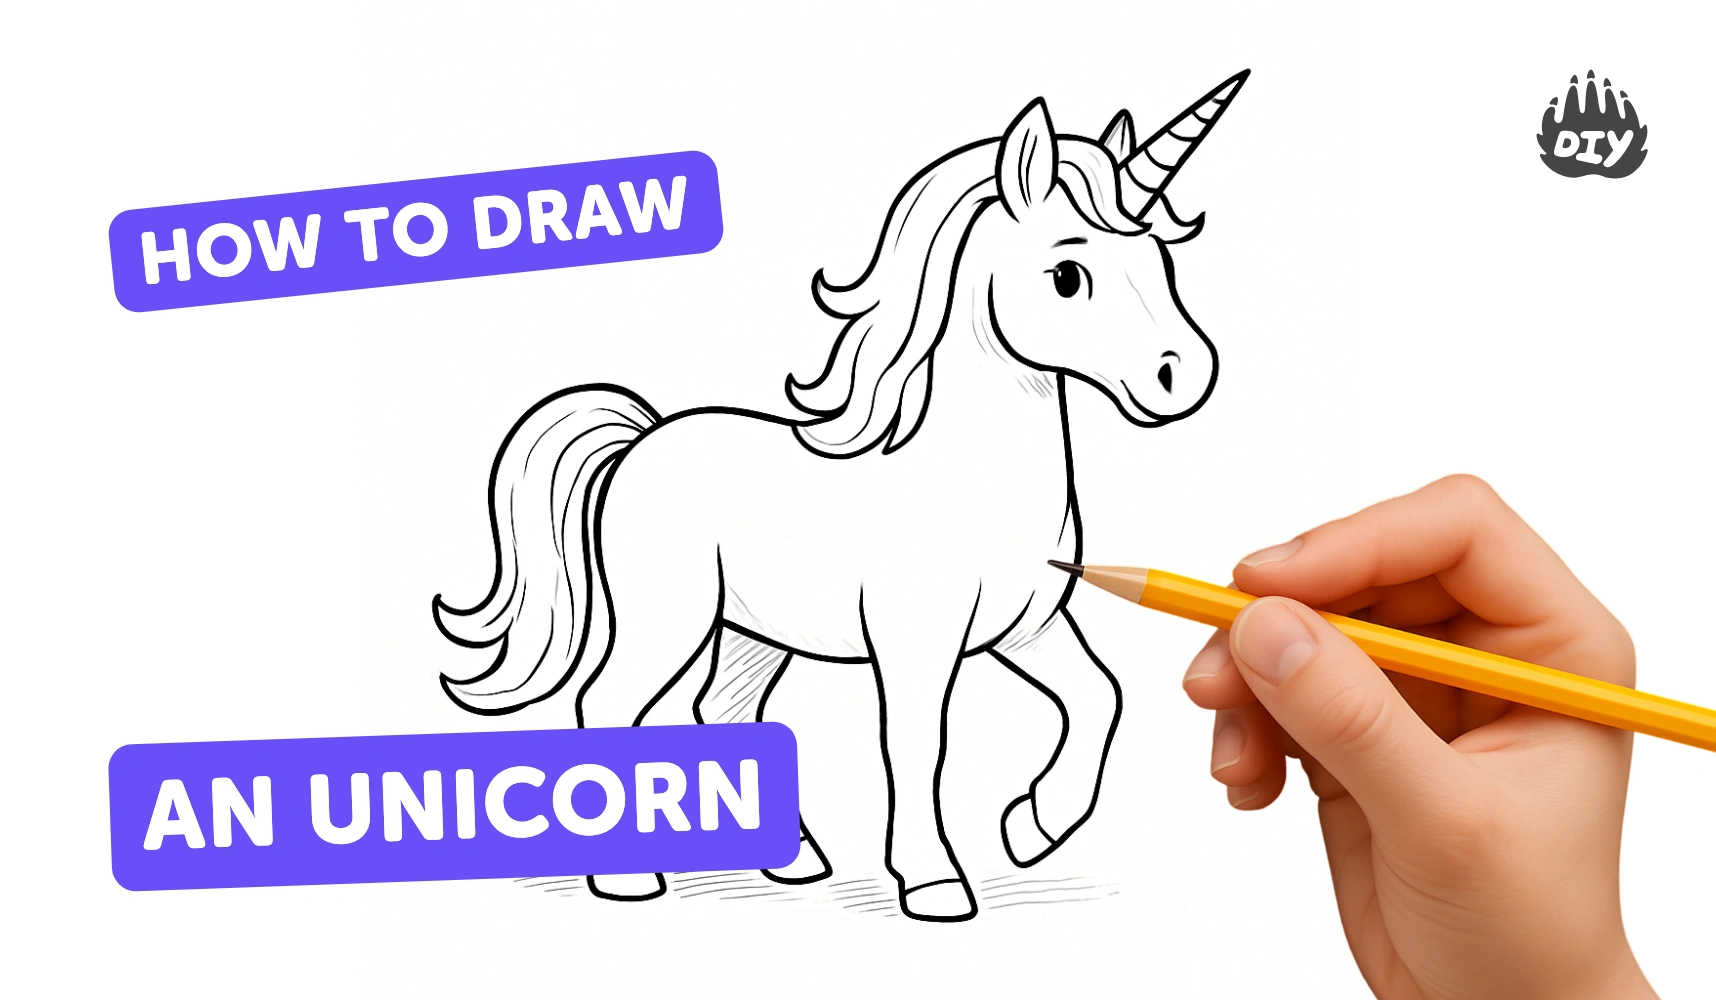
How to draw a unicorn - a free unicorn drawing guide
Draw a unicorn using basic shapes, step by step sketching, inking, shading, and coloring. Practice proportions, mane patterns, tails, and creative details.

Drawing Apps
Get inspired with these


Instructions
How to Draw a UNICORN for Kids | Easy Step by Step Tutorial | Draw Along with Bri Reads
Step 1
Draw a medium-sized oval near the top third of your paper for the unicorn's head.
Step 2
Draw a larger oval to the right and slightly below the head for the unicorn's body.
Step 3
Connect the head and body with two short curved lines to make the neck.
Step 4
Draw four straight or slightly curved lines down from the body to make the legs.
Step 5
Add small rounded rectangles or ovals at the bottom of each leg to make hooves.
Step 6
Draw a long cone shape in the middle of the forehead to make the horn.
Step 7
Sketch a wavy mane along the top of the head and down the neck using long curved lines.
Step 8
Draw a flowing wavy tail from the back of the body using several curved lines.
Step 9
Draw a small oval for the eye on the head.
Step 10
Draw a short curved line for a smiling mouth.
Step 11
Draw a tiny dot or short dash for the nostril.
Step 12
Erase extra pencil guidelines and smooth any rough outlines to clean up your drawing.
Step 13
Shade the belly and under the neck with light pencil strokes and then color the unicorn using your coloring materials.
Step 14
Share your finished unicorn on DIY.org
Help!?
What can we use if we don't have an eraser or colored pencils?
If you don't have an eraser or colored pencils, use a soft cloth or kneaded eraser to remove pencil guidelines as instructed in 'Erase extra pencil guidelines' and substitute crayons, washable markers, or watercolors for the coloring materials when you 'color the unicorn'.
My unicorn's head and body don't look right—how can I fix the proportions?
If the head and body look off, lightly sketch the medium-sized oval for the head and the larger oval for the body (steps 1–2), adjust their placement before drawing the neck (step 3), and only darken outlines once the proportions look balanced.
How can I adapt the steps for younger or older kids?
For younger children, simplify by tracing large oval templates for the head and body (steps 1–2) and letting them draw simple legs and color with washable markers, while older kids can add a spiraled horn detail (step 6), layered mane strands (step 8), and shading on the belly and under the neck (step 13) for more realism.
What are some ways to personalize or enhance the finished unicorn before sharing?
To personalize the drawing, add patterned mane and tail colors (steps 8–9), glitter glue or stickers on the horn (step 6), a decorated background around the body, and write your unicorn's name before sharing on DIY.org.
Related videos
How to Draw a Cute Unicorn Simple & Easy for Kids
4 Videos
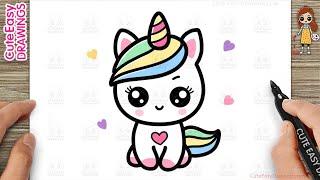
How to Draw a Cute Unicorn Simple & Easy for Kids
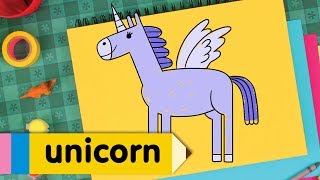
Learn How to Draw A Unicorn | Kids Drawing Lesson | Step By Step
How to Draw a Cute Unicorn Simple & Easy for Kids step by step
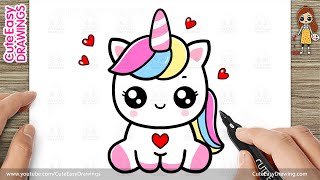
How to Draw a Unicorn | Easy Step-by-Step Tutorial
Fun Facts
🦄 The unicorn is actually Scotland's national animal — it appears on the royal coat of arms!
✏️ Many artists build drawings from simple shapes (circles, ovals, triangles) so the final picture stays in proportion.
🐴 A horse's mane helps with insect protection and insulation — drawing it flowing shows motion and personality.
🌈 Rainbow manes and tails became a huge trend in unicorn toys and cartoons, making colorful choices super popular.
🖌️ Just a few soft pencil shades can make a flat sketch look 3D by showing where light hits and shadows fall.
How do you draw a unicorn step-by-step?
What materials do I need to draw a unicorn?
What ages is drawing a unicorn suitable for?
What are the benefits of drawing a unicorn?
