How to draw a star - a free star drawing guide
Draw a five-pointed star using guided steps, pencil, ruler, and eraser. Practice precise lines and symmetry through measurement and controlled strokes.


Drawing Apps
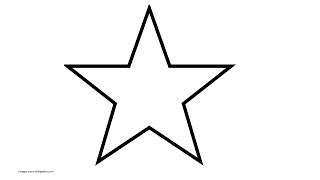
Photos of five-pointed star drawings


Step-by-step guide to draw a five-pointed star
Easy How to Draw a Perfect Star - Step-by-Step Drawing Tutorial - For All Ages & All Levels
Step 1
Place your paper on a flat surface in portrait (tall) position so you have lots of room to draw.
Step 2
Fold the paper in half left-to-right and make a sharp crease so you can find the middle left-right.
Step 3
Fold the paper in half top-to-bottom and make a sharp crease so you can find the middle top-bottom.
Step 4
Open the paper and use your pencil to make a small dot where the two creases cross; this is the center of your star.
Step 5
Use the ruler to measure 5.0 cm straight up from the center and make a small dot for the top point of the star.
Step 6
From the center measure 4.8 cm to the right and 1.5 cm up and put a dot for the upper-right point.
Step 7
From the center measure 2.9 cm to the right and 4.0 cm down and put a dot for the lower-right point.
Step 8
From the center measure 4.8 cm to the left and 1.5 cm up and put a dot for the upper-left point.
Step 9
From the center measure 2.9 cm to the left and 4.0 cm down and put a dot for the lower-left point.
Step 10
Place your ruler on the paper and, keeping a steady hand, draw straight lines to connect the points in this order: top → lower-right → upper-left → upper-right → lower-left → back to top to make the five-pointed star.
Step 11
Use your eraser to gently remove the fold creases and any little construction marks so your star looks neat.
Step 12
Darken the final star lines with steady strokes and add any color or patterns you like.
Step 13
Share your finished five-pointed star on DIY.org.
Help!?
What can I use if I don't have a ruler to measure the 5.0 cm, 4.8 cm, 2.9 cm, and 4.0 cm distances?
Use a measuring tape, a printable paper ruler, or the straight edge of a book or credit card to mark those specific distances and guide your straight lines in the ruler-based steps.
My star looks lopsided—what likely went wrong and how can I fix it?
Make sure your left-right and top-bottom folds made a sharp center crease (steps 2–3), remeasure each point from the center dot, erase the incorrect marks, and redraw the connecting lines with your ruler to realign the star.
How can I adapt this activity for younger children or older kids?
For younger children pre-mark the five points or use larger measurements and sticker dots to simplify steps 4–9, while older kids can use a compass, protractor, or smaller precise measurements for an added accuracy challenge.
How can we enhance or personalize the finished star beyond coloring?
After darkening the final lines (step 10) personalize the star by adding patterns, glitter, cutting several stars to make a garland, or mounting one on cardstock to create a decorated card to share on DIY.org.
Watch videos on how to draw a five-pointed star
How to Draw a Star for Kids Easy
4 Videos
How to Draw a Star for Kids Easy
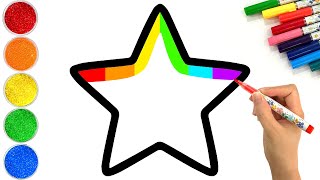
How to Draw a Colorful Star | Easy Step by Step Tutorial | Made for Kids
How to Draw a Star. Easy Step by Step Drawing Lesson.
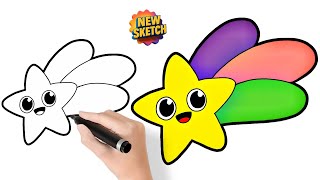
How to Draw a Cute Star ✨⭐ | Easy Drawing for Kids & Beginners.
Facts about drawing and geometry
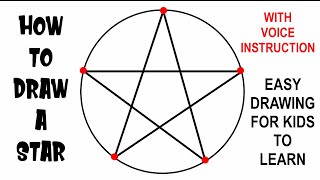
⭐ The five-pointed star is often shown as a pentagram and can be drawn in one continuous line without lifting your pencil!
📐 Each point of a regular five-pointed star sits 72° apart around an imaginary circle (360° ÷ 5).
✏️ You can draw a very precise star using simple tools—a ruler and compass—by first constructing a regular pentagon.
🔁 A five-pointed star has rotational symmetry of order 5: rotate it by 72° and it lines up with itself.
🔍 Many distances inside a pentagram relate to the golden ratio, a special number artists and architects love.
How do I teach my child to draw a five-pointed star step by step?
What materials do I need to draw a five-pointed star with my child?
What ages is drawing a five-pointed star suitable for?
What are the benefits of drawing stars and how can we vary the activity safely?
