How to draw a spider - a free spider drawing guide
Draw a realistic spider step by step using simple shapes, shading, and correct proportions. Practice observing details and improving pencil control. Download the PDF for complete instructions.

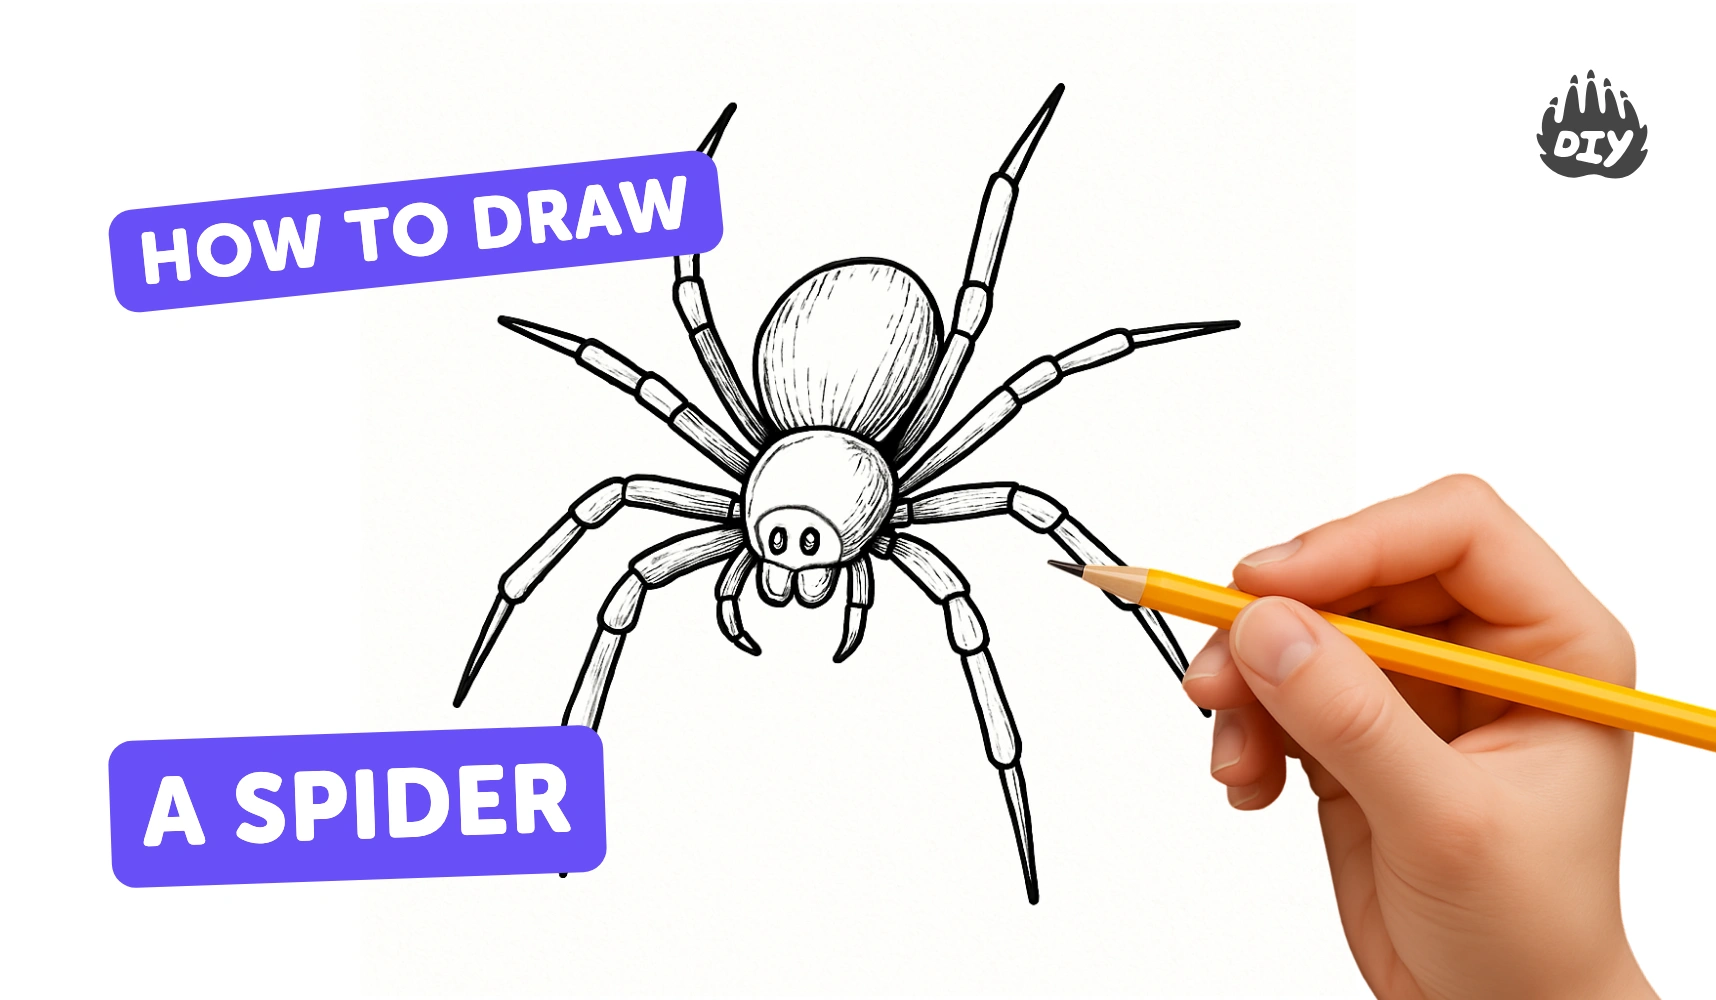
Photos of realistic spider drawing examples


Step-by-step guide to draw a realistic spider
Step 1
Place your paper and the reference photo side by side where you can see both easily.
Step 2
Lightly draw two connected ovals: a small one for the head and a larger one for the abdomen.
Step 3
Draw a small circle between the ovals to make the cephalothorax (the spider's middle body part).
Step 4
Mark eight light dots around the cephalothorax to show where each leg will start.
Step 5
Draw eight long gentle curved lines from the dots to map the basic leg shapes.
Step 6
Divide each leg into three segments with light lines so they look jointed and taper each leg toward the tip.
Step 7
Draw short pedipalps and little mandible shapes near the front of the head.
Step 8
Refine the body outlines and add light texture marks on the abdomen like small hairs or patterns.
Step 9
Erase extra construction lines with gentle strokes to clean up your sketch.
Step 10
Shade the abdomen and cephalothorax with soft strokes following their round shapes to give them volume.
Step 11
Add fine hairs along the legs with short quick flicks to make them look realistic.
Step 12
Draw small dark eyes on the head and leave tiny white highlights for shine.
Step 13
Add a soft cast shadow beneath the spider by shading lightly and smudging it with your stump or finger.
Step 14
Take a photo and share your finished spider drawing on DIY.org.
Final steps
You're almost there! Complete all the steps, bring your creation to life, post it, and conquer the challenge!


Help!?
What can we use instead of a blending stump for the soft cast shadow?
If you don't have a stump you can smudge the soft cast shadow by using a clean fingertip, folded tissue, cotton swab, or a piece of paper towel as mentioned in the shading step.
My spider's legs look uneven or stiff—how do I fix them?
Keep the eight light dots and long gentle curved lines faint while using the reference photo, then adjust the three-segment joints and tapering before erasing extra construction lines so the legs look balanced and jointed.
How can I adapt this drawing activity for different ages?
For younger children trace or pre-draw the two connected ovals and let them add simple leg lines and eyes, while older kids can refine body outlines, add texture marks on the abdomen, detailed shading on the cephalothorax, and fine hairs along the legs.
What are some ways to enhance or personalize the finished spider drawing?
Enhance your drawing by inking over refined lines, adding unique abdomen patterns or extra fine hairs from the texture step, placing the spider on a web or background, then photograph it to share on DIY.org.
Watch videos on how to draw a realistic spider
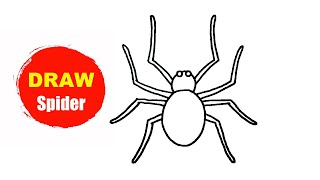
How To Draw Spider - Drawing Tutorial For Beginners Or Kids | Easy Drawings
4 Videos

Facts about pencil drawing and observational sketching
✏️ 'Lead' pencils actually contain graphite; different pencil grades (like HB or 2B) help artists make a range of light and dark tones.
👀 Many spiders have eight eyes, but some species have fewer or none at all—vision varies a lot between species.
🕷️ Most spiders have eight legs and two main body parts: the cephalothorax and the abdomen.
🎨 Shading and contrast are what turn flat shapes into realistic forms—simple hatching or blending can add depth and texture.
🕸️ Spider silk is incredibly strong—by weight it can be stronger than steel and is used for webs, egg sacs, and safety lines.
How do I draw a realistic spider step by step?
What materials do I need to draw a realistic spider?
What ages is drawing a realistic spider suitable for?
What are the benefits and safety tips for drawing spiders, plus variations?
Get 7 days of DIY for FREE!
Frequently Asked Questions
Our Mission
To create a safe space for kid creators worldwide!
Games & Tools
2025, URSOR LIMITED. All rights reserved. DIY is in no way affiliated with Minecraft™, Mojang, Microsoft, Roblox™ or YouTube. LEGO® is a trademark of the LEGO® Group which does not sponsor, endorse or authorize this website or event. Made with love in San Francisco.