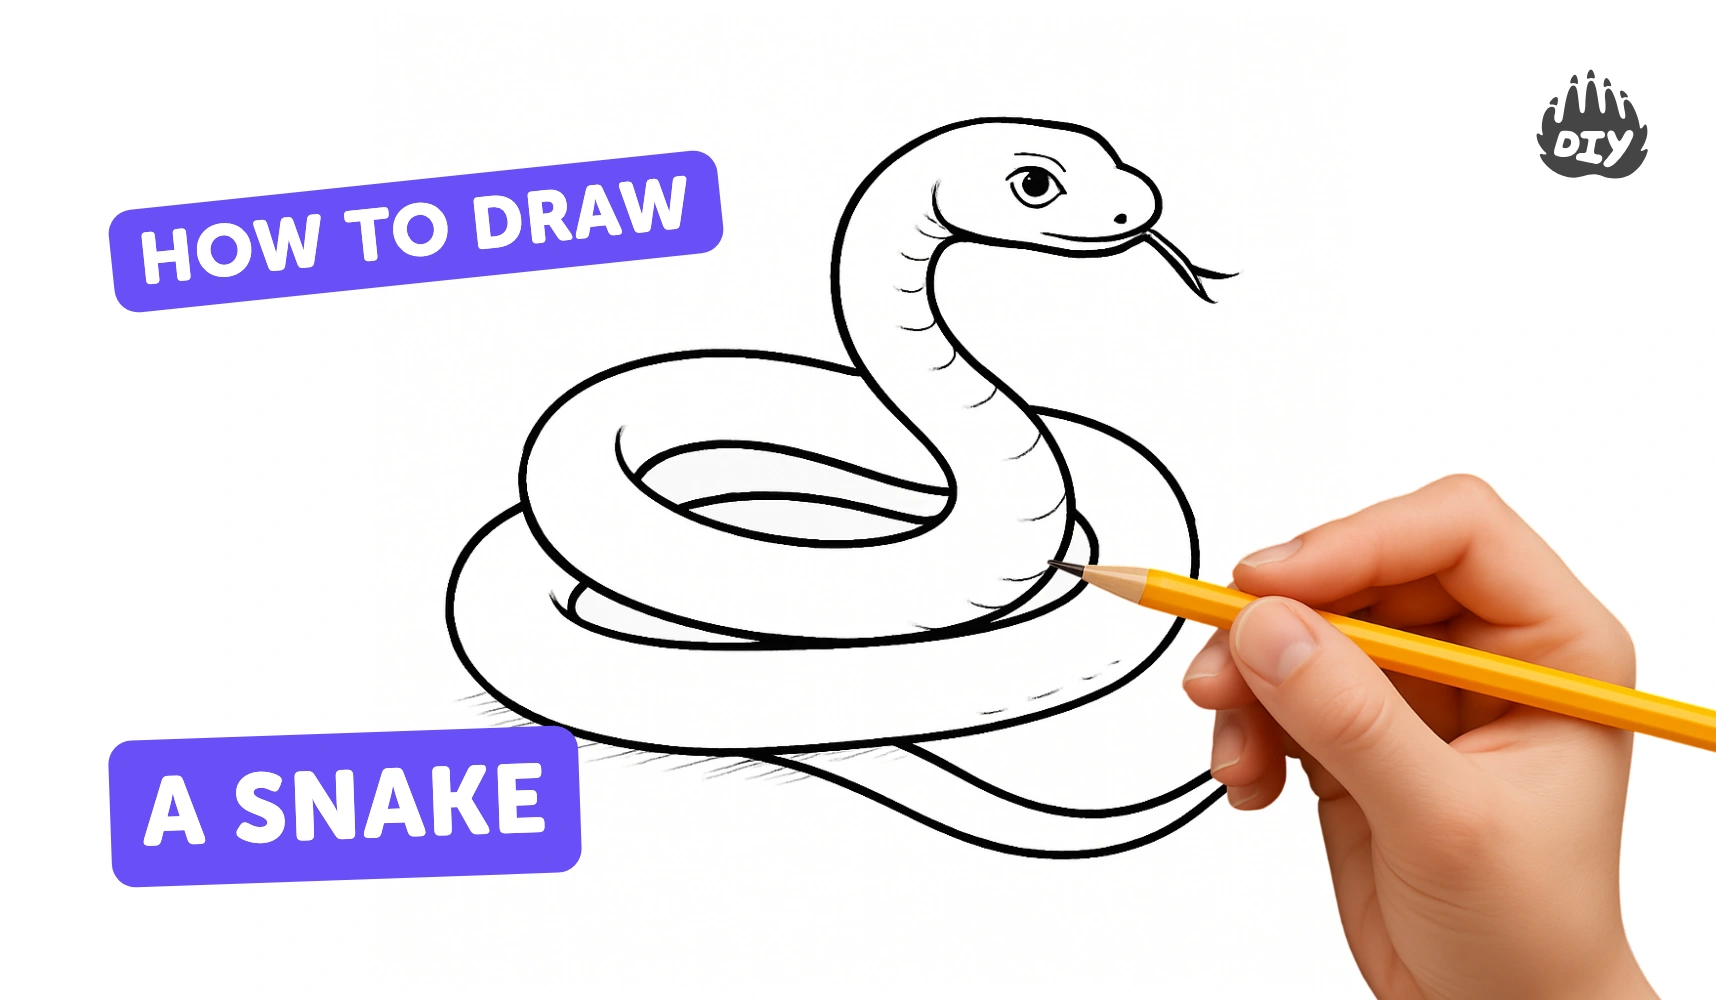
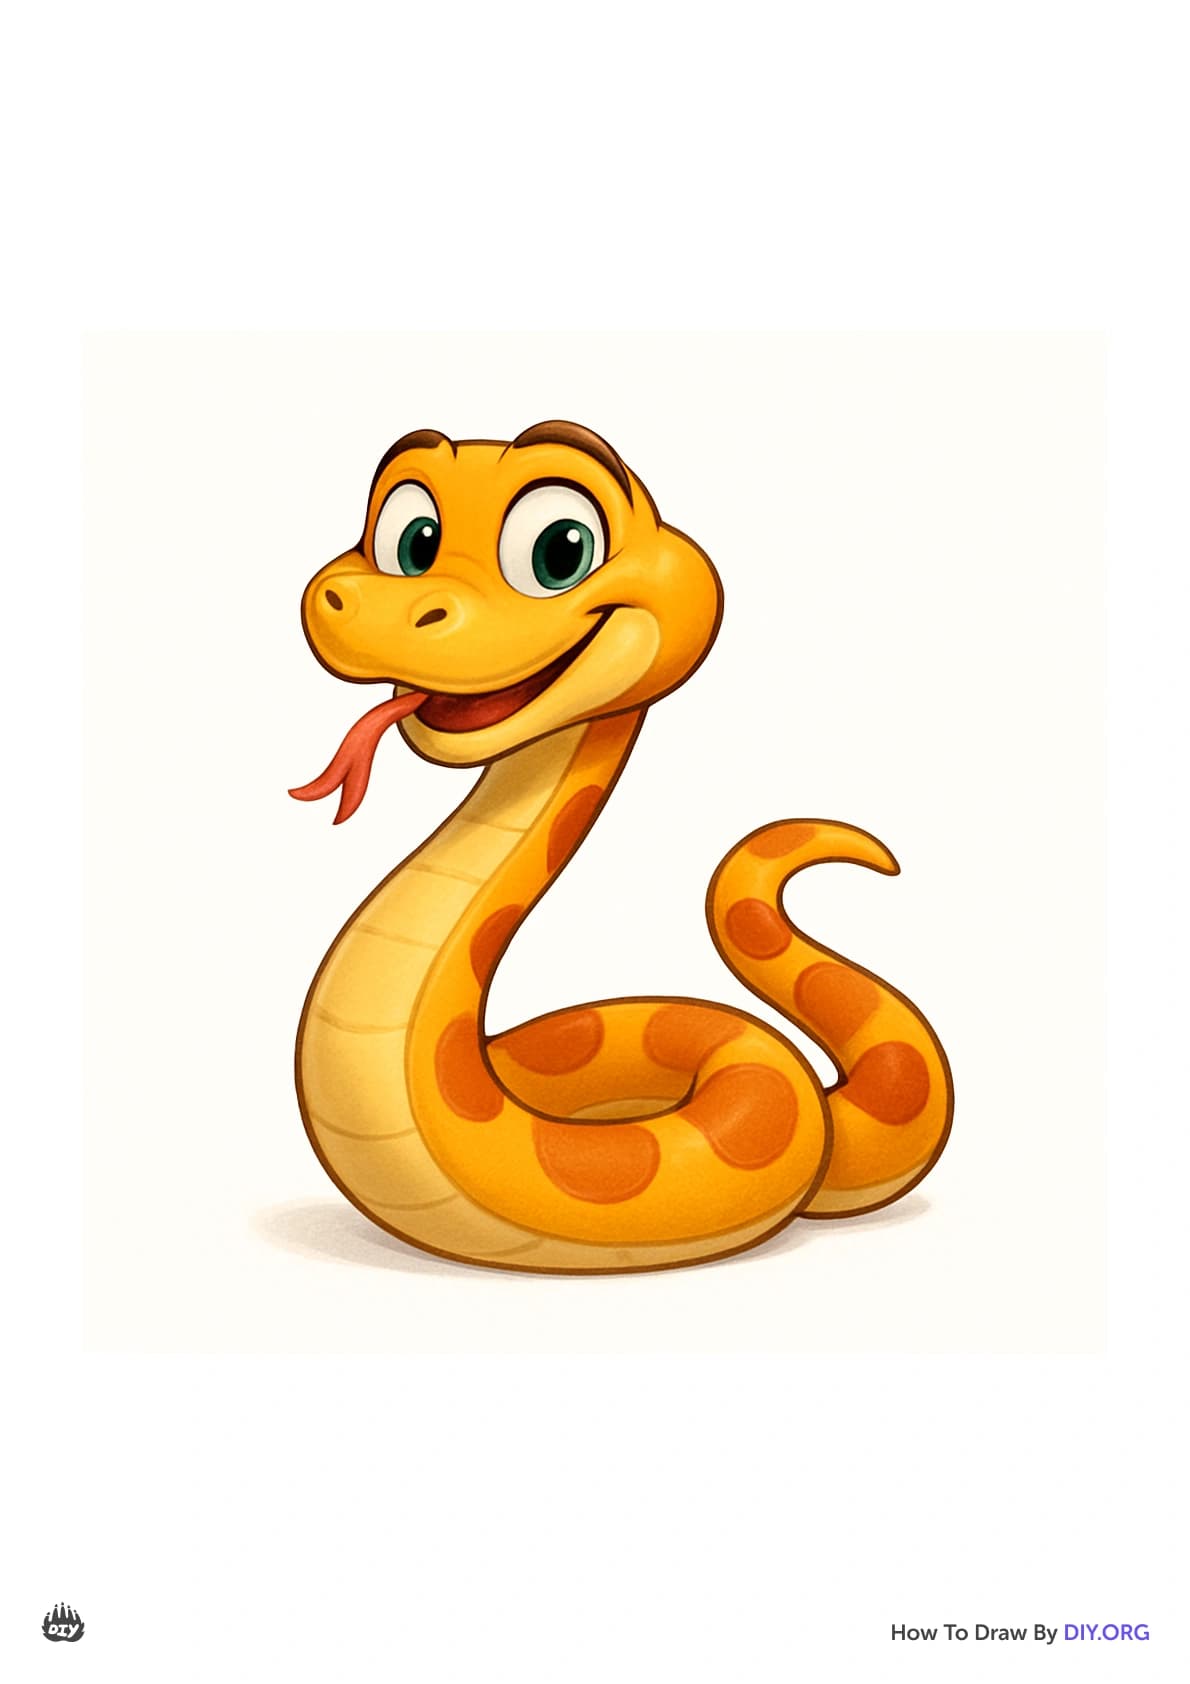
How to draw a snake - a free snake drawing guide
Draw a realistic snake step by step using simple shapes, patterns, and shading. Practice curves, scale texture, proportion, and safe pencil techniques.

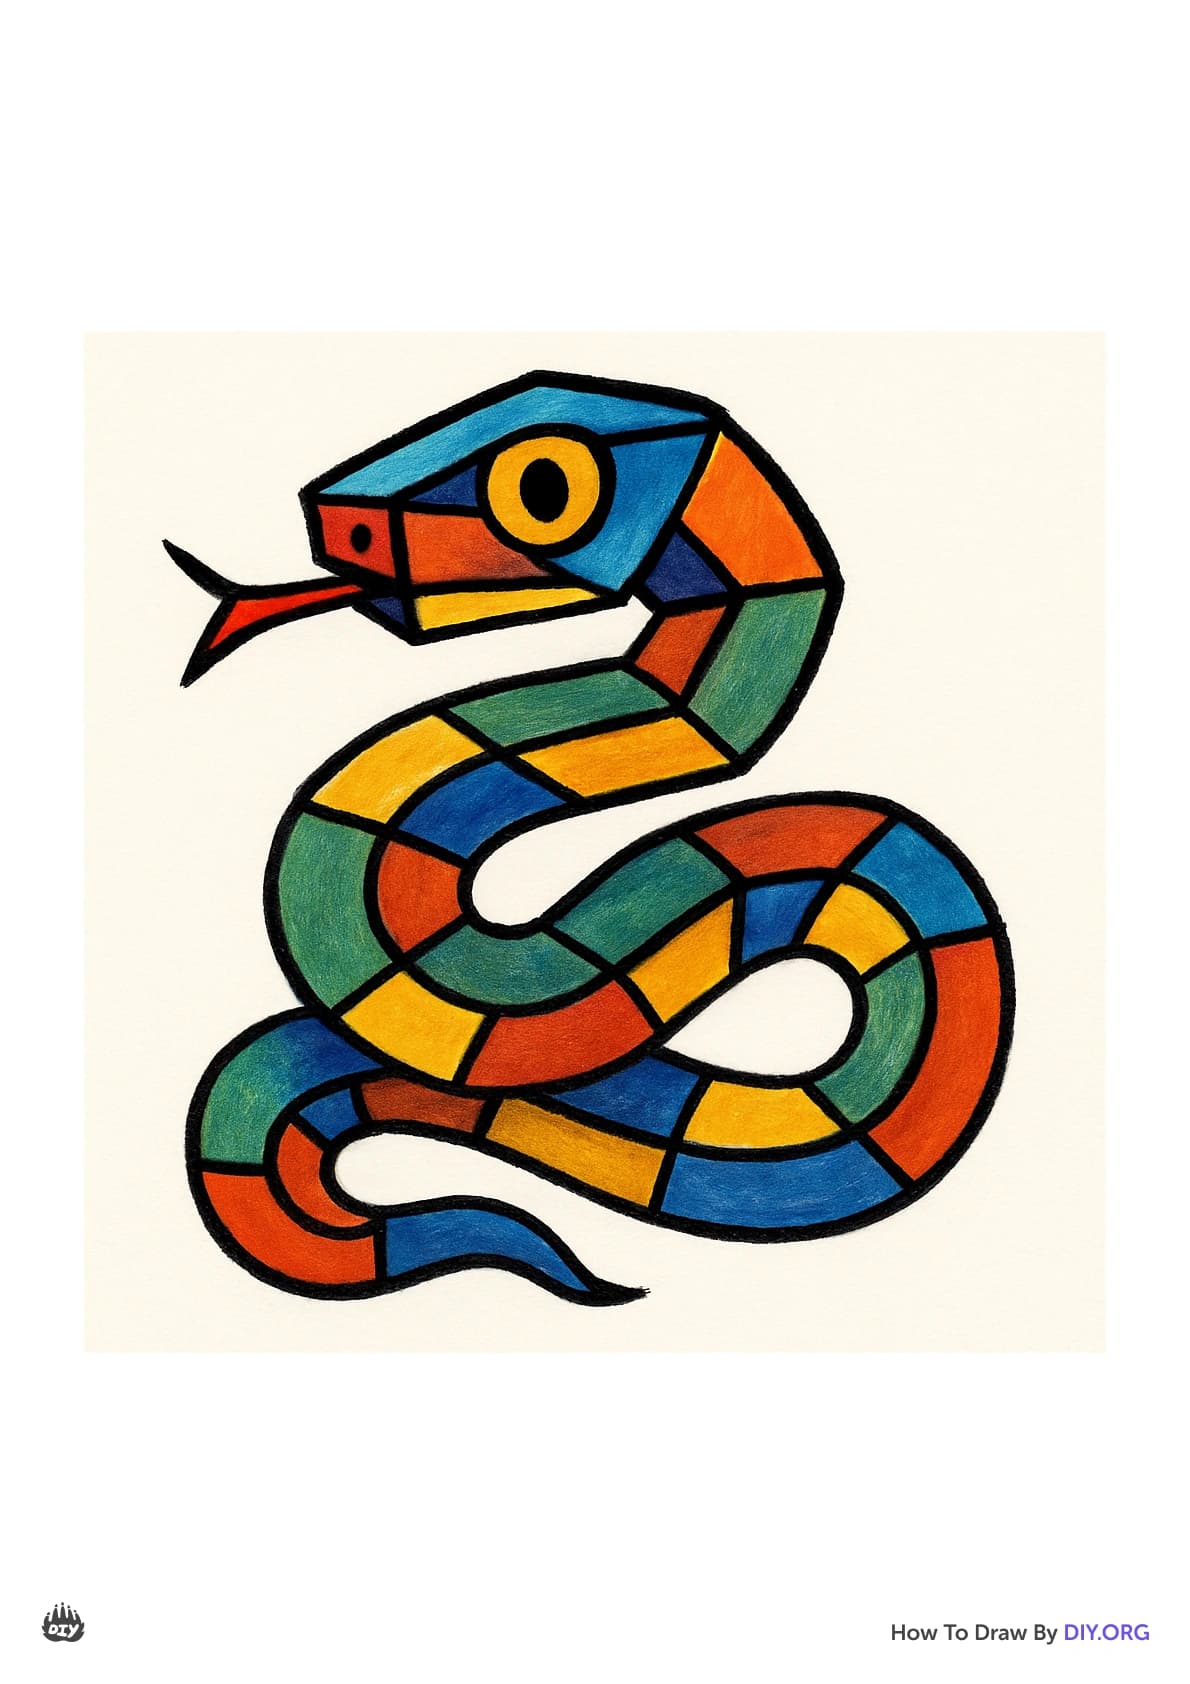
Drawing Apps
Get inspired with these

Instructions
How to Draw a Snake Drawing Easy Step by Step for Kids and Toddlers
Step 1
Lay out your paper pencil eraser sharpener blending stump or tissue ruler and your snake reference so everything is easy to reach.
Step 2
Look carefully at your reference and choose whether your snake will be coiled stretched or curved.
Step 3
Mark two small dots on your paper to show where the head and the tail will be.
Step 4
Draw a light curved center line between the dots to set the snake’s spine and overall flow.
Step 5
Draw two parallel curved lines on either side of the center line to make the body width and shape the head and tail.
Step 6
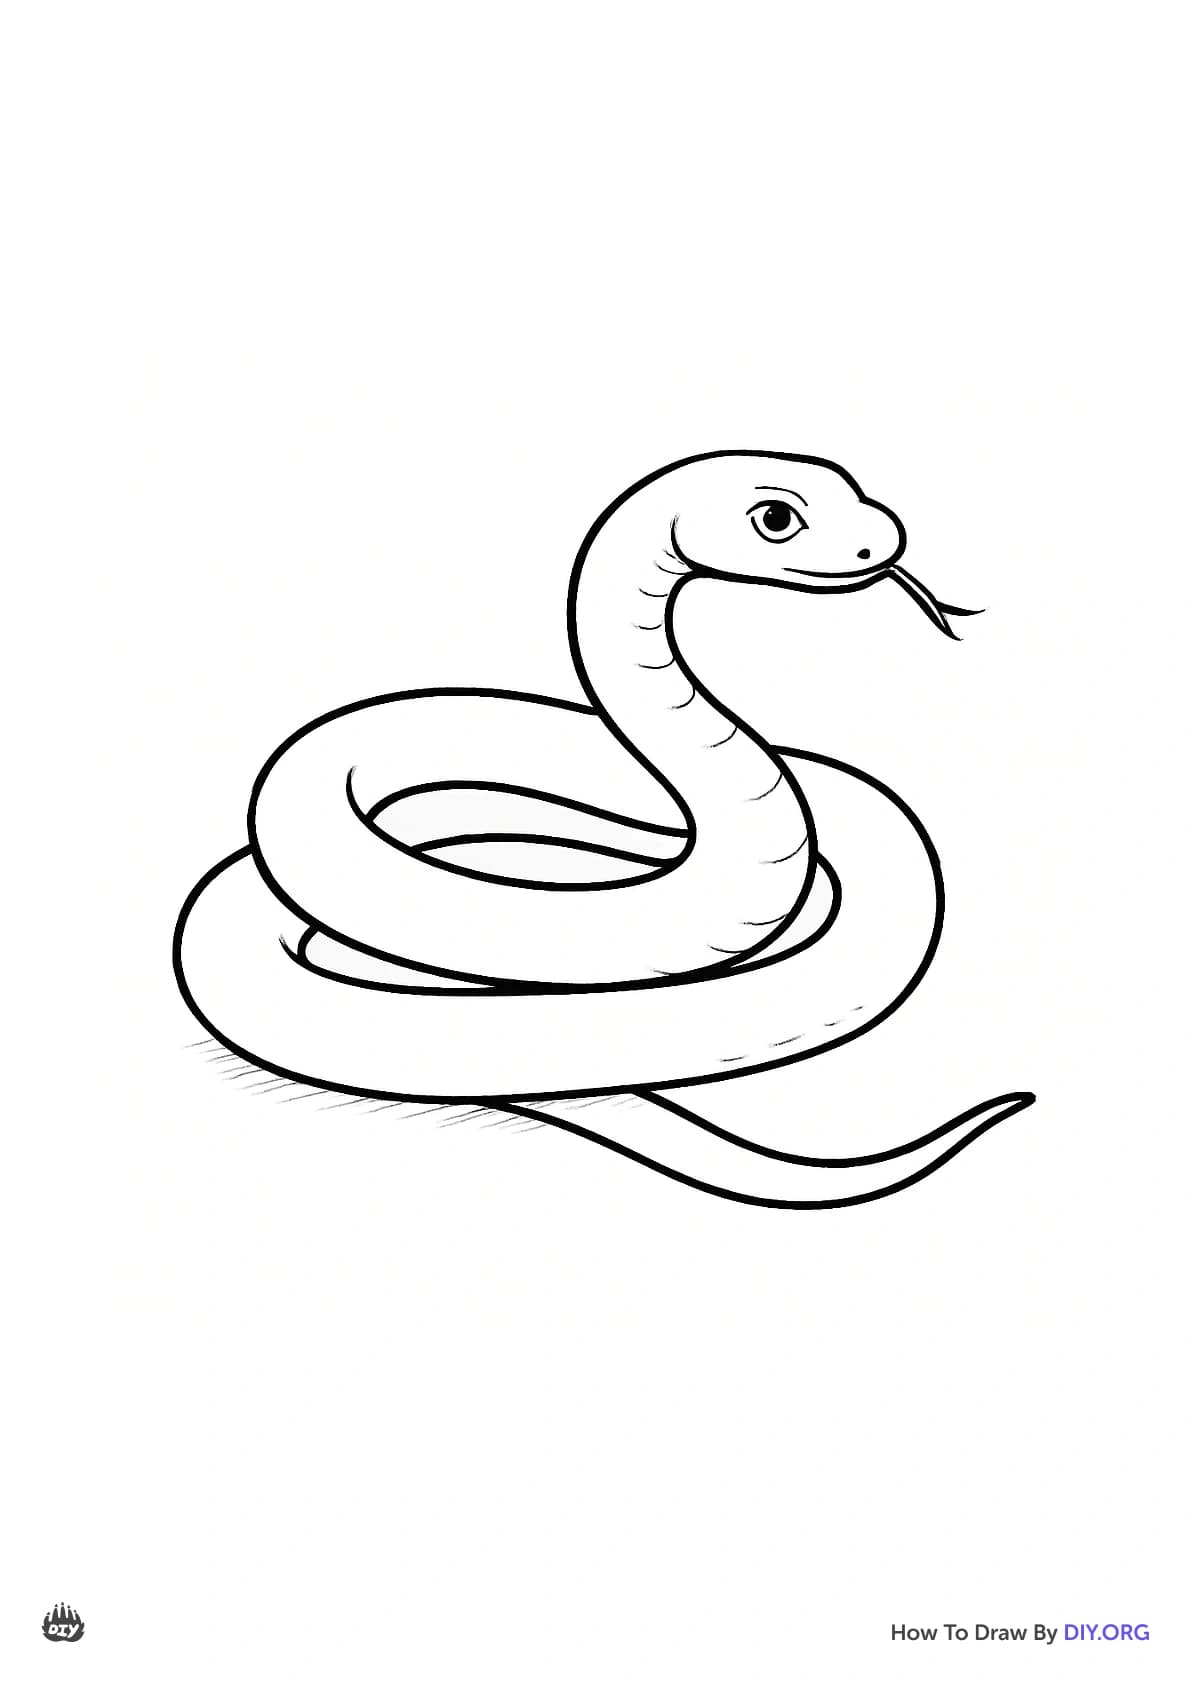
Erase extra guide marks and tweak the outer lines until the body shape matches your reference.
Step 7
Draw the head details by adding small light shapes for the eyes nostrils and mouth.
Step 8
Lightly draw faint horizontal or diamond guide lines across the body to plan where the scales will go.
Step 9
Draw the scales along your guides keeping them slightly larger on the center and smaller toward the edges.
Step 10
Step back compare proportions to your reference and lightly correct any scales or contours that look off.
Step 11
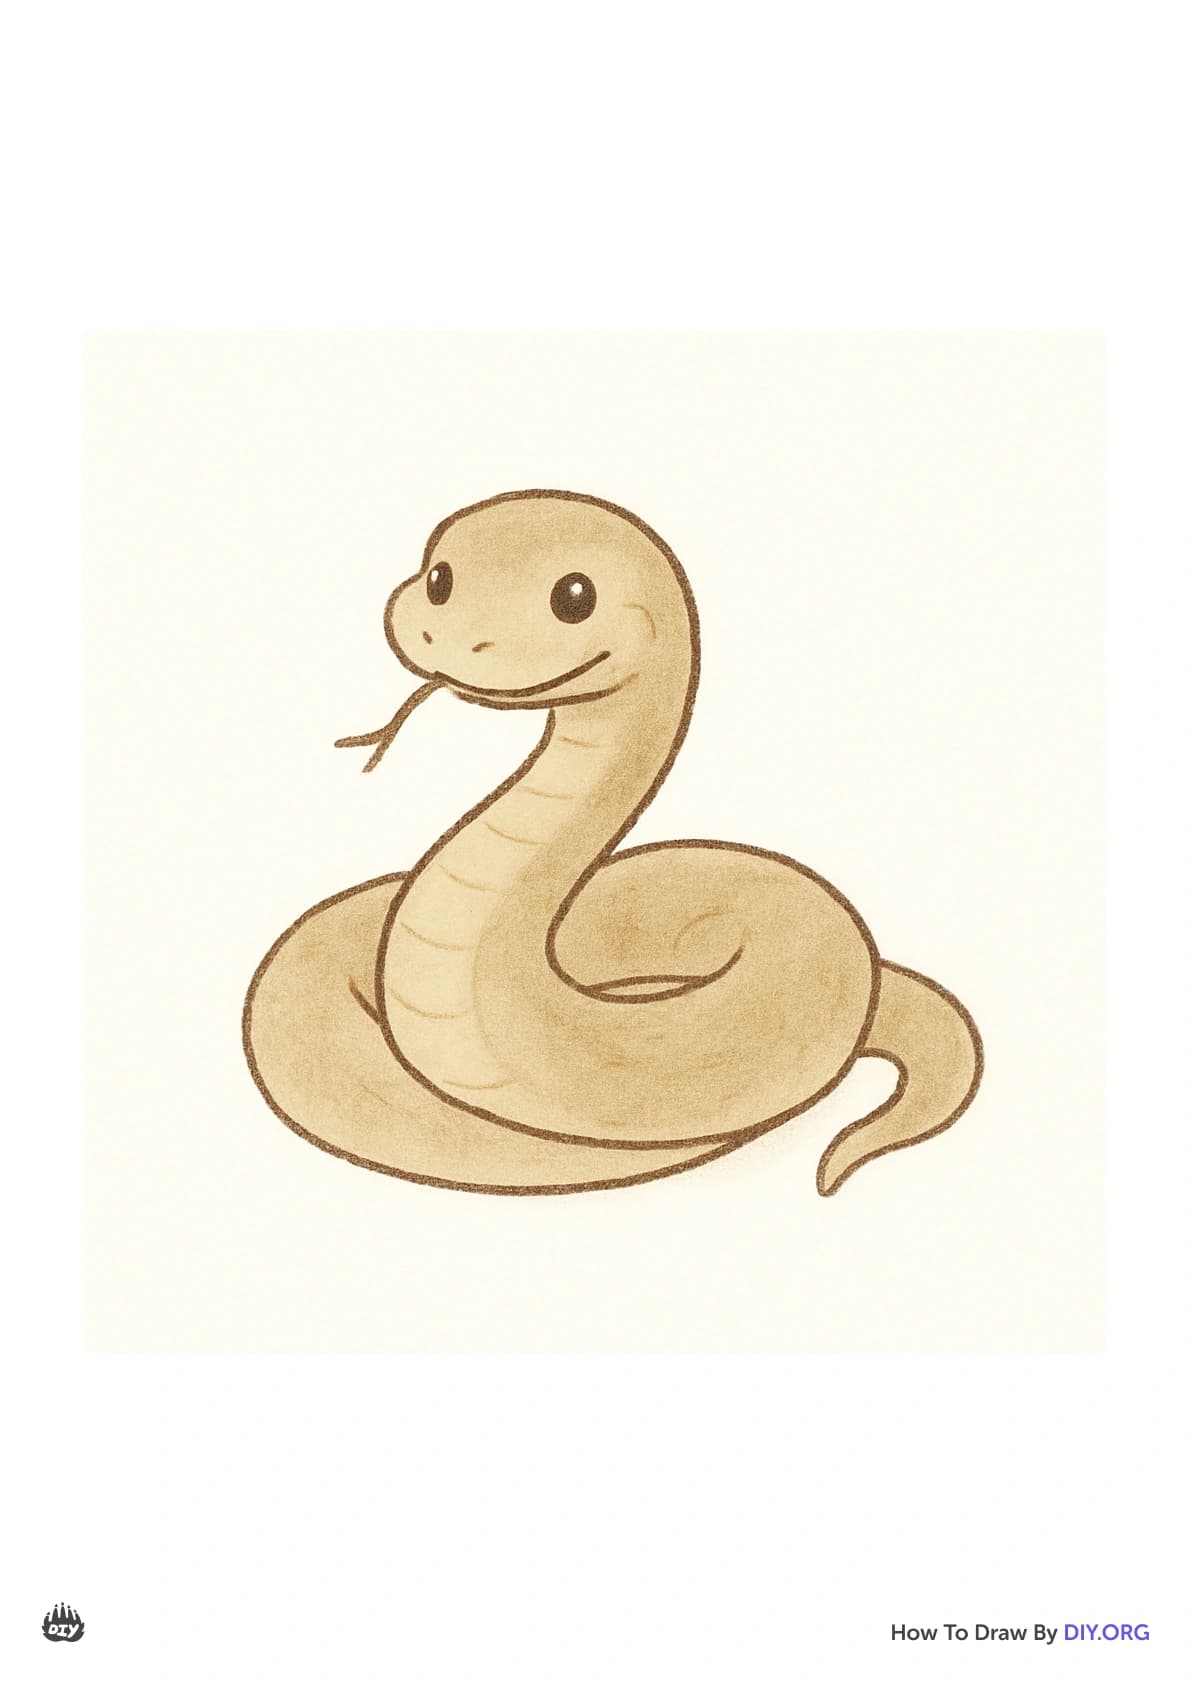
Decide where the light is coming from and shade the side opposite the light with soft pencil strokes to show roundness.
Step 12
Use a blending stump or tissue to smooth the shaded areas so the body looks round and natural.
Step 13
Add darker accents under the belly behind the head and between scale rows for texture then use your eraser to lift tiny highlights on the top of the body and a few scales.
Step 14
Share your finished snake drawing on DIY.org.
Help!?
What can we use if we don't have a blending stump, ruler, or a snake reference?
Use a rolled-up scrap of paper, cotton swab, or fingertip instead of a blending stump, a book edge or straight cardboard for a ruler, and a photo on your phone or a toy snake as your reference while following the steps.
My snake's proportions look wrong—what step should I redo to fix it?
Go back to the step where you mark two small dots, draw the light curved center spine line and the two parallel outer lines, erase extra guide marks, and tweak those outer lines until the body shape matches your reference.
How can I adapt this activity for younger or older kids?
For younger children simplify to big curvy center lines and large, easy scales on larger paper with chunky pencils, and for older kids keep the faint horizontal or diamond guides, refine individual scale shapes, and add layered shading with a blending stump or tissue.
How can we extend or personalize the finished snake drawing?
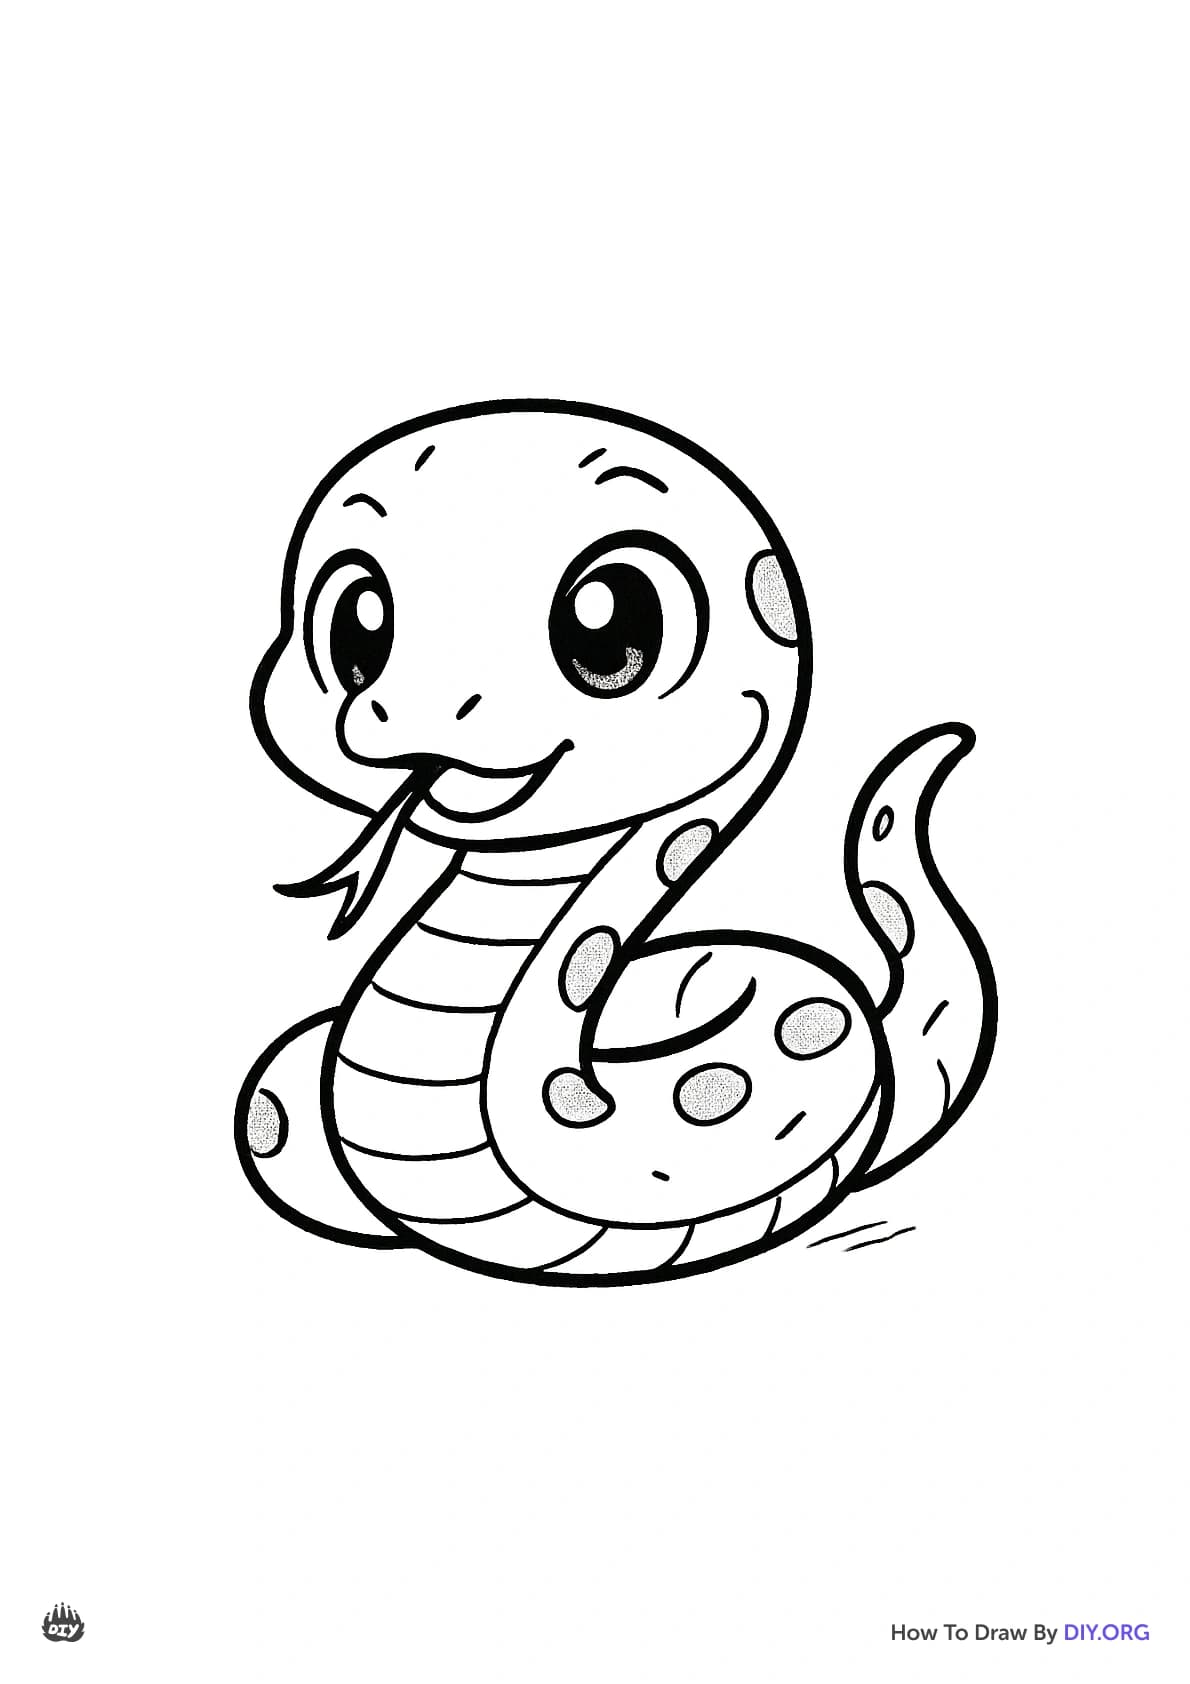
Add color with colored pencils or markers after you lift highlights, create a habitat background, experiment with different scale patterns or species markings, and share the final drawing on DIY.org.
Related videos
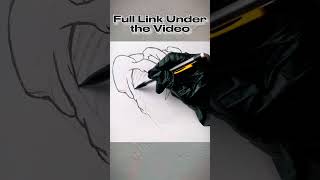
DRAWING TUTORIAL ON HOW TO DRAW A SNAKE
4 Videos
DRAWING TUTORIAL ON HOW TO DRAW A SNAKE
How to draw snake easy 👍| Snake drawing easy| Snake pencil sketch | simple snake drawing|Cobra
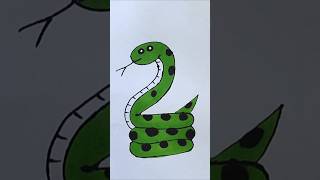
How to draw a snake from 2 step by step drawing
How to Draw a Snake Step by Step / Drawing a Reptile / Easy Drawing Tutorials / Shorts
Fun Facts
🐍 Snakes don't have eyelids — they have a transparent 'spectacle' scale that protects their eyes.
✏️ Contour drawing trains you to look at the subject more than your paper, sharpening observation skills.
🎨 Cross-hatching builds shading and depth by layering lines in different directions for darker tones.
🔎 Snake scales are specialized: belly scales help grip for movement while some dorsal scales add protection.
📏 Artists often use a pencil at arm's length to measure proportions so a snake's head, body, and tail stay balanced.
How do I draw a detailed snake with contour lines, scales, and shading?
What materials do I need to draw a detailed pencil snake?
What ages is this detailed snake drawing activity suitable for?
What are the benefits, safety tips, and variations for drawing snakes?
