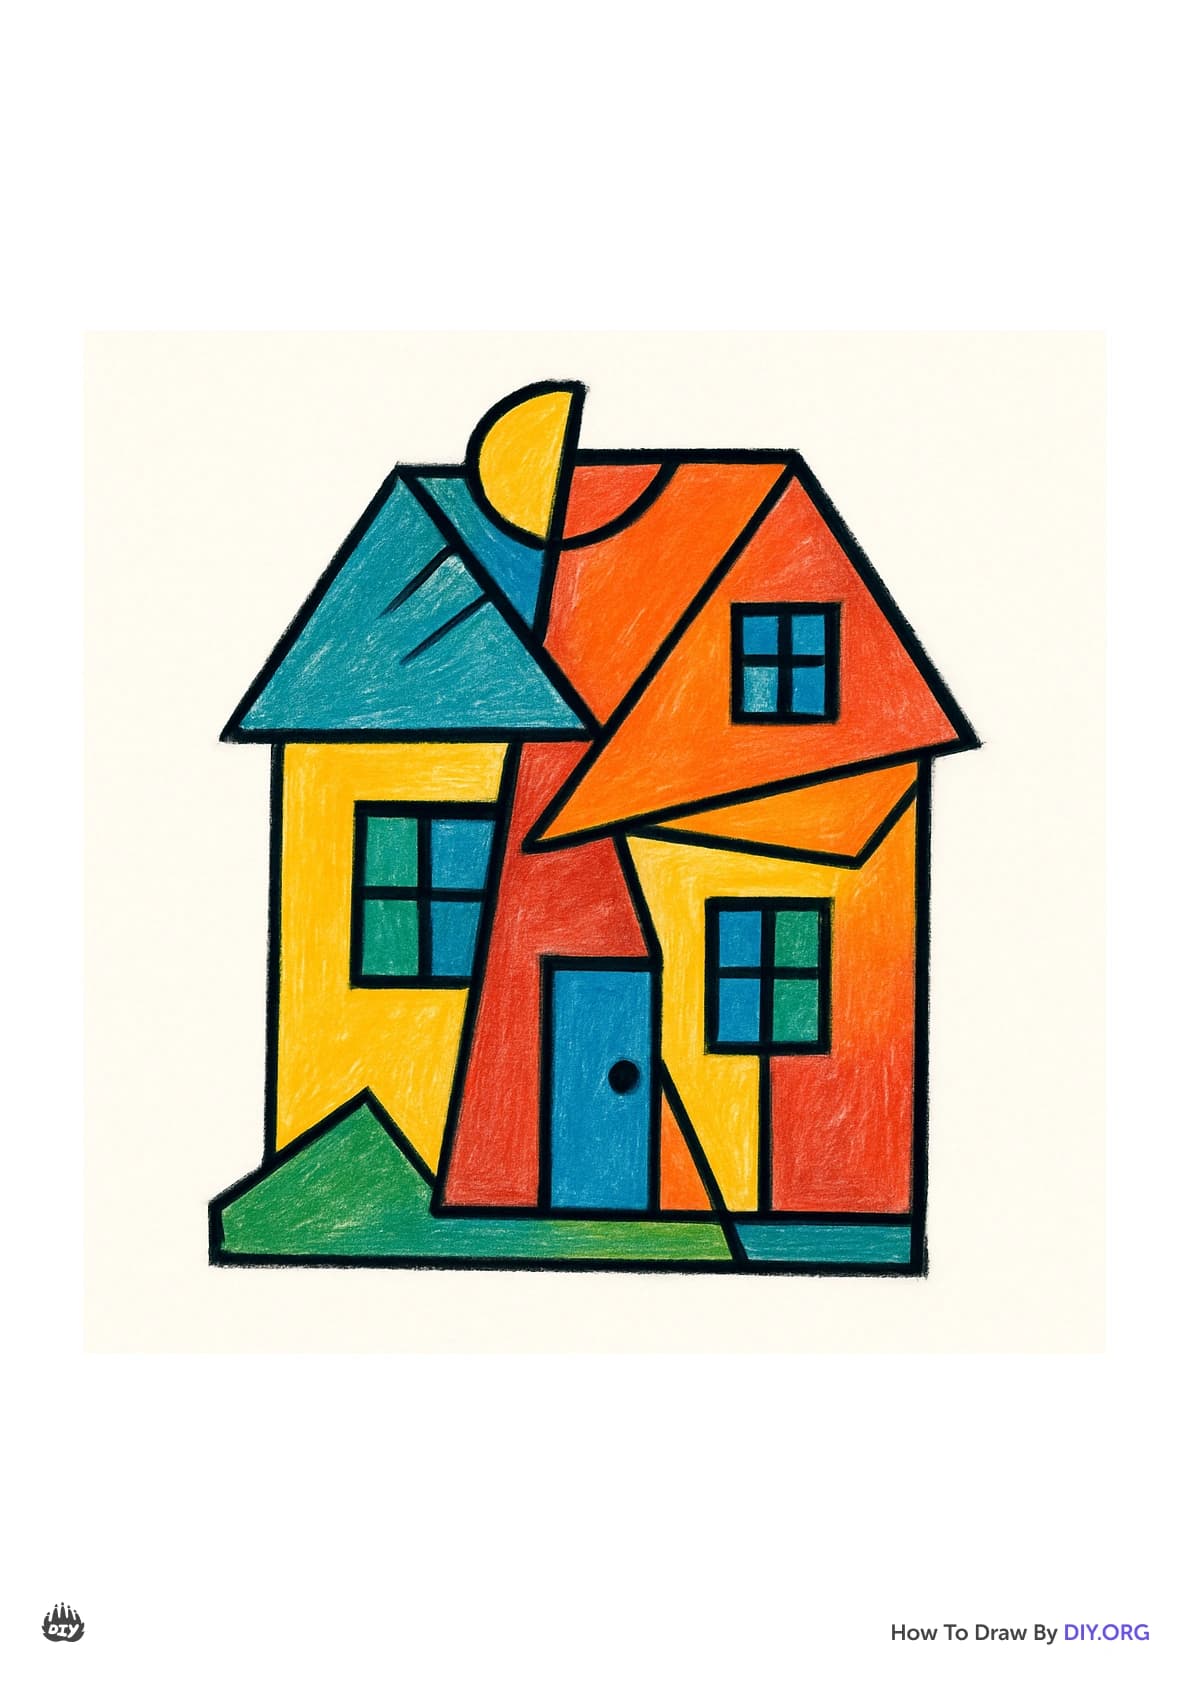
How to draw a house - a free house drawing guide
Draw a simple house step by step using basic shapes, add windows, door, roof, and color to practice proportions, perspective, and observational drawing.

Drawing Apps
Get inspired with these


Instructions
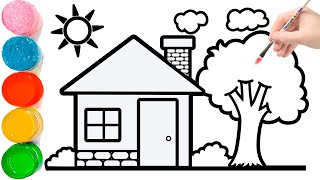
How To Draw A House Step By Step | House Drawing For Kids | Super Easy Drawing Tutorials
Step 1
Place your paper landscape on a flat table so you have lots of room to draw.
Step 2
Lightly draw a square in the center of the paper to be the front wall of your house.
Step 3
Draw a vertical rectangle that touches the bottom of the square to make the door.
Step 4
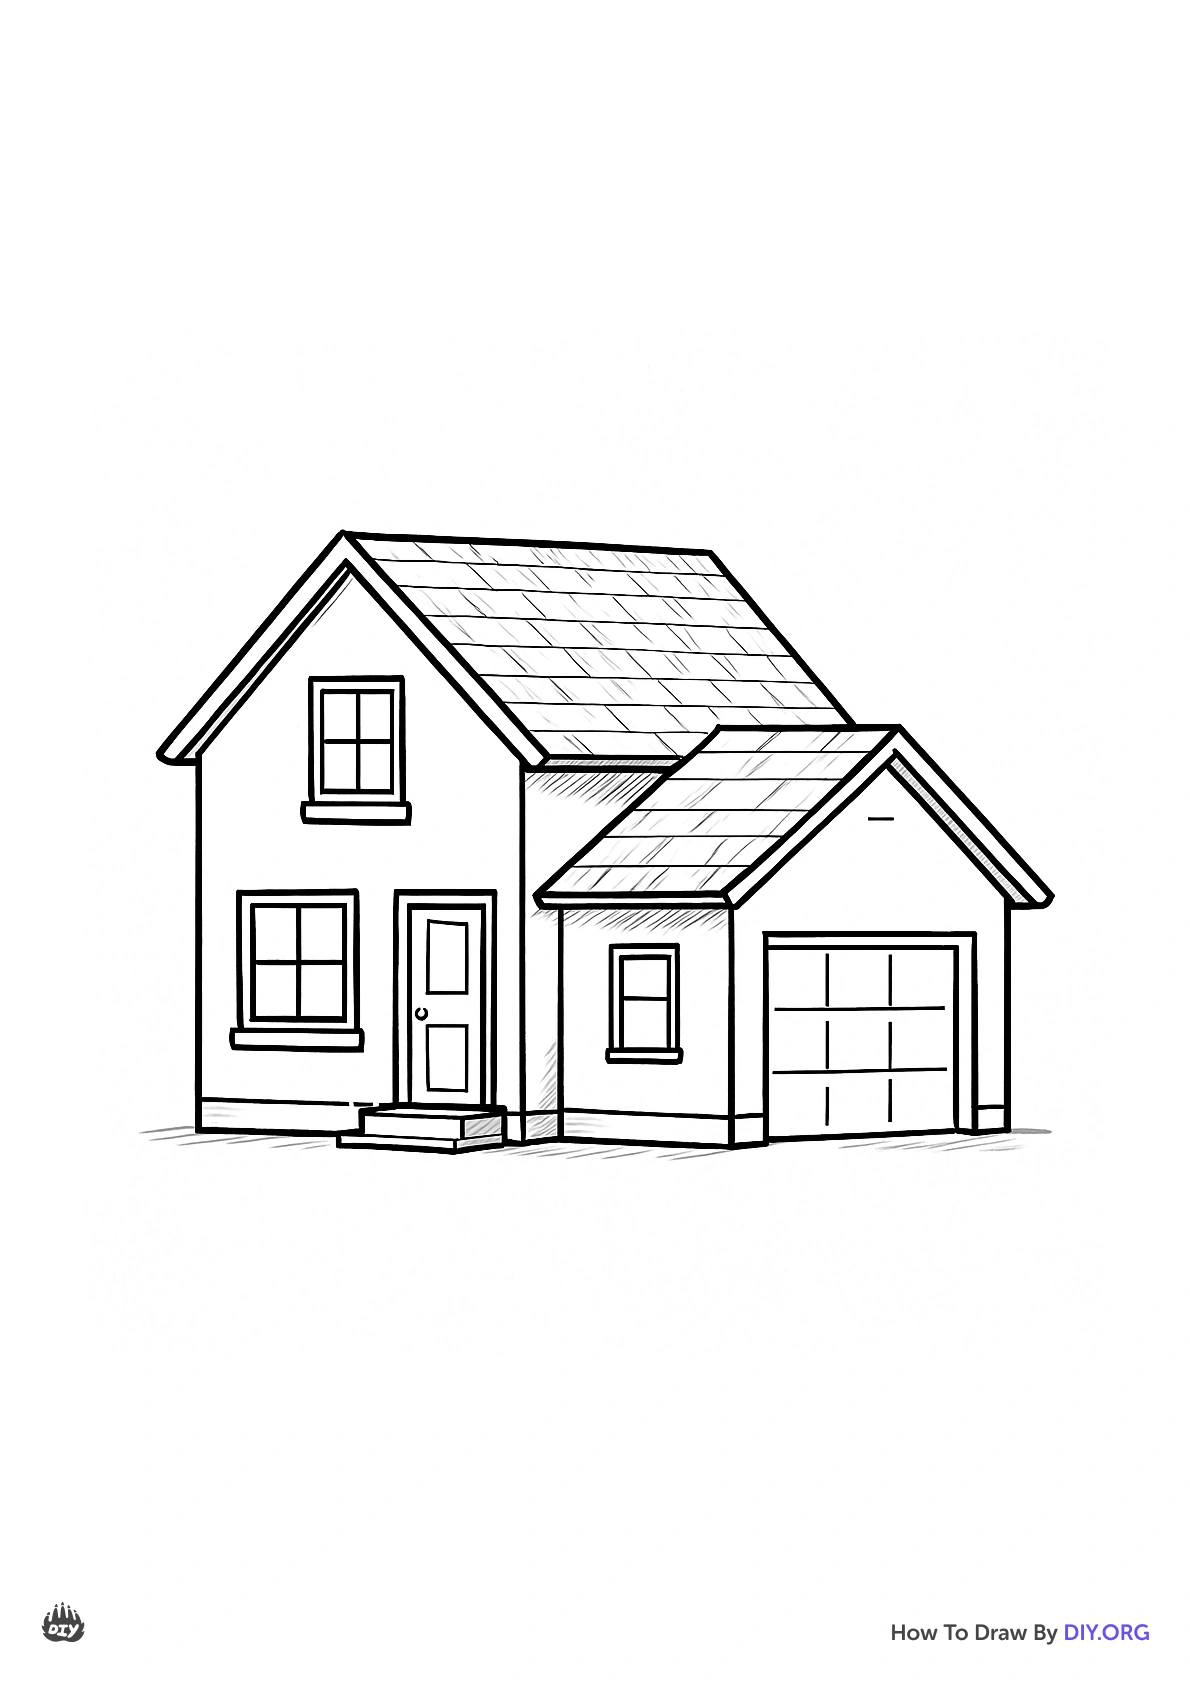
Draw a triangle on top of the square to make the front roof.
Step 5
From the top right corner of the square draw a short slanted line outward to show the side of the house.
Step 6
From the bottom right corner of the square draw a matching slanted line outward the same distance to show depth.
Step 7
Connect the two slanted line ends with a straight line to finish the side wall shape.
Step 8
Draw a diagonal from the roof tip to the end of the top slanted line to make the side roof.
Step 9
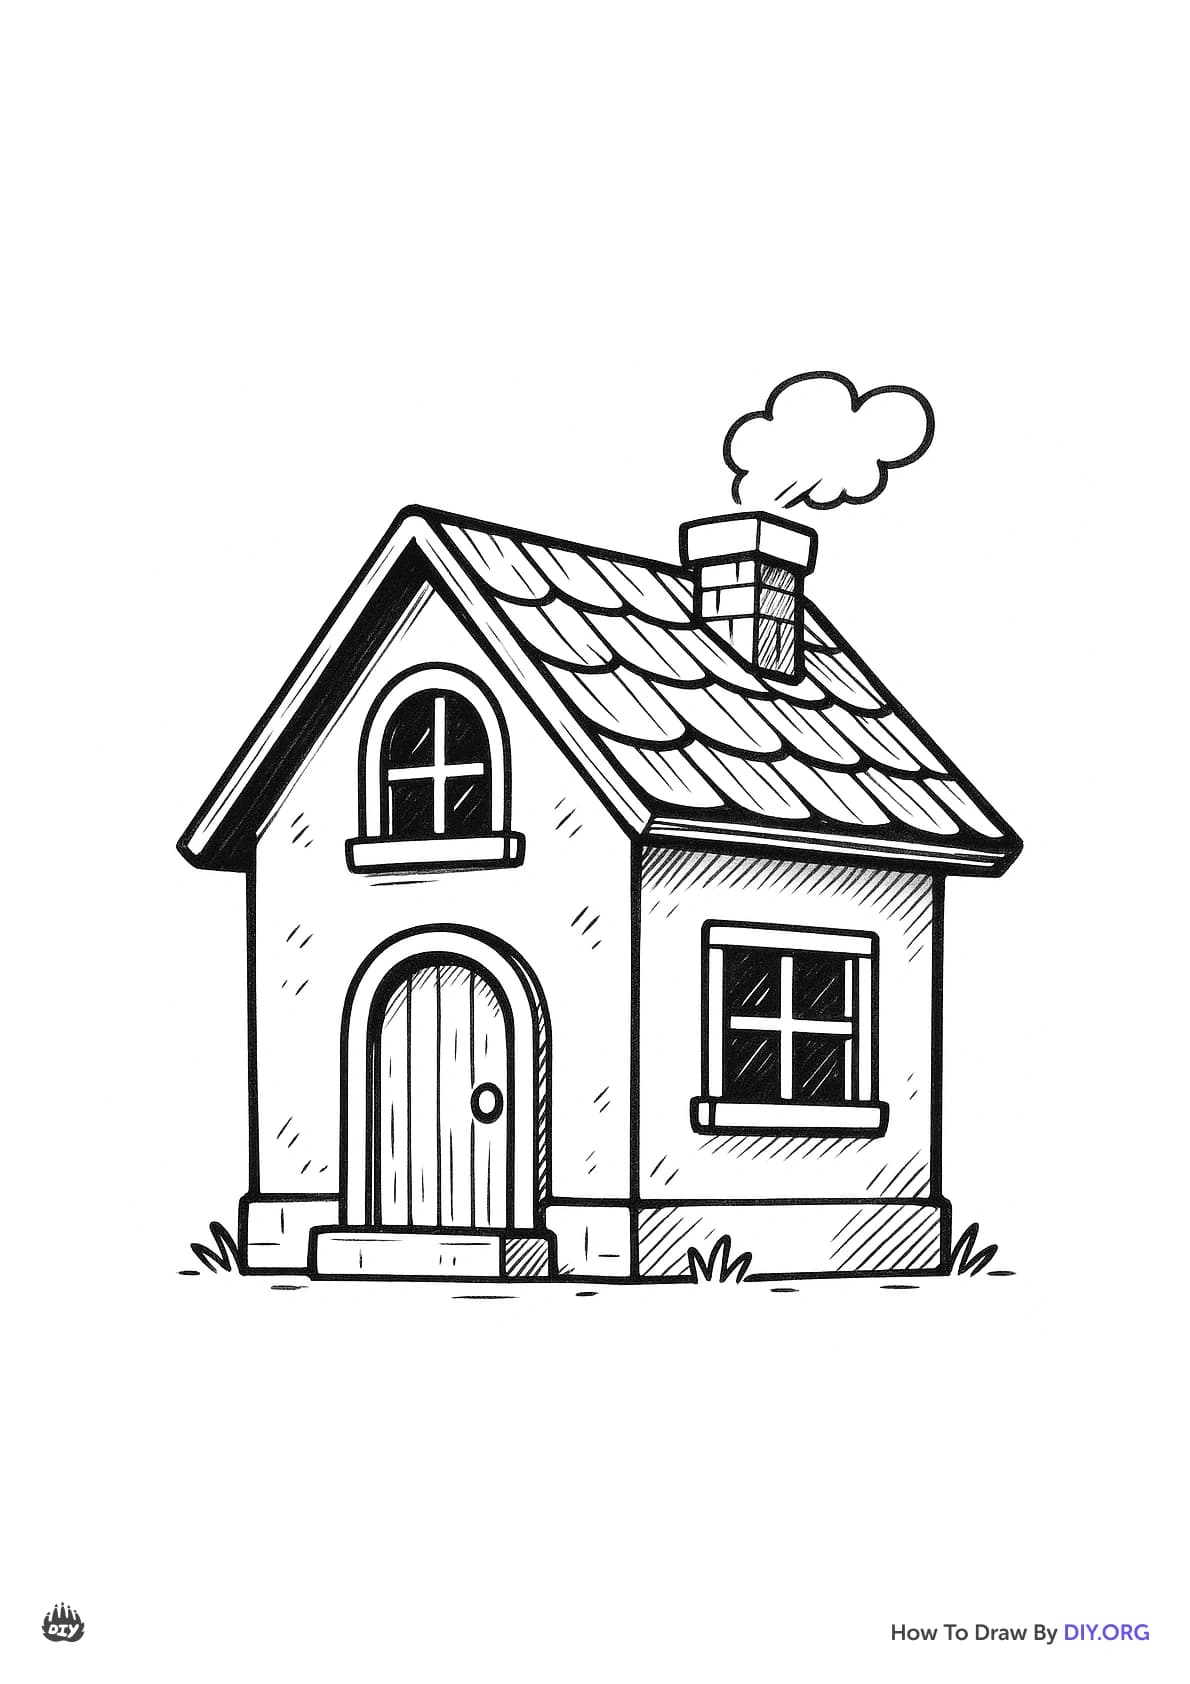
Draw a small rectangle standing up on the front roof to be the chimney.
Step 10
Draw two square windows on the front wall and one small window on the side wall.
Step 11
Draw a plus sign inside each window to make panes so they look like real windows.
Step 12
Use your eraser to gently remove extra guide lines so the drawing looks neat.
Step 13
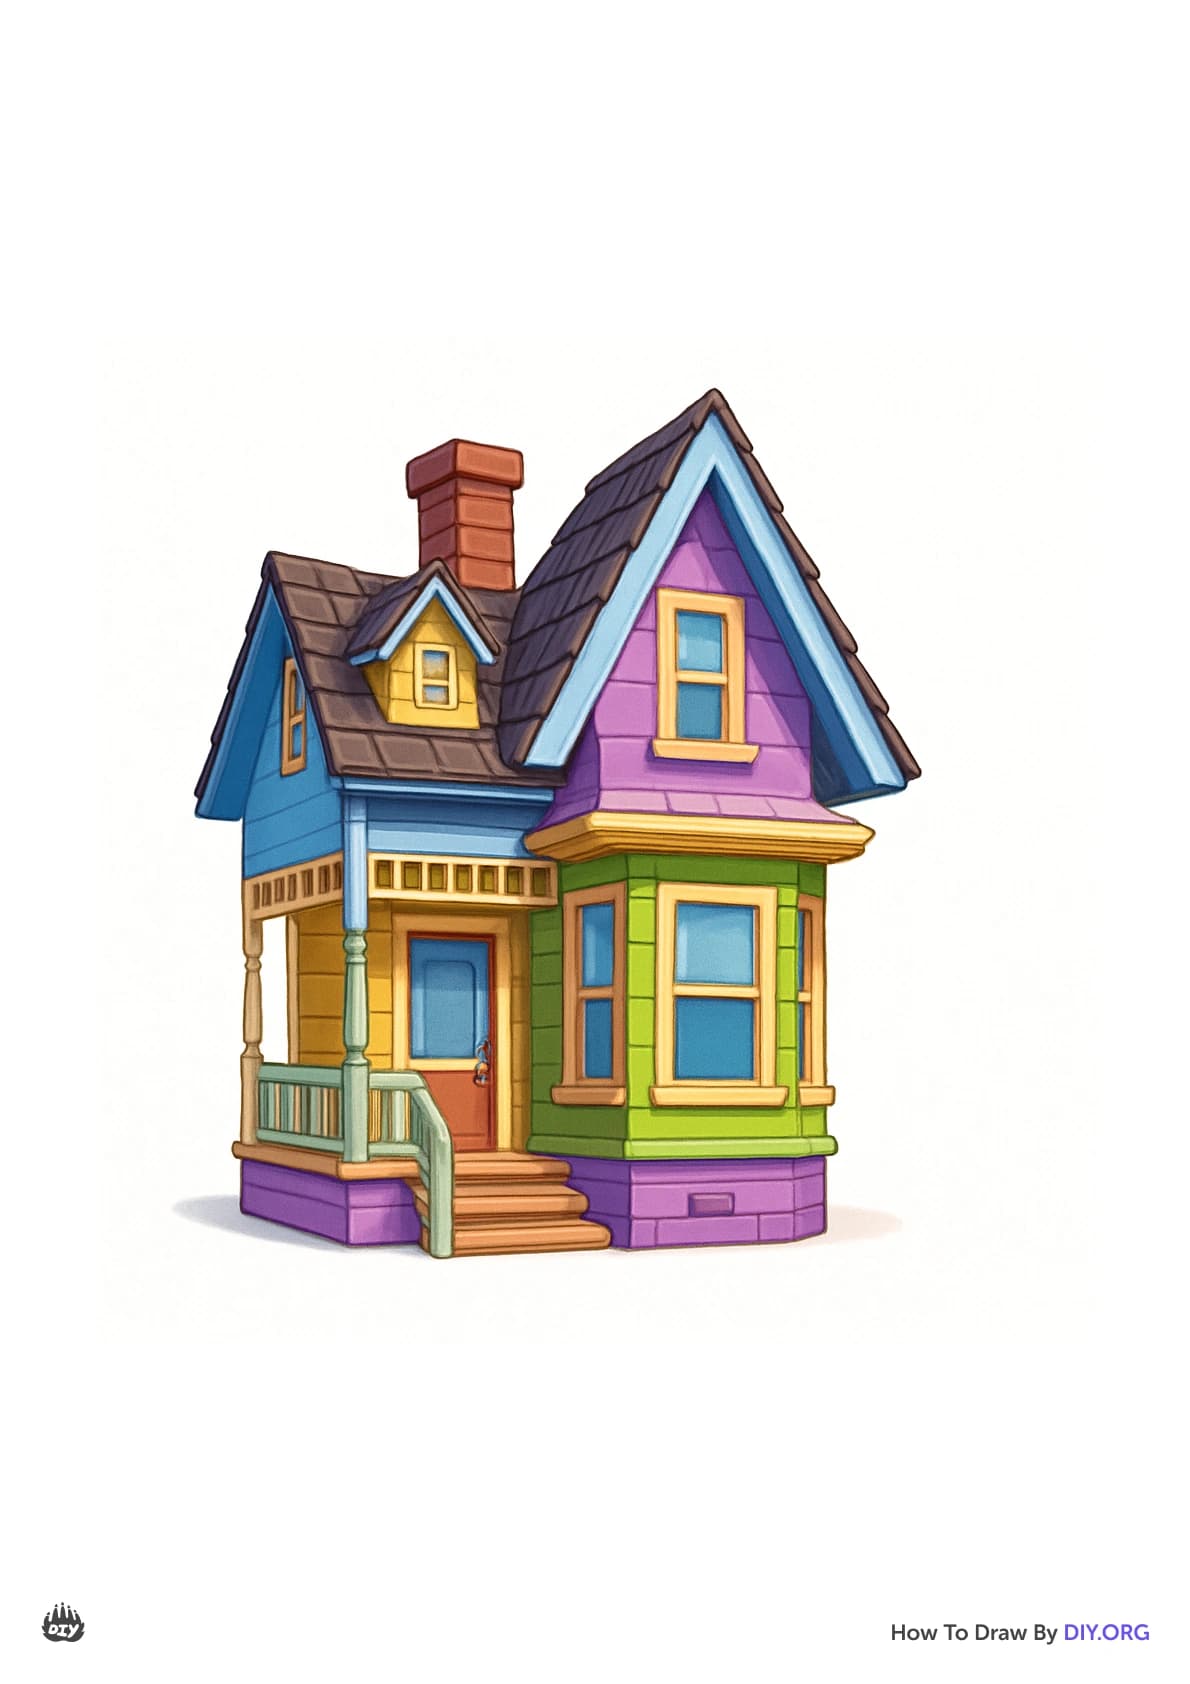
Colour your house using your colouring materials — pick colours for the walls roof door windows and chimney.
Step 14
Label the parts by drawing short arrows and writing roof door window and chimney next to each arrow.
Step 15
Share your finished creation on DIY.org
Help!?
What can we use if we don't have the recommended paper or colouring materials?
If you don't have drawing paper or coloured pencils, use a sheet of printer paper placed landscape (or a flattened cereal-box cardboard) and colour with crayons, markers, or watercolour paints after lightly sketching the square, door, roof and windows with a pencil so you can erase guide lines.
My side wall or side roof doesn't look right — how can we fix the slanted lines and diagonal?
If the two slanted lines for the side wall don't match or the diagonal from the roof tip doesn't meet the top slanted end, lightly mark the same outward distance on the top and bottom right corners with a ruler or your finger, draw both slanted lines to that mark, connect their ends with a straight line, then draw the diagonal from the roof tip and erase the guide marks.
How can I adapt this drawing for different ages?
For younger children, pre-draw the central square, front roof triangle and door so they can add windows, panes and colour, while older kids can extend the side wall for stronger perspective, add roof tiles, chimney bricks and background details before labelling and sharing on DIY.org.
How can we make the finished house more creative or advanced?
Enhance the project by adding a garden, pathway, textured roof tiles and window shutters, using coloured paper or stickers for 3D details, shading with pencils or markers, labelling parts with arrows as instructed, and photographing the final piece to post on DIY.org.
Related videos
Easy HOUSE Drawing for Kids! Step by Step Lessons
4 Videos
Easy HOUSE Drawing for Kids! Step by Step Lessons
🎨 How to Draw an Easy House Step by Step for Kids | Drawing Tutorial 🏠✏️
How to Draw a Cute House Simple & Easy for Kids
HOW TO DRAW A HOUSE EASY | Drawing House form Shapes
Fun Facts
🏠 Kids worldwide often draw a simple house as a square with a triangle roof — it’s the classic starter shape!
🎨 Using three shades of the same color (light, medium, dark) makes flat coloring look 3D and cozy.
📐 One-point perspective uses a single vanishing point on the horizon to make buildings look like they recede correctly.
🔥 Adding a little chimney or smoke in a drawing instantly makes a house feel lived-in and warm.
🪟 Drawing window panes with a simple cross (mullions) is an easy detail that makes windows read clearly from far away.
How do I teach my child to draw a simple house step-by-step?
What materials do we need to draw a house with windows, a door, and a chimney?
What ages is a step-by-step house drawing suitable for?
What are the benefits, safety tips, and fun variations for drawing a house?
