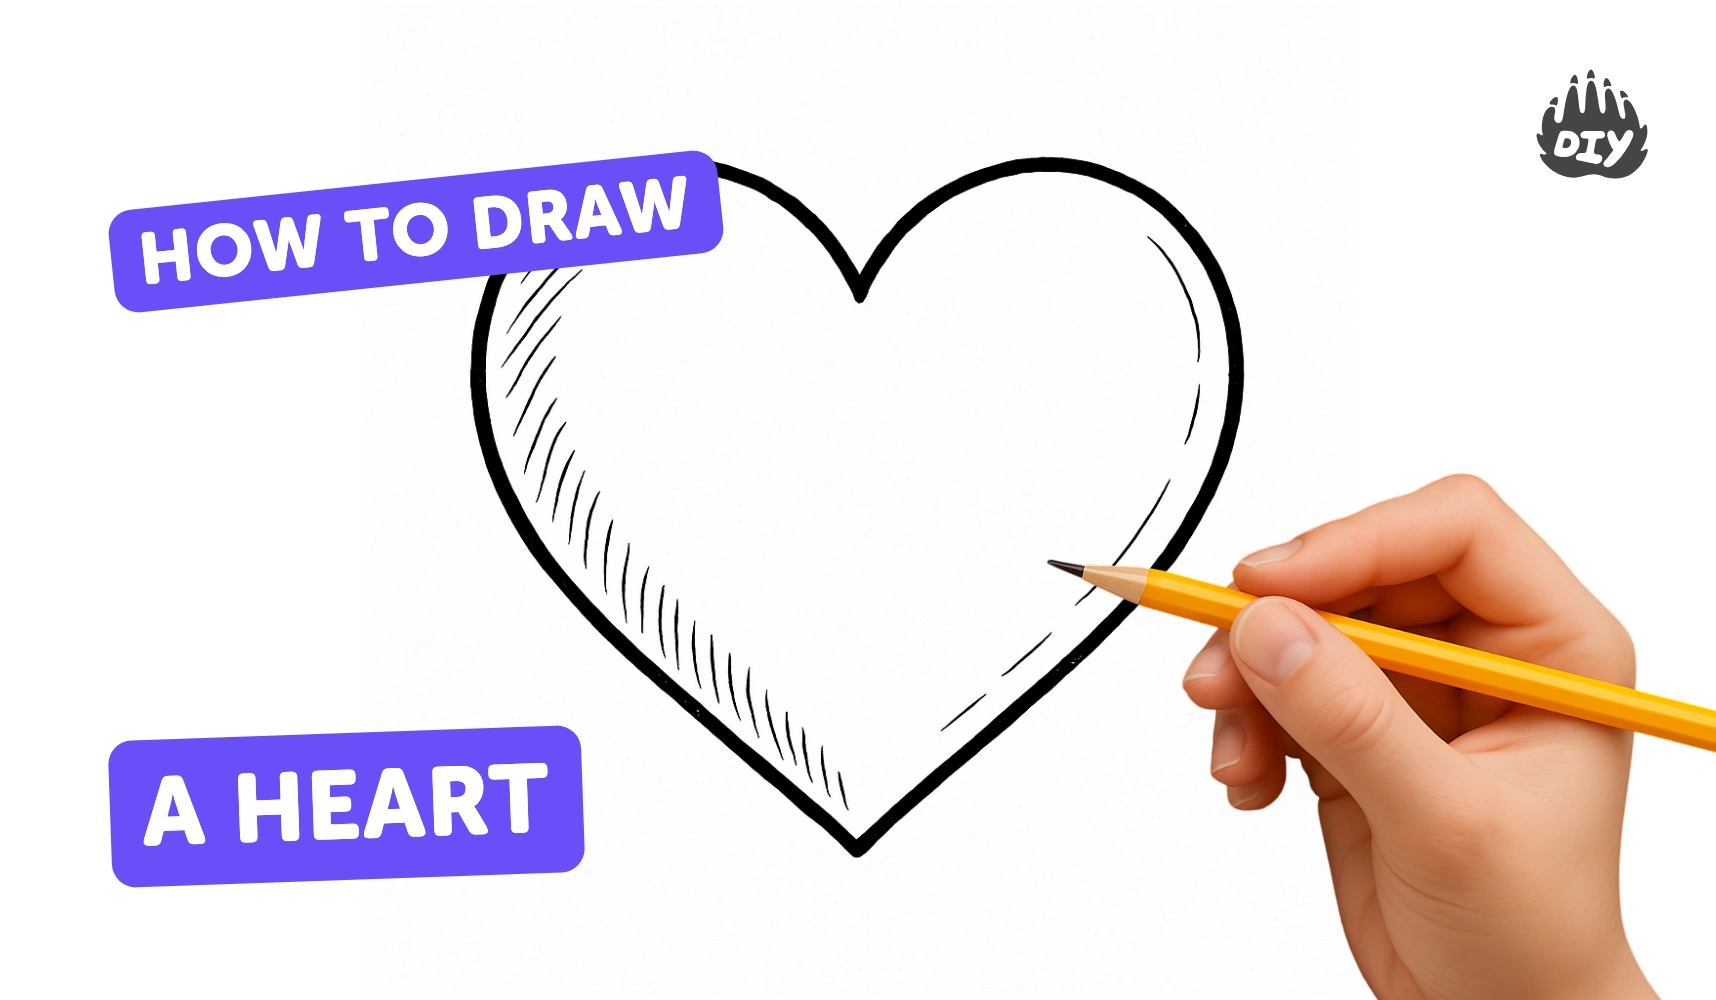
How to draw a heart - a free heart drawing guide
Draw a clean, symmetrical heart using simple fold and guide techniques. Practice outlining, shading, and decorating to create a finished heart drawing.

Drawing Apps
Get inspired with these


Instructions
How To Draw A Heart With Wings - Preschool
Step 1
Lay your paper in portrait orientation on a flat surface and make sure your pencil is sharpened.
Step 2
Use the ruler to draw a very light vertical center line down the middle of the paper.
Step 3
Measure from the top of the paper and place a small dot on the center line where you want the top of the heart to be.
Step 4
Measure down from that top dot and place a small dot on the center line where you want the bottom point of the heart to be.
Step 5
Find the halfway point between your top and bottom dots and place two dots one to the left and one to the right at the same distance from the center line using the ruler.
Step 6
Draw a smooth curved line from the left side dot down to the bottom dot to make the left lower side of the heart.
Step 7
Draw a smooth curved line from the right side dot down to the bottom dot to make the right lower side of the heart.
Step 8
Draw a rounded curved line from the left side dot up to the top dot to create the left lobe of the heart.
Step 9
Draw a matching rounded curved line from the top dot down to the right side dot to create the right lobe of the heart.
Step 10
Lightly erase the center line and any extra measuring dots that are outside the heart outline.
Step 11
Carefully darken the final heart outline with smooth pencil strokes to make it neat and even.
Step 12
Lightly shade one side of the heart with soft pencil strokes to create a gentle shadow.
Step 13
Use your blending tool to smooth the shaded area so the gradient looks soft and even.
Step 14
Add colour or extra shading details with your colouring materials if you want to make the heart polished and bright.
Step 15
Share your finished heart drawing on DIY.org
Help!?
What can I use if I don't have a ruler or a blending tool?
Use a straight-edged book or the long side of a cereal box as a ruler to draw the center line and a tissue, cotton swab, or your fingertip to smooth the soft pencil shading in place of a blending tool.
My curved lines are wobbly when I draw the lobes and sides—how do I fix that?
Sketch the lobes and lower curves with very light, short guiding strokes (steps 6–9), keep your pencil sharpened and your wrist relaxed, then darken the final outline only after you're happy to avoid wobble and smudging.
How can I adapt the instructions for younger children or older kids who want more challenge?
For younger children, fold the paper to make the center line, use bigger dots and markers instead of precise measuring, and simplify the curves, while older kids can use graph paper or a compass for exact dots and add detailed shading and blending as in steps 11–13.
How can we personalize or extend the heart drawing into a longer project?
Decorate the finished heart with patterns, messages, or glued-on paper shapes, add layered colour and highlights (erase a small area of the shaded side for a shine), and turn it into a card or poster to share on DIY.org as suggested in the final step.
Related videos
How To Draw A Happy Heart
4 Videos
How To Draw A Happy Heart

How To Draw A Cute Valentine's Heart - Preschool
How to Draw Cute Hearts Easy
How to Draw a Heart with Wings Easy
Fun Facts
❤️ The heart symbol we draw for love doesn't look like a real human heart — it developed as a stylized icon in medieval art.
✏️ A single pencil can draw a line roughly 35 miles (about 56 km) long if used until it's all gone!
📐 Folding your paper or using a straightedge is a fast trick artists use to find the exact center line for perfect symmetry.
🖋️ Shading techniques like hatching and cross-hatching make flat shapes pop into 3D — artists have used them since the Renaissance.
🧠 Our brains really like symmetry, so practicing symmetrical drawings helps build visual planning and fine motor skills.
How do you draw a symmetrical heart freehand using pencil, ruler, and eraser?
What materials do I need to draw a symmetrical heart with a pencil and ruler?
What ages is this symmetrical heart drawing activity suitable for?
What are the benefits of practicing symmetrical heart drawings with kids?
