How to draw a girl - a free girl drawing guide
Draw a stylized girl step by step using basic shapes, facial features, hair, clothing, and shading. Practice proportions, pose variation, and creative expression.

Drawing Apps
Get inspired with these


Instructions
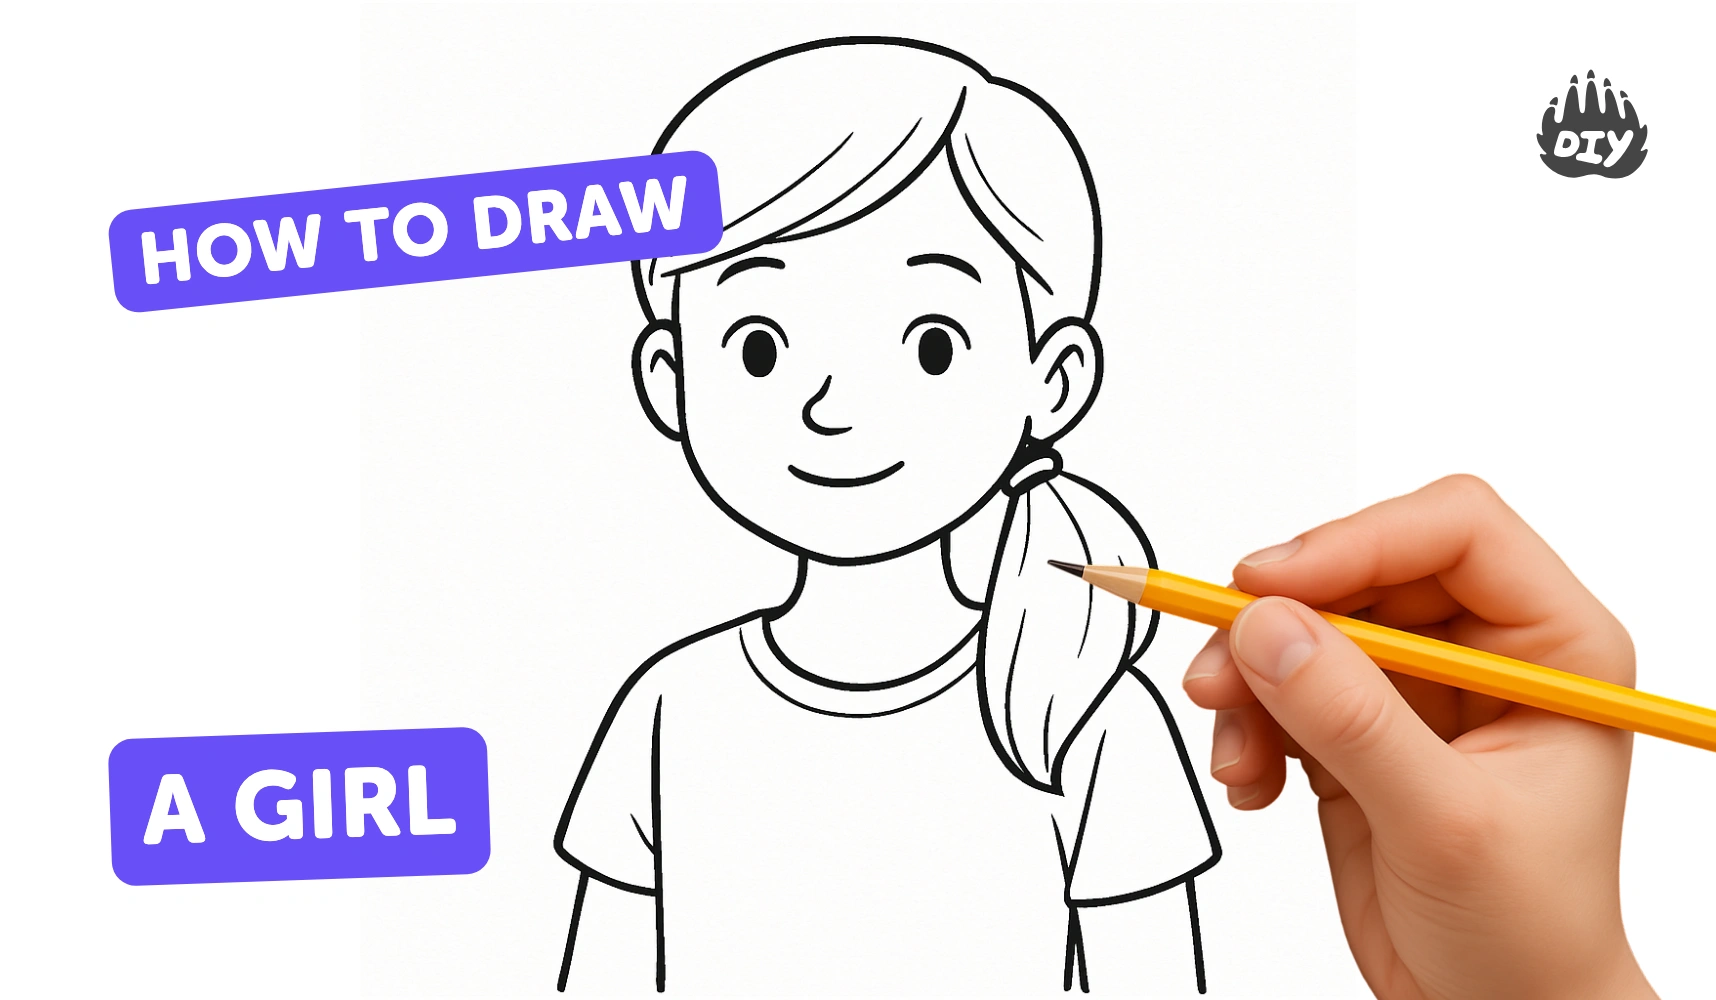
Girl Drawing For Beginners, How To Draw Girl Step by Step For Kids !
Step 1
Gather your materials and place them on a flat surface.
Step 2
Draw a light vertical guideline down the center of your paper.
Step 3
Sketch a light oval near the top third of the paper for the head centered on the guideline.
Step 4
Draw a horizontal eye line halfway down the oval.
Step 5
Draw two almond-shaped eyes on the eye line spaced about one eye-width apart.
Step 6
Draw a small nose centered below the eye line.
Step 7
Draw a simple smiling mouth below the nose.
Step 8
Draw two short curved lines above the eyes for eyebrows.
Step 9
Draw ears on each side of the head aligned with the eye line.
Step 10
Draw the hair outline around the head in the style you like such as long short or a ponytail.
Step 11
Draw a short neck below the head centered on the guideline.
Step 12
Draw shoulders and a simple outfit shape for the torso below the neck.
Step 13
Gently erase the light guidelines you no longer need.
Step 14
Add light shading under the chin and along one side of the hair using a pencil or tissue to blend.
Step 15
Color your girl drawing with your coloring materials and then share your finished creation on DIY.org.
Help!?
What can I use if I don't have a pencil, eraser, tissue, or certain coloring materials listed in the instructions?
If you don't have a blending tissue, use a cotton swab, fingertip, or blending stump to smudge the light shading under the chin and along the hair, and if you lack an eraser or colored markers use a kneaded or vinyl eraser and colored pencils or crayons to color your girl drawing.
My eyes or features look uneven—what step should I redo to fix proportions?
Use the light vertical guideline and the horizontal eye line, measure about one eye-width between the almond-shaped eyes, then gently erase and redraw them so they sit evenly on the eye line inside your oval head shape.
How can I adapt this activity for different ages or skill levels?
For younger children simplify to a circle head, dot eyes and a smile and skip shading, while older kids can add the short neck, detailed hair outlines, light shading under the chin, and more complex outfit shapes as described in the steps.
How can we extend or personalize our finished girl drawing beyond the basic steps?
Personalize by adding a background scene, accessories or patterned clothing, experimenting with different hairstyles and pencil textures before coloring with your materials, and then share the finished creation on DIY.org.
Related videos
How to Draw a Cute Girl Step by Step | Easy Pencil Sketch Tutorial
4 Videos
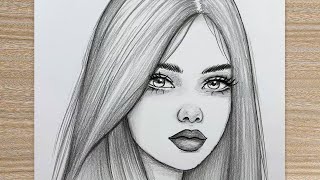
How to Draw a Cute Girl Step by Step | Easy Pencil Sketch Tutorial
Girl Drawing For Kids, How To Draw Girl Step by Step For Begenners !
How to Draw a Girl for Kids | Easy Drawing Tutorial
How to Draw a Cute and Beautiful Girl Step by Step - Easy and Educational Drawings for Kids
Fun Facts
🎨 Artists often begin portraits by sketching an oval and a center line to place features accurately.
✏️ Breaking the body into simple shapes (circles, ovals, rectangles) makes drawing a full figure easier for beginners.
👁️ The eyes usually sit about halfway down the head — a handy trick for getting facial proportions right.
🧠 Practicing drawing boosts fine motor skills and improves observational memory, especially in children.
🌈 Using just two or three shades plus one bright color can make a flat drawing look three-dimensional.
How do I draw a girl step by step for kids?
What materials do I need to draw a girl with simple shading?
What ages is step-by-step girl drawing suitable for?
What are the benefits and safe variations of drawing a girl for kids?
