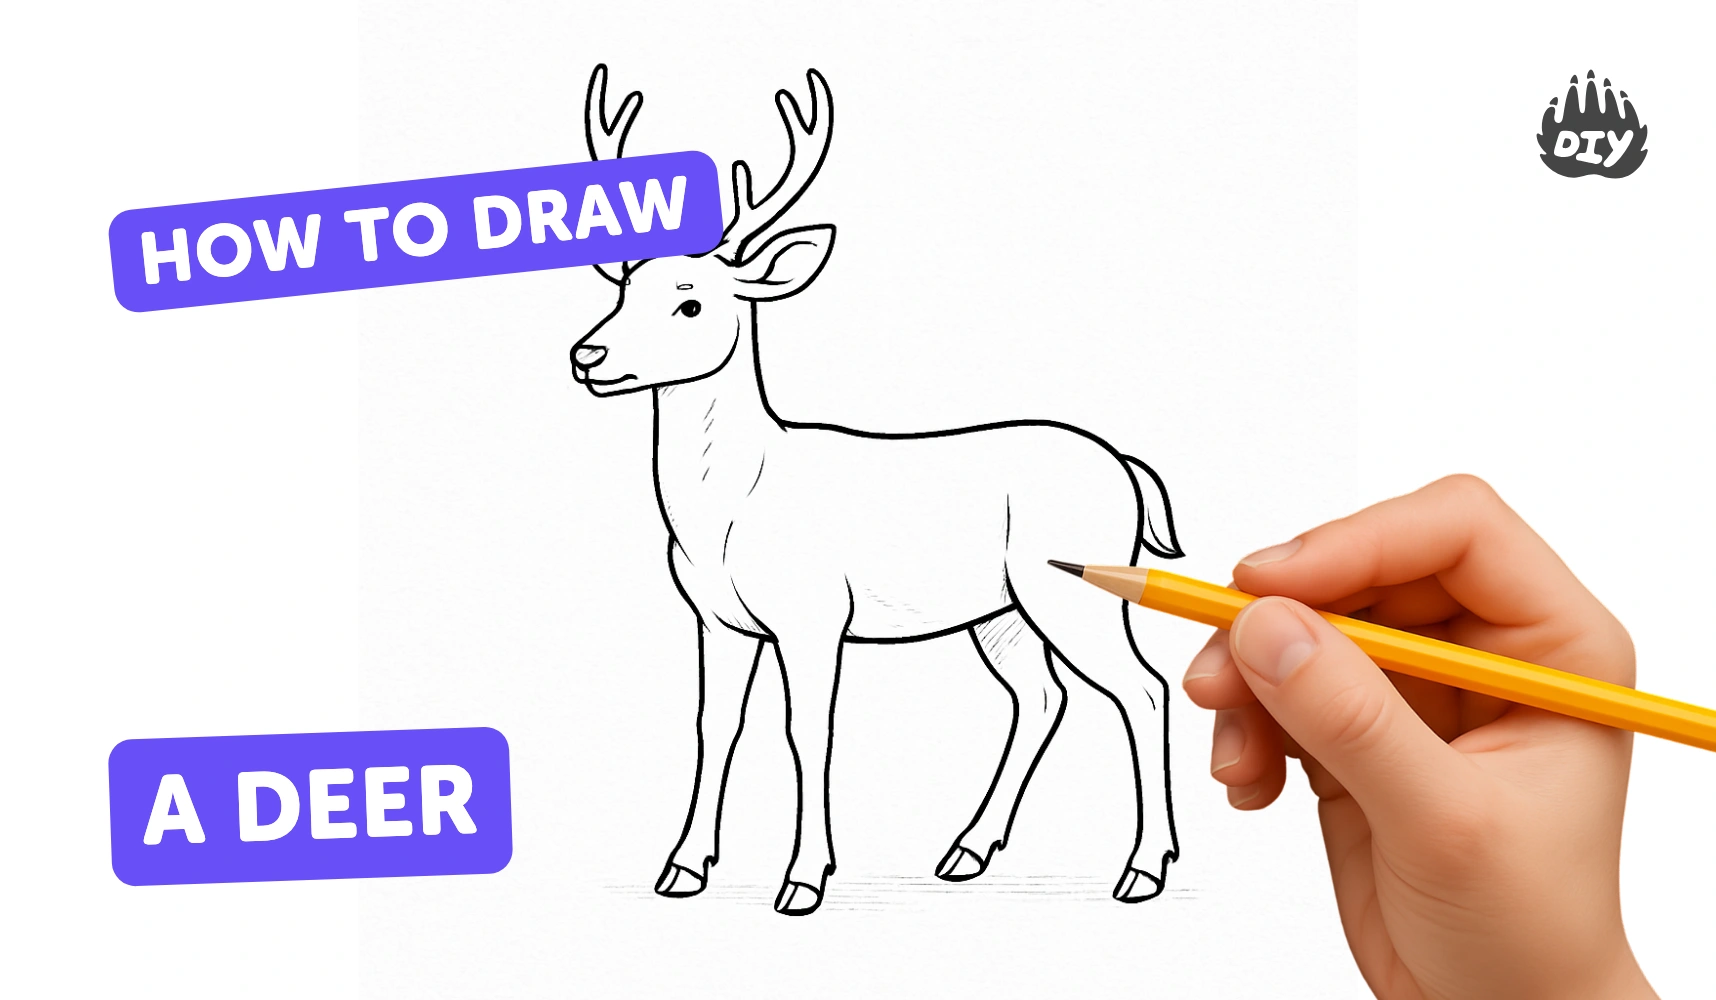
How to draw a deer - a free deer drawing guide
Draw a deer step by step using simple shapes to learn proportions, add details, and practice shading and texture to create a realistic illustration.

Drawing Apps
Get inspired with these


Instructions
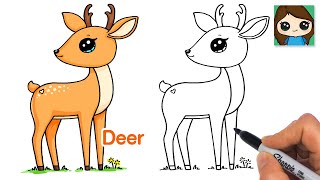
Deer Drawing | Easy Deer Drawing Tutorial Step by Step for kids and Beginners
Step 1
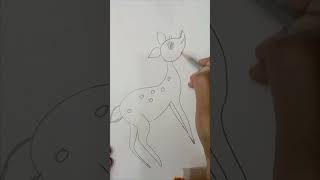
Lightly draw a big oval for the deer body and a smaller circle above and slightly forward for the head.
Step 2
Draw two short curved lines to connect the head circle and the body oval to make the neck.
Step 3
Draw a light vertical line down the middle of the head and a short horizontal line to mark the eye line.
Step 4
Draw two curved triangle ears on top of the head pointing slightly outward.
Step 5
Draw two almond-shaped eyes on the horizontal guideline.
Step 6
Draw a small rounded triangle for the nose and a tiny curved line for the mouth.
Step 7
Draw four long thin legs under the body using straight or slightly curved lines.
Step 8
Add small ovals or rectangles at the ends of each leg to make the hooves.
Step 9
Draw a small upward curved shape for the tail at the back of the body.
Step 10
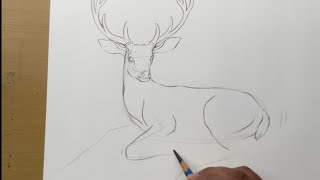
Sketch antlers on top of the head by drawing a main stem on each side with a few short branches.
Step 11
Smooth the outer lines to refine the deer’s final shape and make the body look natural.
Step 12
Erase the light construction lines and any extra pencil marks you don’t need.
Step 13
Add short light pencil strokes along the neck back and near the legs to make fur texture.
Step 14
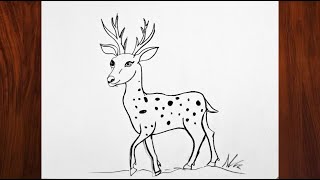
Shade gently under the belly behind the legs and under the neck to create depth then color your deer with your colouring materials and add any spots or markings you like.
Step 15
Share your finished deer drawing on DIY.org.
Help!?
What can we use if we don't have a pencil, eraser, or coloured pencils?
If you don't have a pencil or eraser, use a soft charcoal stick or a blunt crayon drawn very lightly and lift guide marks with a clean cloth or kneaded eraser, and if you lack coloured pencils use crayons, markers, or watercolors to color your deer.
My head or body look out of proportion — how can I fix that?
If the head and body look off, redraw the big oval and the smaller circle lightly and use the two short curved neck lines and the vertical/horizontal head guidelines to reposition features before smoothing the outer lines and erasing construction marks.
How can I change the activity for younger or older kids?
For younger children skip the light construction lines and have them draw one big oval, a simple head circle, and stick-on eyes, while older kids can follow all steps and add fur strokes, shading under the belly, and more detailed branched antlers.
What are some ways to extend or personalize the deer drawing?
To enhance the drawing, add unique spots or patterned antlers, create a seasonal background, experiment with watercolor or collage for color and texture, then share your finished deer drawing on DIY.org.
Related videos
How To Draw A DEER for Kids 😱 | Easy Deer DRAWING
4 Videos
How To Draw A DEER for Kids 😱 | Easy Deer DRAWING
How to draw a deer step by step | Drawing for beginners
How to draw deer. Step By Step. easy beginner guide for kids
How to Draw a Deer 🦌
Fun Facts
🦌 There are about 55 species of deer worldwide, from tiny brockets to huge moose.
🌿 Many deer regrow their antlers every year, so antlers are perfect practice for drawing branching shapes.
👀 Deer eyes sit on the sides of their heads, giving them nearly 300° vision — a hint for where to place the eyes in your sketch.
✏️ Artists often start with simple shapes (circles, ovals, rectangles) to get proportions right before adding details.
🎨 Gentle shading with softer pencils (like 2B–4B) makes fur look fluffy and gives your drawing a 3D feel.
How do you draw a deer step by step?
What materials do I need to draw a deer?
What ages is drawing a deer suitable for?
What are the benefits and variations of drawing a deer?
