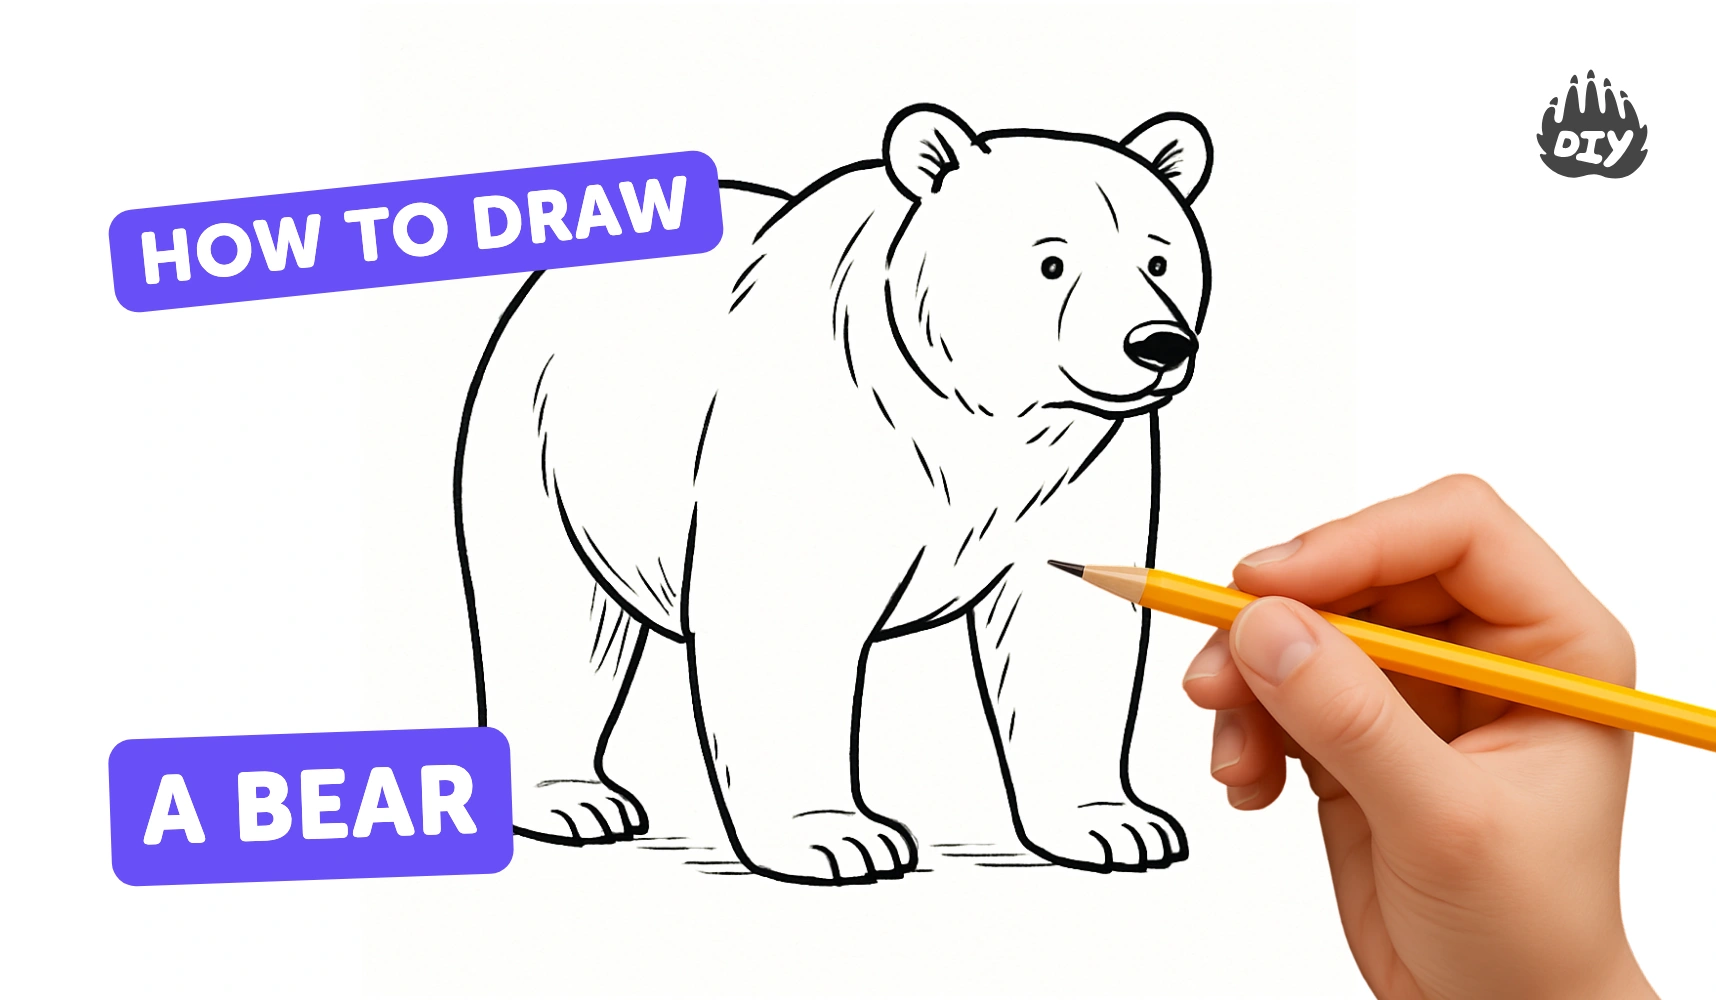
How to draw a bear | Drawing Projects for kids
Profile Icon

How to draw a bear - a free bear drawing guide.

Learn how to draw a bear easily with DIY.org's step-by-step guide!

Start Drawing Course

See Instructions

How to draw a bear

Learn how to draw a bear

Drawing a bear is a delightful creative project that combines observation, imagination, and artistic expression. This engaging activity allows you to explore the characteristics of one of nature's most fascinating creatures while honing your drawing skills. You will start by gathering your drawing materials, which typically include paper, pencils, erasers, and possibly some coloring tools like crayons or markers. With a keen focus on the bear's distinctive features—such as its shape, fur texture, and facial expressions—you'll navigate through a fun learning experience that encourages both detail and creativity.

As you embark on this artistic journey, you will consider different bear species and their unique traits, which can inspire various stylistic choices in your drawing. Whether opting for a realistic representation or a more whimsical interpretation, the process of sketching a bear will help you develop your understanding of shapes, proportions, and shading techniques. Ultimately, this task not only fosters artistic growth but also invites you to appreciate wildlife, making it a rewarding experience that combines education with creativity.

Get inspired with example bear drawings

Drawing example 1
Drawing example 2
Drawing example 3
Drawing example 4
Drawing example 5
Drawing example 6

Instructions

Step 1

Draw the Bear's Head 🐻: Start by sketching a big circle in the middle of your paper. This will be the bear's head! Your circle should be nice and round—make it as big as you want! Tip: Use light pencil strokes so you can erase any lines you don’t need later!

Step 2

Add the Bear's Ears 🐾: On top of your big circle, draw two smaller half circles—one on the left and one on the right. These are your bear's ears! Give them a little curve at the bottom to make them look floppy and cute! Tip: Make the ears a bit fuzzy by adding little fluffy lines around the edges!

Step 3

Create the Bear's Face 😍: Near the middle of your big circle, draw two small dots for eyes. Then, draw a big, round nose just below the eyes—make it as wide and cute as you can! Under the nose, draw a small "W" shape for a friendly smile! Tip: You can give your bear a twinkle in its eye by adding a tiny circle inside each eye for a shiny effect!

Step 4

Add Whiskers and Details 🐾: On each side of the bear's face, draw three short, straight lines for whiskers! Bears don’t have long whiskers like cats, but these little lines will make your bear look adorable! Tip: You can also add a few lines over the nose to give it some texture!

Step 5

Draw the Bear's Body 🐻: Below the head, draw a big oval shape for the bear's body. Make sure it’s wider than the head because bears are strong and chubby! Tip: You can tilt the oval a bit if you want your bear to look like it’s sitting down!

Step 6

Add the Bear's Legs 🦶: Draw two big, rounded shapes at the bottom of the oval for the legs. Make them thick and sturdy—bears are powerful! Then, sketch two smaller circles at the ends of the legs for the bear's paws. Tip: Don’t forget to add extra little curves at the bottom of each paw to show the toes!

Step 7

It's Time for the Tail! 🌀: On the back of the bear's body, draw a little fluffy shape like a cloud for the bear's tail. It doesn’t have to be too big—just a cute little bump will do! Tip: Make it a bit wiggly to show how playful bears can be!

Step 8

Add Fur Texture 🐻: Using a pencil or crayon, draw some short, wavy lines all over the bear's body. These lines will look like its furry coat! Don’t worry about making it perfect—olly bears have their own unique fur patterns! Tip: Think of your favorite teddy bear while you draw!

Step 9

Color Your Bear Anywhere You Want! 🎨: Grab your favorite browns, tans, and even a splash of black or gray! Color the bear's body, leaving the nose black, and its ears a light brown for contrast. You can also use a pink crayon for the inside of the ears! Tip: You can also add a fun scarf or hat if you want to give your bear some accessories!

Step 10

🥳 Hooray! 🥳: You’ve created your very own snuggly bear drawing! Show it off to your family and friends. Keep practicing, and soon you'll be able to draw a whole forest full of furry friends!

Download Activity Sheet

Join our drawing course for kids age 7 to 12.

  • Step by Step Drawing guides
  • Expert video tutorials
  • Hands-on drawing course
  • Trusted by 100k+ families
  • Try it free for 7 days
Course banner

How to draw a bear step by step.

Drawing a bear can be a fun and rewarding activity that sparks your creativity! To make the process easier, break it down into manageable steps. Start by visualizing the bear's basic shapes – a large oval for the body, and smaller ovals for the head and limbs. This helps you establish proportions before diving into details. Think about the bear’s features, like its rounded ears and snout, as simplified shapes that can be added later. Use light pencil strokes, so you can easily make adjustments as you refine your drawing. Don’t forget to pay attention to the bear's expressions and textures, which can add personality to your artwork. With patience and practice, you’ll create a bear that captures the spirit of this majestic creature!

How to draw a bear for beginners.

When embarking on the journey of drawing a bear, simplifying the process can make it more enjoyable and less daunting. Start by breaking down the bear's shape into basic forms, like circles and ovals, which can serve as a foundation for the body and head. This approach helps you focus on proportions without getting overwhelmed by details. Use soft pencil lines at first, allowing for easy adjustments as you refine your drawing. Additionally, consider studying reference images of bears in various poses; this can provide inspiration and improve your understanding of their features. Don’t hesitate to sketch lightly and build upon your initial lines—this iterative process fosters creativity and confidence. Remember, there’s no rush; take your time, and soon you'll see your bear come to life!

How to draw How realistic bear.

When aiming to make your bear drawing more realistic, focus on incorporating intricate details that reflect the bear's natural features. Start by observing real bear photographs to study their proportions and unique characteristics, such as the shape of their snouts and the texture of their fur. Pay attention to the play of light and shadow; adding subtle shading can create depth and dimension, making your bear appear more three-dimensional. Utilize varied line thickness to depict fur texture effectively—thin, wispy lines can illustrate softness, while thicker lines can indicate muscle and strength. Consider the bear's posture and surroundings; a more dynamic pose or a natural setting can further enhance the realism. Lastly, color choice plays a pivotal role—observe how different shades and tones can reflect the bear's habitat, helping your drawing feel rooted in reality.

How to draw How cute bear.

When it comes to drawing a bear, adding a touch of cuteness can bring your masterpiece to life! Start by softening the bear's features—rounded shapes generally evoke a more adorable look, so consider giving the ears and muzzle a gentle, rounded appearance. Try emphasizing big, sparkly eyes; oversized eyes can instantly create a lovable character that draws attention. Don't forget about the bear's expression! A slight smile or a quirky little tongue can add a playful vibe. Furthermore, adding small touches like rosy cheeks or fluffy paw pads can enhance the cute factor. Incorporating accessories, such as a colorful scarf or a playful hat, can also make your bear character even more charming. Remember, the key is to focus on softness and whimsy to craft an irresistibly cute bear that captures hearts!

Frequently Asked Questions

Is DIY back?!
How do I reactivate my account?
How do I sign up?
Are the android and iOS apps coming back?
What is DIY?
What is a “Challenge” on DIY?
What is a “Course” on DIY?
What are “Skills” on DIY?
What if I'm new to all this—where do I begin?
Do I need special materials or equipment?
Is DIY safe for kids?
Can I collaborate with other DIYers on a project?
How do Mentors, Mods, and Jr. Mods help us?
What is DIY?
What's the recommended age for DIY?

Our Mission

To create a safe space for kid creators worldwide!

Challenges

Photograph a Landscape

Draw a Food Monster

Make Fluffy Slime

Build a Catapult

The 30 Day Project

Introduce Yourself in Another Language

See more

Skills

Illustration

Painting

Cooking

Gaming

Rocketry

Photography

Mechanical Engineering

See more

Activities

Activities for Kids

Indoor Activities for Kids

Outdoor Activities for Kids

Summer Activities for Kids

AI Homework Helper

Would you rather?

Company

About

Blog

Terms of Service

Privacy Policy

Community Guidelines

FAQ

Download on AppStoreDownload on Google Play
2025, URSOR LIMITED. All rights reserved. DIY is in no way affiliated with Minecraft™, Mojang, Microsoft, Roblox™ or YouTube. LEGO® is a trademark of the LEGO® Group which does not sponsor, endorse or authorize this website or event. Made with love in San Francisco.