How to draw a basketball - a free basketball drawing guide
Draw a realistic basketball using circles, curved lines, and shading techniques. Practice proportions, symmetry, and simple shading to create depth.

Drawing Apps
Get inspired with these


Instructions
How to Draw a Basketball | Super Easy Drawing Step-by-Step Tutorial!
Step 1
Gather your materials and clear a flat spot to draw so you have lots of room.
Step 2
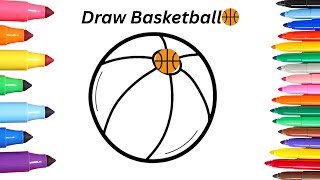
Place the round object on the paper and trace it or draw a large circle freehand to make the basketball outline.
Step 3
Lightly mark the center of the circle by drawing a faint vertical line and a faint horizontal line that cross at the middle.
Step 4
Draw a gently curved seam from the top edge to the bottom edge that bends slightly like an S and goes through the center.
Step 5
Draw another curved seam that wraps from left to right and crosses the first seam at the center to make the second main panel line.
Step 6
Add two shorter curved arcs on the left and right sides between the seams to form the ball panels.
Step 7
Erase the faint center guidelines so only the outer circle and the panel lines remain neat.
Step 8
Decide where the light is coming from and remember which side will be the brightest.
Step 9
Shade the side opposite the light with light pencil strokes to begin making the ball look round.
Step 10
Use a blending stump or a tissue to smooth the shading so the tones blend from dark to light.
Step 11
Darken the panel lines and add tiny dots or short strokes across the panels to suggest the pebbled texture.
Step 12
Erase a small crescent highlight on the side facing the light to show a shiny spot.
Step 13
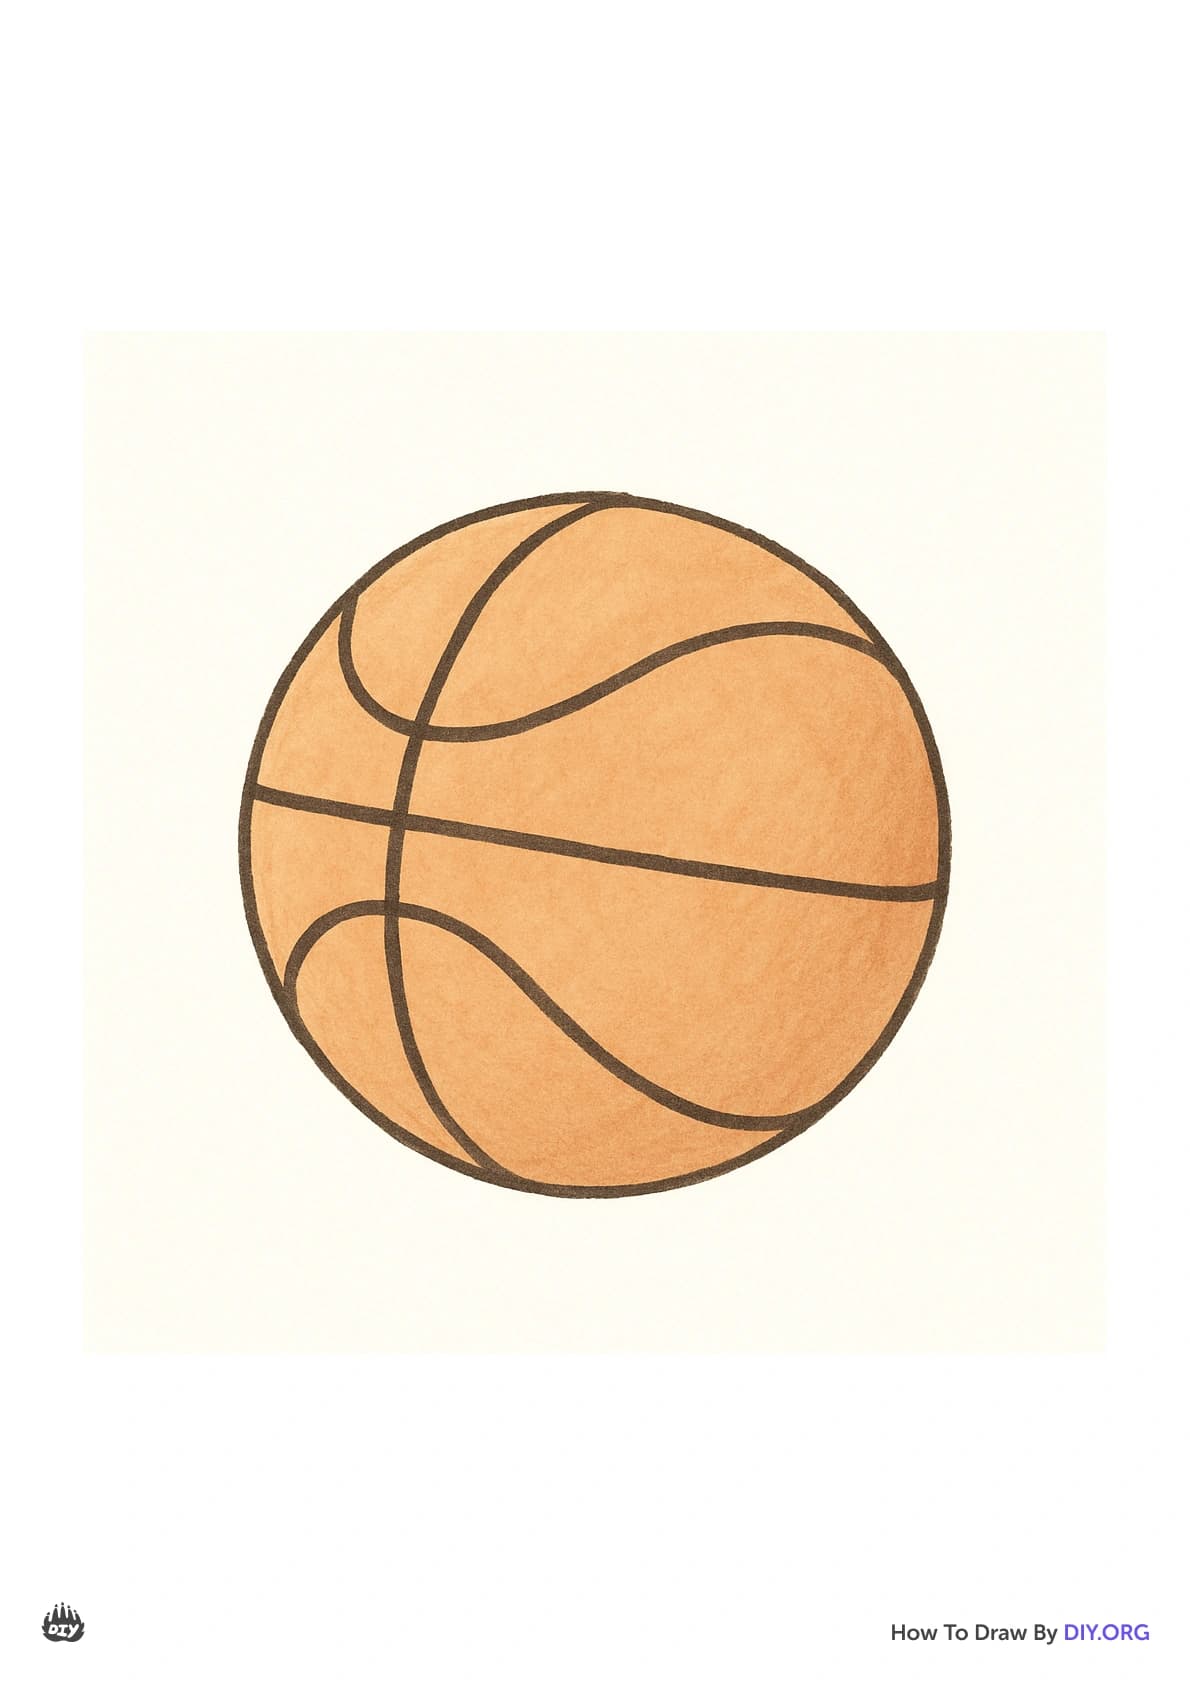
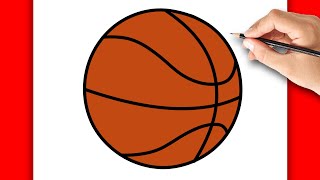
Color the ball orange and keep your shaded areas darker and the highlight lighter to keep the round look.
Step 14
Share a photo of your finished basketball drawing on DIY.org.
Help!?
What can I use if I don't have a round object to trace?
If you don't have a round object, use a cup, plate, jar lid, or the rim of a bowl and follow step 2, which says to 'Place the round object on the paper and trace it or draw a large circle freehand'.
My seams look uneven or my shading is blotchy — how can I fix that?
Use the faint vertical and horizontal center guidelines from the instructions to realign and redraw the S-shaped seam and the left-right seam lightly, then smooth blotchy shading with the blending stump or a tissue mentioned in step 9 and lift excess graphite with your eraser before adding the small crescent highlight in step 12.
How can I adapt this drawing for younger or older kids?
For younger children have them trace a plate and draw just the big panel lines and color with crayons, while older kids can refine the curved seams, add the pebbled texture with tiny dots, practice smooth shading with a blending stump, and erase a precise crescent highlight before coloring the orange.
How can we extend or personalize the finished basketball?
Add a team logo or a name on one panel, draw a soft cast shadow beneath the ball to ground it, experiment with layered orange tones using colored pencils or markers for more depth, and then share a photo on DIY.org as the final step.
Related videos
Basketball Drawing, Coloring, and Painting Easy Tutorial for Kids and Toddlers
4 Videos
Basketball Drawing, Coloring, and Painting Easy Tutorial for Kids and Toddlers

How to Draw Basketball Easy Sport Drawing Tutorial
How To Draw Basketball🏀 Drawing, Painting & Coloring For Kids and Toddlers_ Child Art🌈🎨
HOW TO DRAW BASKETBALL BALL EASY STEP BY STEP
Fun Facts
🏀 The official men's basketball (NBA) has a circumference of 29.5 inches — a handy target when practicing proportion.
🟠 Orange basketballs became common in the 1950s to make the ball easier to see during fast games.
🎨 Shading (highlights, midtones, core shadow, reflected light) is what turns a flat circle into a convincing sphere on paper.
🔄 A perfect circle appears as an ellipse when tilted — drawing an ellipse helps show the ball's angle.
📐 Most basketballs have eight curved panels; sketching those curved lines around the sphere sells its roundness.
How do I draw a realistic basketball step by step?
What materials do I need to draw a realistic basketball?
What ages is drawing a realistic basketball suitable for?
What are the benefits of drawing a realistic basketball for kids?
