Yowie Paper Plushie with DIY Star KittyCatKitty
Make a Yowie paper plushie of a Star KittyCatKitty by cutting, folding, gluing, and decorating; learn measuring, pattern tracing, and safe crafting techniques.


Step-by-step guide to make a Yowie Paper Plushie with DIY Star KittyCatKitty
Step 1
Gather all your materials and clear a flat well-lit workspace.
Step 2
Use the ruler and pencil to measure and draw a big star shape about 10 to 12 centimeters across for the Yowie body.
Step 3
Draw a round head touching the top of the star and add two triangle ears so they connect to the body.
Step 4
Draw small rectangular glue tabs along some star edges so you can fold and glue them later.
Step 5
Decorate the paper star with a face patterns and starry designs using your coloring materials before you cut.
Step 6
Ask an adult to help with the scissors so cutting will be safe.
Step 7
Carefully cut out the star body head ears and glue tabs along the pencil lines with adult help.
Step 8
Fold all the glue tabs inward along the pencil lines to make crisp edges.
Step 9
Glue the head onto the top of the star body and hold it in place until it sticks.
Step 10
Apply glue to all the folded tabs except leave one side unglued as an opening for stuffing.
Step 11
Press the glued edges together to form a shallow 3D pouch body for your plushie.
Step 12
Stuff scrap tissue or cotton into the open side to make your Star KittyCatKitty puffy if you like.
Step 13
Glue the remaining open tab closed and hold until it is secure.
Step 14
Add final details like whiskers stripes or extra stars and let all glue dry completely.
Step 15
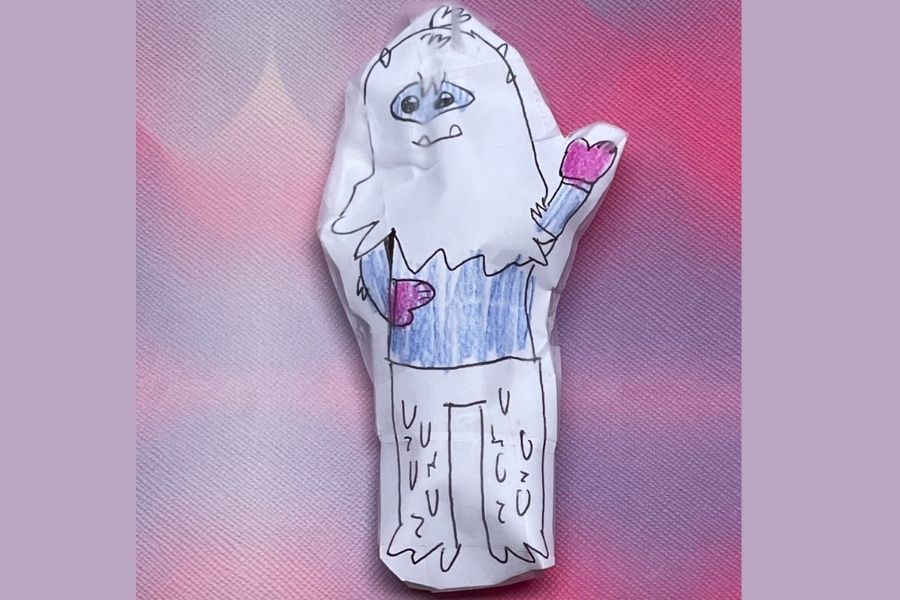
Share your finished Star KittyCatKitty paper plushie on DIY.org
Help!?
What can I use if I don't have scrap tissue or cotton for stuffing?
Use crumpled scrap tissue, newspaper, small fabric scraps, or cotton balls to stuff the open side so your Star KittyCatKitty becomes puffy.
My glue tabs keep coming undone — how can I make the pouch stay together?
Fold all glue tabs sharply along the pencil lines, apply a stronger craft glue or double-sided tape to the folded tabs, and press and hold each seam until the glued edges form a secure shallow 3D pouch body.
How can I adapt this activity for different ages?
For preschoolers, have an adult pre-measure and pre-cut the 10–12 cm star, head, ears and glue tabs and let them decorate and stuff, while older kids can measure with the ruler, draw and cut the pieces themselves and add finer details like whiskers and stripes.
What are some ways to personalize or enhance my Star KittyCatKitty?
Use colored cardstock instead of plain paper, add pipe-cleaner whiskers glued near the face, attach a ribbon loop before sealing the final tab to hang it, and glue sequins or layered paper stars as extra decorations.
Watch videos on how to make a Yowie Paper Plushie with DIY Star KittyCatKitty
How to make a Hello Kitty paper squishy (Free printable)
4 Videos
How to make a Hello Kitty paper squishy (Free printable)
Making cute DIY toys from socks 🧸 Plush toys from Pinterest *:・゚

Origami CAT easy DIY paper crafts Origami CAT face

20 DIY Cat Toys Your Cats WILL Go CRAZY For! (& How To Make Them!)
Facts about paper crafts for kids
🐱 Domestic cats sleep 12–16 hours a day — perfect nap buddies for your Star KittyCatKitty!
✂️ Ancient Egyptians used bronze scissors as early as 1500 BCE — cutting is a craft with a very long history!
📐 A standard school ruler is 30 cm (12 in) long, great for tracing and measuring patterns accurately.
🧸 The teddy bear craze began after 1902 and helped popularize soft, cuddly toy designs like plushies.
🎨 Washi tape (from Japan) and glue sticks are kid-friendly decorating tools that make decorating easy and tidy.
How do I make a Yowie paper plushie Star KittyCatKitty?
What materials do I need for a Yowie paper plushie Star KittyCatKitty?
What ages is the Yowie paper plushie Star KittyCatKitty activity suitable for?
What are the benefits, safety tips, and variations for the Star KittyCatKitty paper plushie?
