Your Final Speech with DIY
Prepare and perform a short final speech using DIY cue cards and simple props, practicing organization, clear speaking, eye contact, and confident delivery.
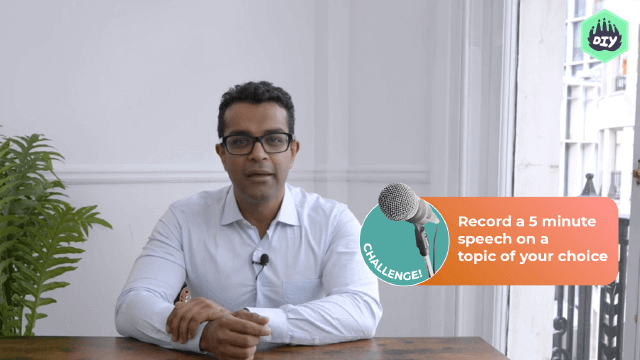
About this activity
Prepare and perform a short final speech using DIY cue cards and simple props, practicing organization, clear speaking, eye contact, and confident delivery.
What you need
Step by step
- 1
Step 1
Pick one fun topic for your final speech.
- 2
Step 2
Choose the goal of your speech to inform persuade or thank.
- 3
Step 3
Write a short opening sentence on paper that grabs attention.
- 4
Step 4
Write one main idea on each of three index cards.
- 5
Step 5
Write one short cue word on each index card to remind you of details.
- 6
Step 6
Draw a tiny doodle on each card to help you remember the idea.
- 7
Step 7
Put the cards in the order you will speak.
- 8
Step 8
Pick two simple props that match your topic and keep them nearby.
- 9
Step 9
Stand up and practice your speech out loud two short times using your cards.
- 10
Step 10
While practicing look at a person or a stuffed toy between sentences to practice eye contact.
- 11
Step 11
Practice using one hand gesture at the same spot when you say an important point.
- 12
Step 12
Ask a family member to listen and tell you one thing you did well and one thing to improve.
- 13
Step 13
Make one small change to your cue cards or gesture based on the feedback.
- 14
Step 14
Deliver your final speech once from start to finish using your cards and props.
- 15
Step 15
With help from an adult share a photo or description of your finished speech on DIY.org
Fun facts
How do I prepare and perform a short final speech with DIY cue cards and simple props?
Start by choosing a clear topic and outline a one-minute speech with an opening, two main points, and a closing. Make DIY cue cards from index cards or folded paper, writing short prompts rather than full sentences. Create simple props (a labeled cardboard sign or small object) to illustrate points. Practice aloud several times, focusing on steady pace, eye contact, and confident posture. Rehearse in front of family and adjust timing and gestures before the final performance.
What materials do I need to make DIY cue cards and props for a final speech?
You’ll need index cards or cardstock, markers or pens, tape or glue, and scissors. Optional extras: stickers or colored paper for visual emphasis, a hole punch and string to make a flip deck, a small box or printed picture for a prop, and a timer or smartphone to time practice. A mirror or phone for recording helps kids self-evaluate. Keep materials low-cost and safe, and supervise cutting or hot-glue use.
What ages is the "Your Final Speech with DIY" activity suitable for?
This activity works for a wide range: ages 5–7 can do a very short, simple speech with adult help making cue cards and props. Ages 8–12 can plan, write, and rehearse independently with guidance on structure and delivery. Teens (13+) can refine content, add more advanced arguments, and use props creatively. Adapt complexity, length, and adult support to each child’s attention span and comfort with public speaking.
What are the benefits of preparing and performing a short speech with DIY cue cards and props?
Making and delivering a short speech builds confidence, organization, and clear speaking skills. Cue cards teach concise thinking; props help reinforce ideas and engage the audience. The activity improves memory, eye contact, and nonverbal communication while encouraging creativity through DIY crafting. Regular practice reduces anxiety and enhances listening skills when peers perform. It also supports language development, critical thinking, and stage presence useful in school and everyday life.
Watch & Learn
Need help?
If I don't have index cards or small props, what can I use instead?
Cut printer paper into 3x5-inch rectangles or use sticky notes for the index cards, and pick small toys, a spoon, or a scarf from around the house as the two simple props.
What should I do if I get nervous or forget my lines while practicing or during the final speech?
Number your index cards, practice the speech out loud two short times as instructed, look at a stuffed toy between sentences to practice eye contact, and use the same hand gesture at the important point to help you remember the line.
How can I change the activity to suit a younger child or a teenager?
For younger kids use one or two large cards with big doodles and more adult help for the opening sentence, while teenagers can expand each of the three index cards into longer points, add a timed practice, and choose props that support a persuasive or informative goal.
How can we make the final speech more creative or personal after following all the steps?
Decorate or color the index cards to match your opening sentence, coordinate the two simple props with your topic, make the one small change suggested in feedback noticeable, and share a photo or description of the finished speech on DIY.org.