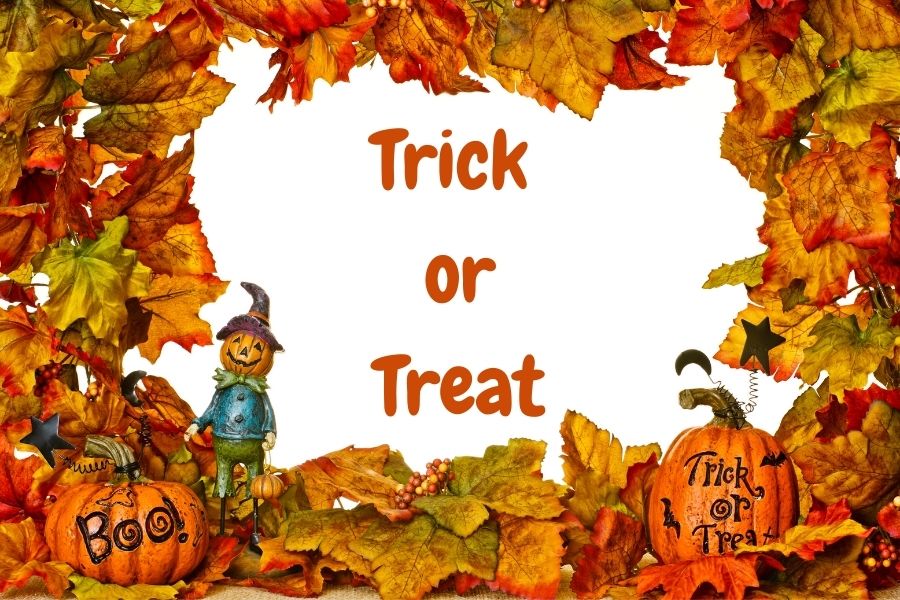
Welcome Halloween Fabric Banner
Make a "Welcome" Halloween fabric banner using felt, fabric glue or simple stitches, decorate with spooky shapes, and hang it safely for display.


Step-by-step guide to make a Welcome Halloween fabric banner
Step 1
Gather all your materials and clear a flat workspace so you have room to craft.
Step 2
Decide how big you want the banner to be and use the ruler and pencil to mark a rectangle on a felt sheet.
Step 3
Cut out the marked rectangle from the felt to make the banner base.
Step 4
Fold the top edge of the banner down about 1 inch to form a pocket for the dowel and press the fold flat.
Step 5
Secure the folded pocket by applying fabric glue along the edge or by stitching it closed.
Step 6
Use the pencil to draw the letters W E L C O M E on a contrasting felt sheet so each letter is big and clear.
Step 7
Cut out each letter carefully from the contrasting felt.
Step 8
Draw simple spooky shapes like bats pumpkins or ghosts on felt scraps for decorations.
Step 9
Cut out the spooky shapes you drew.
Step 10
Lay the letters and spooky shapes on the banner and move them until the layout looks just right.
Step 11
Attach all the letters shapes and any extra decorations to the banner using fabric glue or by sewing them on.
Step 12
Slide the wooden dowel into the pocket at the top of the banner and center it.
Step 13
Tie ribbon or twine to the ends of the dowel to make a hanger and knot it securely.
Step 14
Share a photo of your finished Halloween welcome banner on DIY.org.
Help!?
What can I use instead of felt or a wooden dowel if those materials are hard to find?
Use sturdy construction paper or fleece as the banner base instead of felt and slide a straight chopstick or broomstick handle through the folded 1-inch pocket in place of the wooden dowel.
My cut letters keep coming off the banner—how can I fix that?
If fabric glue doesn't hold the letters, sew them on with needle and thread around the edges or press the glued letters under heavy books for 30 minutes to set before handling.
How can I adapt this project for younger or older kids?
For younger children pre-cut the rectangle and letters and let them glue on large foam shapes, while older kids can use a ruler and pencil to mark precise dimensions, hand-cut detailed spooky shapes, and stitch the letters onto the folded pocket.
What are some ways to personalize or upgrade the Halloween banner once it's finished?
Personalize by embroidering a family name around the WELCOME, glue battery-powered LED string lights behind letters, add buttons or glitter to the spooky shapes, and then slide the dowel into the pocket to hang and photograph for DIY.org.
Watch videos on how to make a Welcome Halloween fabric banner
Step-by-Step Halloween Pennant Banner Tutorial (Fat Quarter Friendly!)
4 Videos

Step-by-Step Halloween Pennant Banner Tutorial (Fat Quarter Friendly!)
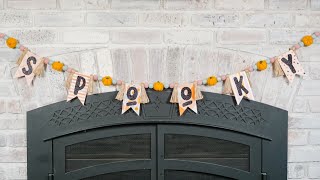
How to Make a DIY Halloween Banner
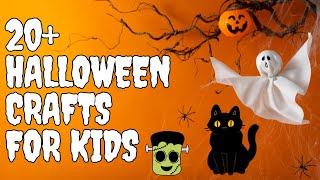
More than 20 FUN HALLOWEEN CRAFTS FOR KIDS | DIY HALLOWEEN DECORATION IDEAS AT HOME
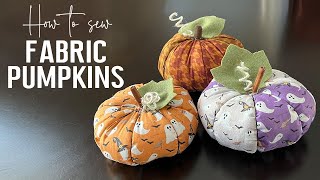
🎃 DIY Fabric Pumpkins for Halloween Decorations
Facts about sewing and fabric crafts for kids
🎃 Halloween is celebrated on October 31 and grew from the ancient Celtic festival of Samhain where people lit bonfires and wore costumes.
🧵 Felt is one of the oldest textiles — it can be made without weaving and doesn’t fray, so kids can cut fun shapes without worrying about edges unraveling.
✂️ Appliqué is a sewing technique that attaches fabric shapes onto a background and has been used worldwide to decorate clothing and banners.
👻 Banners and bunting have decorated parties and homes for centuries; Victorians especially loved fabric decorations for celebrations.
🏠 For safe hanging, use removable adhesive hooks, clothespins, or ties instead of nails or tape that can damage walls.
How do I make a Welcome Halloween fabric banner?
What materials do I need for a Halloween fabric banner?
What ages is this Halloween banner activity suitable for?
What safety tips and variations should I consider for the banner?
