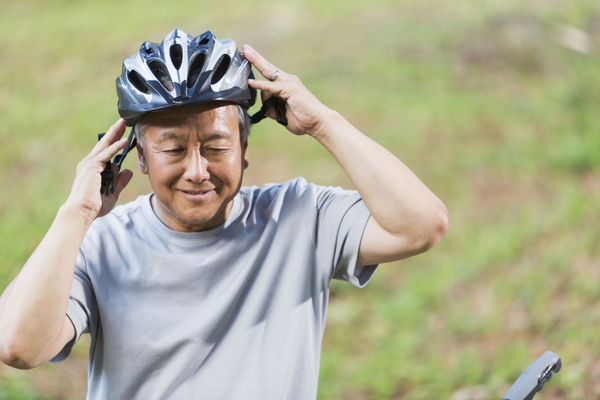
Wear a helmet
Make and decorate a safe foam-and-cardboard helmet, test it by dropping a wrapped egg onto a soft surface from low height, and learn helmet safety.


Step-by-step guide to make and decorate a safe foam-and-cardboard helmet
Kids' Bike Helmet Safety Tips From a Pediatrician | AAP #askthepediatrician
Step 1
Gather all your materials and clear a small table to make your helmet.
Step 2
Use the ruler and pencil to measure around your head and write that number on the cardboard.
Step 3
Cut a long cardboard band about 6 cm tall that matches your head measurement plus a little overlap.
Step 4
Cut a round dome from cardboard that will fit on top of the band to make the helmet crown.
Step 5
Tape the cardboard band into a circle and tape the dome to the top to form the helmet shell.
Step 6
Cut craft foam to fit the inside of the helmet and glue or tape it down to make a soft lining.
Step 7
Add small foam or bubble wrap pads at the forehead and back and tape them in place for extra impact protection.
Step 8
Decorate the outside of your helmet with colouring materials stickers and foam shapes to make it fun.
Step 9
Wrap the raw egg in paper towel then bubble wrap and tape it closed so it is well padded.
Step 10
With adult help place the wrapped egg inside the helmet then hold the helmet about 30 cm above the soft blanket and gently drop it to test the padding.
Step 11
Open the helmet and unwrap the egg to check if it cracked and note where any impact happened.
Step 12
If the egg cracked add more foam to the places that hit and repeat the drop test one more time with adult help.
Step 13
Share your finished helmet and what you learned about helmet safety on DIY.org
Help!?
What can we use instead of craft foam or bubble wrap if we don't have them?
Use folded felt, fabric scraps, or several layers of paper towels for the inside lining and extra padding, and replace bubble wrap around the egg with tightly folded kitchen paper towels or cotton padding before taping it closed.
My helmet came apart or the egg still cracked — what should I try next?
Reinforce the cardboard band and dome seams with more tape, add extra foam pads at the forehead and back where the impact happened, and repeat the drop test over the soft blanket with adult help.
How can I adapt this activity for different ages?
For younger kids have an adult do the cutting and handle the 30 cm drop while the child decorates and observes, and for older kids let them measure, cut, and experiment with thinner bands, different padding layouts, or slightly higher drops while recording results.
How can we extend or personalize the helmet once the basic test is done?
Add a chin strap from elastic or ribbon, mark impact points with stickers after each drop to guide padding changes, and decorate with paint, stickers, or foam shapes before sharing your helmet and findings on DIY.org.
Watch videos on how to make and decorate a safe foam-and-cardboard helmet
Bike Safety for Kids | Helmet On & Ride Smart!
4 Videos
Bike Safety for Kids | Helmet On & Ride Smart!
Bike Safety: How to Fit Kids for Bike Helmets
Bike Safety

🪖🚲 Always Wear a Helmet! | Bike Safety for Kids | Good Habits Kids Shorts
Facts about helmet safety for kids
🪖 Helmets can reduce the risk of serious head injury by more than half in bicycle crashes — that's why we always wear them!
🥚 The egg drop is a classic engineering challenge used in classrooms to learn about impact, cushioning, and energy transfer.
📦 Corrugated cardboard is made of fluted paper between flat liners and is great at absorbing shocks for its weight.
🧽 Foam cushions protect by compressing and spreading impact forces over time, which lowers the peak force on the object inside.
🧠 You can get a brain injury from sudden acceleration even without a broken skull, so helmets help by slowing and spreading forces.
How do you make and test a foam-and-cardboard helmet?
What materials do I need for a foam-and-cardboard helmet and egg-drop test?
What ages is this foam-and-cardboard helmet activity suitable for?
What are safety tips, benefits, and variations of the helmet activity?
