Voyage with a map and compass
Learn to use a map and compass to plan and follow a simple route, find hidden checkpoints, and record bearings during an outdoor navigation voyage.


Step-by-step guide to Voyage with a map and compass
Map and Globe Skills Video Lesson | Geography for Kids | Scale, Compass Rose, and More!
Step 1
Gather all your materials and put them on the clipboard so everything is ready.
Step 2
With an adult choose a safe outdoor area to explore like a backyard or local park.
Step 3
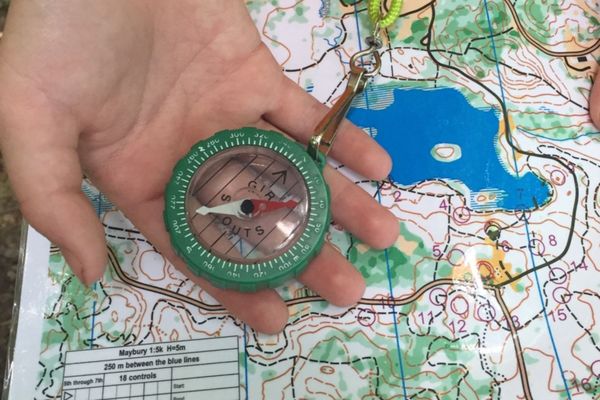
Lay your map flat on the clipboard and find the map's north arrow.
Step 4
Orient the map by using the compass so the compass needle points to the map's north arrow.
Step 5
Pick a clear start point and three checkpoints on the map and label them A B C.
Step 6
Use the ruler to draw straight lines between your start and checkpoints to show the planned route.
Step 7
Measure the bearing for the first leg by placing the compass edge along the line from the start to checkpoint A and rotating the dial until the orienting lines match map north.
Step 8
Write the measured bearing on your paper next to that route line.
Step 9
Walk with your materials to the real-world start location you chose on the map.
Step 10
Hold the compass flat and turn your body until the compass heading matches the written bearing.
Step 11
Walk straight following the compass direction to find checkpoint A.
Step 12
When you find checkpoint A mark it as found on your map.
Step 13
Repeat steps 7 to 12 for each remaining checkpoint until all checkpoints are found.
Step 14
Check your map and paper to make sure every checkpoint is marked and every bearing is recorded.
Step 15
Share your finished navigation map and a photo of your checkpoints on DIY.org.
Help!?
What can we use if we don’t have a physical compass or clipboard?
If you don't have a physical compass for Steps 4–10, use a calibrated smartphone compass app held flat like the compass, and if you lack a clipboard use a stiff piece of cardboard or a large book to keep the map steady while drawing route lines with the ruler in Step 5.
The compass needle keeps wobbling or points the wrong way—what should we check?
Move at least several meters away from cars, metal fences, or electronic devices, lay the compass flat on the clipboard as in Step 4, and wait until the needle settles before rotating the dial in Step 6 to measure the bearing.
How can I change the activity for younger or older kids?
For ages 4–6 have an adult set up the map and lead Steps 3–12 while the child points and marks a single checkpoint A; for ages 7–10 let the child pick three checkpoints, draw the route with the ruler in Step 5 and measure bearings in Step 6 with supervision; for 11+ add map-scale distance estimates, timed legs, and require them to record every bearing on their paper.
How can we make the voyage more challenging or personal?
Extend the activity by turning checkpoints into a themed treasure hunt with clue cards at each found point, decorating and personalizing your map before Step 1, and after Step 13 include GPS coordinates or a photo collage with your DIY.org submission.
Watch videos on how to Voyage with a map and compass
How To Use a Map & Compass
4 Videos
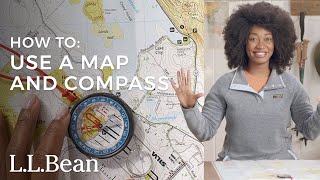
How To Use a Map & Compass

What is a Compass? Compass Points, North, East, South, West
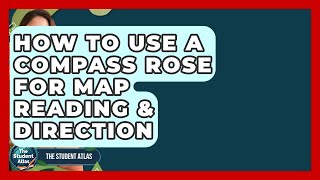
How To Use A Compass Rose For Map Reading & Direction - The Student Atlas

THIS is How to Use a Compass and Map
Facts about map reading and compass navigation
🧭 A compass needle aligns with Earth's magnetic field — it points to magnetic north, not geographic (true) north.
🗺️ Topographic maps use contour lines to show elevation; lines close together mean a steep slope.
🏃♂️ Orienteering began in Sweden as a military exercise in the late 1800s and is now a worldwide sport and pastime.
🌟 Before compasses, sailors and explorers used stars like Polaris to find north at night.
📐 Bearings are measured in degrees from 0°–360°: 0° (or 360°) is north, 90° is east, 180° is south, 270° is west.
How do I teach my child to use a map and compass for a simple outdoor navigation route?
What materials do I need for a child-friendly map and compass navigation voyage?
What ages is learning map and compass navigation suitable for?
What safety tips should I follow for an outdoor map and compass activity with kids?
