Turn Yourself Into Disney Royalty!
Create a Disney-inspired royal costume and accessories (crown, sash, wand) using paper, fabric, and glue, then pose and practice royal manners.

Step-by-step guide to Turn Yourself Into Disney Royalty
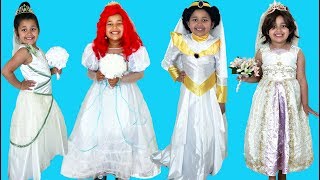
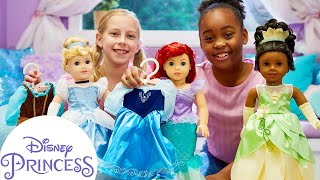
TRYING ON DISNEY PRINCESS DRESSES | TODDLER PRINCESS DRESS UP FASHION SHOW
Step 1
Gather all your materials and set a clear workspace so everything is ready to use.
Step 2
Choose a Disney royal character or invent your own royal and pick 2 or 3 main colors to use.
Step 3
Make the crown by measuring your head with paper or fabric then cutting and shaping a band that fits.
Step 4
Add crown points by cutting triangle shapes and attaching them to the band with glue or tape.
Step 5
Decorate your crown using colouring materials stickers or craft gems to match your royal colors.
Step 6
Cut a long sash from fabric or paper that will go across your chest from shoulder to hip.
Step 7
Decorate the sash with drawings stickers or glued shapes that show your royal style.
Step 8
Make a wand by rolling a piece of paper into a stick or trimming a safe stick to wand size.
Step 9
Decorate the wand with drawings stickers or a glued star to make it magical.
Step 10
Tie ribbon or string around the wand handle to add sparkle and a royal finish.
Step 11
Put on your sash across your chest and fasten it with tape or a safety pin (ask an adult for help if needed).
Step 12
Put on your crown and hold your wand so you look like royal royalty.
Step 13
Strike a royal pose and hold it proudly for 10 seconds to practice standing tall and confident.
Step 14
Practice royal manners by doing a curtsy or bow three times and saying a polite royal greeting.
Step 15
Take a photo or short video of your royal costume and share your finished creation on DIY.org
Final steps
You're almost there! Complete all the steps, bring your creation to life, post it, and conquer the challenge!

Help!?
What can I use instead of craft gems, fabric, or a wooden stick if I can't find them?
Use torn pieces of colored paper or foil for craft gems to decorate the crown, an old T-shirt or pillowcase cut into a sash instead of fabric, and a rolled magazine or a pencil wrapped in paper for the wand.
My crown band is too loose or the points keep falling off—how can I fix that?
Re-measure your head with the paper or fabric band and trim for a snug fit, then reinforce attached triangle points by gluing them to a strip of cardboard before taping or gluing them to the band.
How can I adapt this activity for different ages?
For preschoolers have an adult pre-cut the band, points, and sash and provide stickers for decorating, for school-age kids let them measure, cut, and glue with safety scissors, and for older kids encourage sewing the sash or adding painted details and wired crown points.
How can I enhance or personalize my royal costume beyond the basic steps?
Add a hand-drawn crest or name to the sash, glue on extra fabric trims or ribbon to the crown, stick LED fairy lights or glitter glue to the wand, and stage a mini photo shoot to share the finished costume on DIY.org.
Watch videos on how to Turn Yourself Into Disney Royalty
Disney Princess Royal Wedding Dress Up | Halloween Costumes and Toys
4 Videos
Disney Princess Royal Wedding Dress Up | Halloween Costumes and Toys
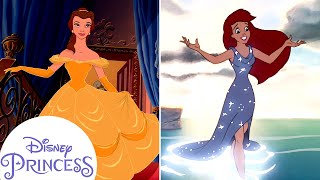
Dressing Up with the Princesses! | Disney Princess
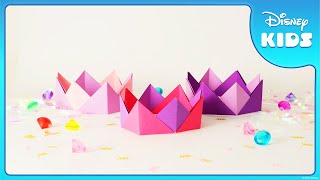
Make Your Own Disney Princess Crown 👑 | Disney Princess 💖 | @disneykids
How to Style Princess Outfits | Cinderella, Tiana & Ariel | Disney Princess Club | AD
Facts about costume making for kids
✂️ Costume designers often make multiple mock-ups (called muslins) before sewing the final garment to perfect the fit and look.
📄 Papercraft is surprisingly sturdy — layered and glued paper can make crowns and sashes that survive energetic play.
📸 Practicing royal poses and manners not only makes photos more dramatic but can also boost a child’s confidence while performing.
🎭 Pretend play and dress-up help kids practice social roles, storytelling, and creativity — it’s great for developing imagination.
👑 The Disney Princess franchise was officially launched in 2000, bringing many beloved royal characters together under one brand.
How do I turn my child into Disney royalty?
What materials do I need to make a Disney royal costume?
What ages is this Disney royalty activity suitable for?
What are the benefits of making Disney royal costumes with kids?


One subscription, many ways to play and learn.
Only $6.99 after trial. No credit card required