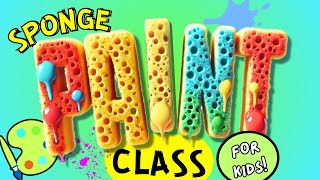
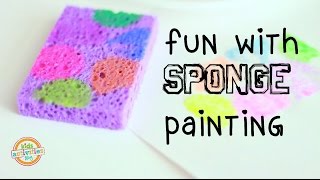
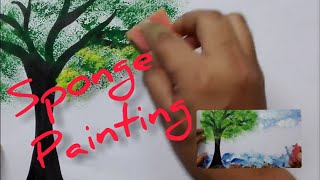
Try your hand at Sponge Painting!
Create colorful sponge paintings by cutting sponges, dipping them in paint, and stamping patterns to explore texture, color mixing, and composition.

Step-by-step guide to sponge painting
So Much Fun With Sponge Painting! 🧽💖 Easy Art For Kids! 😄✨ #DIYForKids #CreativeCrafts
Step 1
Put on an apron or an old shirt to protect your clothes.
Step 2
Cover your table with newspaper or paper towels to keep it clean.
Step 3
Arrange all your materials on the workspace so they are easy to reach.
Step 4
Ask an adult to help with the scissors before you start cutting sponges.
Step 5
Cut the sponges into fun shapes like circles stars or squares.
Step 6
Pour small amounts of each paint color onto the paint tray or paper plate.
Step 7
Dip one sponge shape lightly into a paint color.
Step 8
Blot the sponge once on a paper towel to remove excess paint.
Step 9
Press the painted sponge onto the paper to stamp a colorful print.
Step 10
Rinse the sponge in the cup of water when you want to change colors.
Step 11
Squeeze the sponge over the sink or a paper towel to remove extra water.
Step 12
Try overlapping stamps to mix colors and create new textures.
Step 13
Use a paintbrush or a tiny sponge piece to add dots lines or small details.
Step 14
Let your painting dry flat for at least 30 minutes.
Step 15
Share your finished creation on DIY.org
Final steps
You're almost there! Complete all the steps, bring your creation to life, post it, and conquer the challenge!

Help!?
Can I substitute other materials if I don't have craft sponges or a paint tray?
Yes—cut kitchen sponges or foam sheets into shapes and use a clean yogurt lid or paper plate for the paint tray when you "pour small amounts of each paint color onto the paint tray or paper plate".
What should I do if my sponge prints are smudging or leave blobs of paint?
If prints smudge, follow the step to "blot the sponge once on a paper towel to remove excess paint" and press lightly onto the paper, rinsing and squeezing the sponge between colors as described to avoid blobs.
How can I adapt this sponge painting activity for different ages?
For toddlers skip scissors and use pre-cut large sponges with supervision, preschoolers can cut simple shapes with adult help as the instructions say "ask an adult to help with the scissors", and older kids can add fine details with a paintbrush or tiny sponge piece and try overlapping stamps to mix colors.
How can we extend or personalize our sponge painting after the basic stamping?
To extend the activity, experiment with overlapping stamps to mix colors, use a paintbrush or tiny sponge piece for dots and lines as the instructions suggest, add glitter or marker outlines after the painting dries flat for at least 30 minutes, and then share your final piece on DIY.org.
Watch videos on how to sponge paint
Kids Art Activity: Sponge Painting Monsters
4 Videos
Kids Art Activity: Sponge Painting Monsters
Sponge Painting for Kids! Arts and Crafts Learning!
Sponge Painting
Sponge painting for kids
Facts about painting techniques for kids
✂️ Kitchen sponges are easy to cut into shapes like stars or hearts, turning them into custom stamps.
⏱️ Acrylic paint dries fast, so sponge layers can be added quickly without long waiting times.
🧽 Natural sponges are full of tiny holes — those pores make fantastic texture stamps for painting.
🎨 Sponge stamping is a simple form of printmaking: dip, press, repeat to build patterns and layers.
🌈 Try mixing two primary colors (like red + blue) with your sponges to discover purple and learn color blending.
How do you do sponge painting with kids?
What materials do I need for sponge painting?
What ages is sponge painting suitable for?
What are the benefits of sponge painting for children?


One subscription, many ways to play and learn.
Only $6.99 after trial. No credit card required