Tell Us Your Big Idea!
Design and build a simple prototype model from cardboard and recycled parts, then create a short poster and present your big idea to others.


Step-by-step guide to Tell Us Your Big Idea!
Step 1
Choose one big idea you want to build and say its name out loud.
Step 2
Draw a simple sketch of your idea on paper showing the main parts.
Step 3
Write one short sentence that explains the problem your idea will solve.
Step 4
Make a short list of the cardboard and recycled parts you will need.
Step 5
Collect all the materials on your workspace so everything is ready to use.
Step 6
Use the pencil and ruler to mark the lines you will cut on the cardboard.
Step 7
Carefully cut out the cardboard pieces along your marks with adult supervision.
Step 8
Tape or glue the cardboard pieces together to form the basic shape of your prototype.
Step 9
Attach recycled parts to your model to add features or moving pieces.
Step 10
Test how your model works and make one quick change to improve it.
Step 11
Make a short poster using colouring materials that shows a title a drawing three key points and a picture of your model.
Step 12
Add labels to the poster with sticky notes or small paper so others understand each part.
Step 13
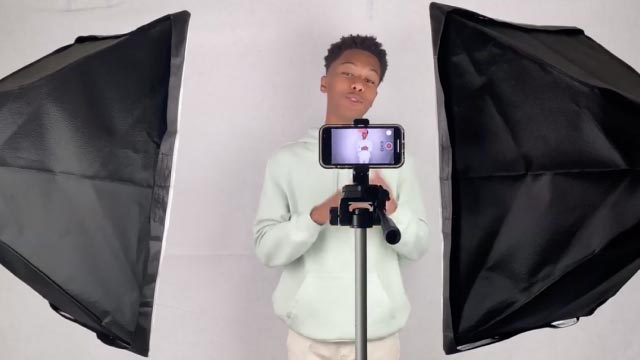
Practice a one minute presentation aloud about the problem your idea solves and how it works.
Step 14
Present your finished project to family or friends and answer one question they ask.
Step 15
Share your finished creation on DIY.org
Final steps
You're almost there! Complete all the steps, bring your creation to life, post it, and conquer the challenge!

Help!?
What can we use instead of cardboard, sticky notes, or a ruler if we can't find them?
Use stiff cereal or pizza boxes in place of cardboard, cut small paper squares for labels instead of sticky notes, and use the straight edge of a hardcover book or a long cupboard ruler for marking lines before cutting.
My model pieces keep falling apart after I tape or glue them—what should I try?
When taped or glued joins don't hold during the assembly step, add overlapping tabs when you mark and cut the cardboard, press and hold joints until glue sets, or reinforce seams with extra tape with adult help.
How can I adapt this activity for younger kids or for older kids who want more challenge?
For younger children have an adult pre-cut cardboard and help with the sketch and the one-sentence problem, while older kids can add measured parts using a ruler, build moving features from recycled bottle caps and straws, and create a more detailed poster and presentation.
How can we improve or personalize our prototype and poster to make it stand out?
Personalize and extend your project by attaching recycled moving parts like bottle-cap wheels on brads, adding photos or extra colouring to the poster, or incorporating a small LED and coin battery to light a feature before sharing on DIY.org.
Watch videos on how to Tell Us Your Big Idea!
Creative Thinking: How to Increase the Dots to Connect
4 Videos
Creative Thinking: How to Increase the Dots to Connect
8 Creative Thinking Exercises to Boost Your Creativity
Improve Your Child's Creative Intelligence | Raise A Creative Child | Creativity And Development
How To Have Better Creative Thinking
Facts about prototyping and design for kids
♻️ Cardboard fibers can usually be recycled about 5–7 times, so turning boxes into prototypes is a great eco-friendly choice.
📦 Corrugated cardboard was first widely used for packaging in the 1870s — perfect for cutting, folding and building quick models!
🚀 From toy rockets to early car models, designers often use recycled parts and cardboard to dream up big inventions.
🧪 Prototypes help inventors test ideas fast — many successful inventions started as simple cardboard mockups.
🎨 Visuals stick: posters with big colors and clear labels help people remember your idea much better.
How do I guide my child to design and build a simple prototype for 'Tell Us Your Big Idea!'?
What materials and tools are needed to make a prototype and poster from recycled parts?
What ages is the 'Tell Us Your Big Idea!' activity best for and how to adapt it?
What are the benefits of designing a prototype, making a poster, and presenting a big idea?


One subscription, many ways to play and learn.
Only $6.99 after trial. No credit card required