Tell us how you can save water
Make a water-saving plan and checklist, perform simple conservation actions at home for one week, track usage changes, and share results with family.


Step-by-step guide to create a water-saving plan and checklist
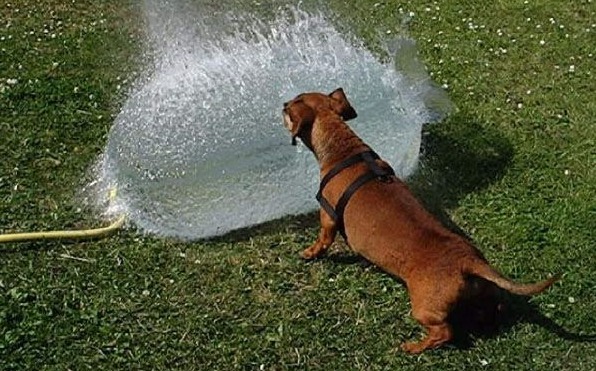
Water Saving Tips and Tricks - Let's Save the Planet - The Environment for Kids
Step 1
Choose three places in your home where you can try to save water (for example shower sink and kitchen).
Step 2
Write the names of those three places at the top of a page in your notebook.
Step 3
For one normal day before you start, record how you usually use water at each place (write shower minutes how long taps run and how you wash dishes).
Step 4
Write one specific measurable goal for each place (for example “shower 2 minutes shorter” or “turn tap off while brushing”).
Step 5
Draw a simple 7-day checklist in your notebook with a box for each day under each place.
Step 6
Put your measuring cup and kitchen timer where you will use them (near the sink or shower).
Step 7
Tape or magnet your checklist to the fridge or another spot you will see every day.
Step 8
For the next seven days follow the checklist every time you use water in your chosen places.
Step 9
Use the timer when you shower and write the shower minutes next to that day’s box.
Step 10
When you run a tap collect extra cold water in the measuring cup to save for plants and refills.
Step 11
After you measure extra water write the amount next to that day’s box on your checklist.
Step 12
At the end of each day add up that day’s numbers and mark the day complete on your checklist.
Step 13
After seven days compare your totals to the baseline you recorded and write down what changed and how much you saved.
Step 14
Show your checklist and notes to your family and tell them the top three changes you want to keep.
Step 15
Share your finished water-saving plan checklist results on DIY.org
Help!?
What can we use instead if we don't have a measuring cup or kitchen timer mentioned in the instructions?
If you don't have a measuring cup or kitchen timer, use a marked empty plastic bottle or mug for collecting and measuring water and your phone's timer (or a kitchen clock) for timing showers, and stick the checklist with a sticky note if you don't have tape or magnets.
What should we do if the checklist falls off the fridge or we forget to time showers and collect water during the week?
To prevent missed recordings, follow the instructions to put the measuring cup and timer where you'll use them, set a daily alarm or shower-start reminder on your phone, and keep the checklist in a visible spot like the fridge using stronger tape or a magnet to avoid it falling off.
How can we adapt this activity for younger kids or older kids who want more challenge?
For younger children simplify by choosing one place, using a 3- or 7-day sticker checklist and having a parent run the timer and write amounts, while older kids can record exact liters, calculate totals versus the baseline, and create a comparison chart before sharing on DIY.org.
How can we extend or personalize the project after the seven days are done?
Extend the activity by turning it into a family challenge that compares each person's savings against their baselines, installing a low-flow showerhead or faucet aerator to test long-term change, and making a homemade infographic of the top three changes to post with your DIY.org results.
Watch videos on how to create a water-saving plan and checklist
How to Conserve Water | National Geographic
4 Videos
How to Conserve Water | National Geographic
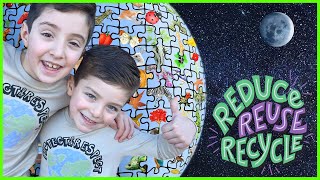
Reduce, Reuse Recycle for Kids ♻️ Save the Environment for Children 🌏 Save the Environment for Kids
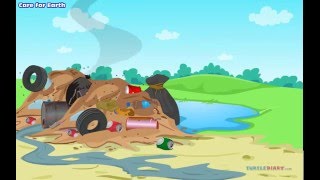
How To Recycle & Take Care of the Environment *FUN* Science for Kids
Water Safety for Kids! | Water Safety Rules | Water Safety Tips
Facts about water conservation for kids
💧 A family of four in the U.S. can use around 400 gallons of water every day at home — that's like filling a small pool!
🚿 Swapping to a low-flow showerhead can cut shower water use by about half, saving dozens of gallons each week.
🚽 Older toilets can use up to 7 gallons per flush, while modern efficient ones use about 1.28 gallons — multiply that by many flushes and it adds up!
🛠️ A single dripping faucet (about one drip per second) can waste over 3,000 gallons of water in a year — fixing it is an easy win.
🌱 Watering plants with a watering can or watering early in the morning reduces evaporation and can save hundreds of gallons outdoors each month.
How can my child make a water-saving plan, carry it out for a week, and share the results with family?
What materials do we need to do the water-saving plan and checklist activity?
What ages is a water-saving plan and home conservation challenge suitable for?
What are the benefits of doing a week-long water conservation plan with my child?
