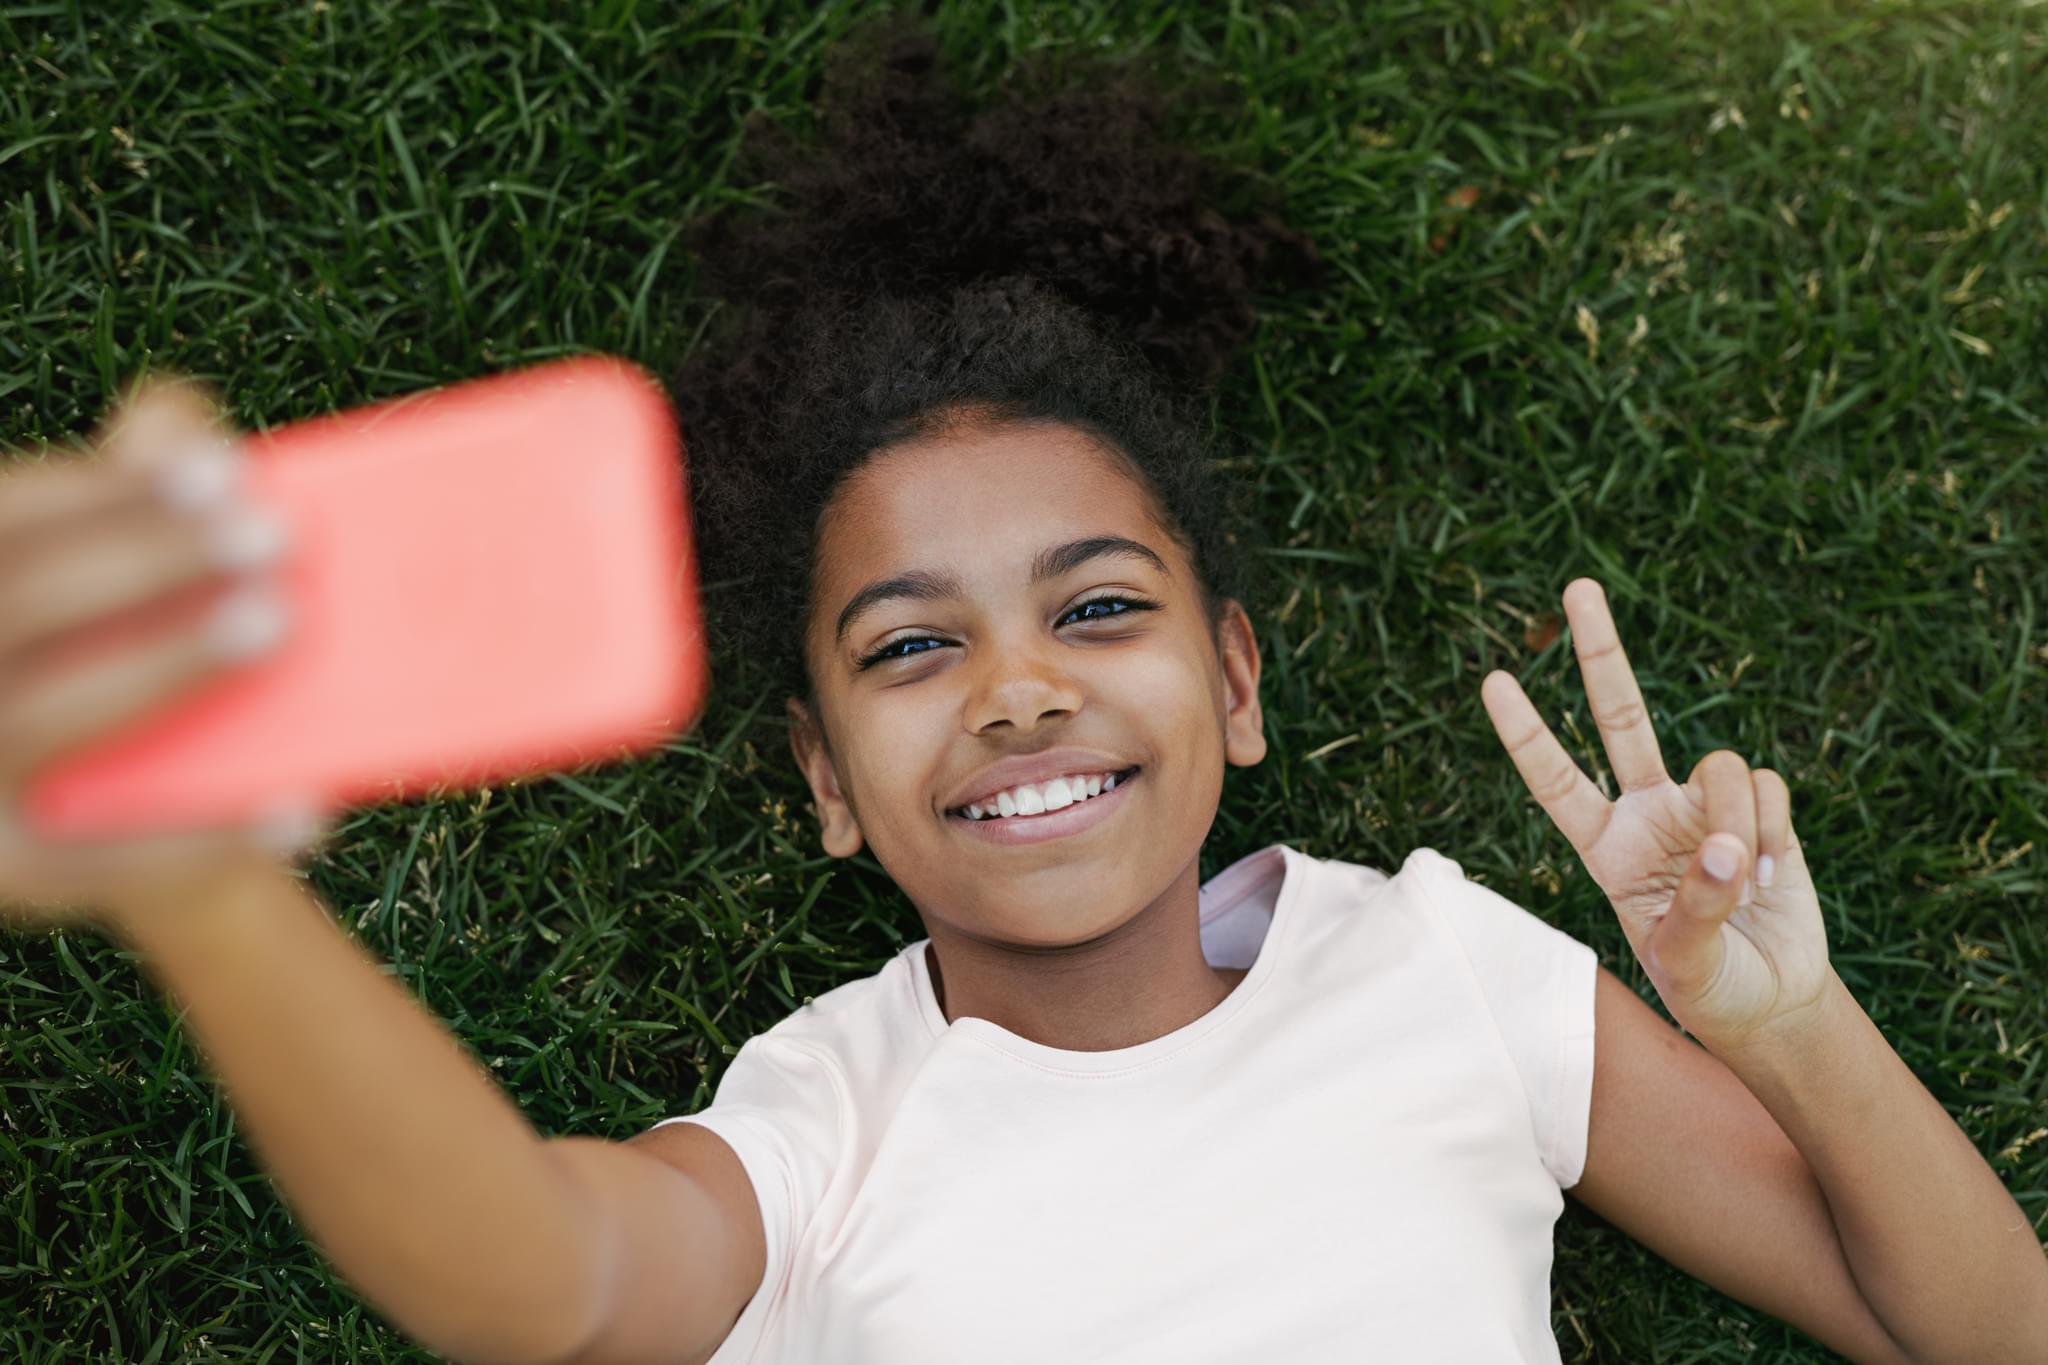
Take a selfie with a cool background
Take a creative selfie by choosing a safe, interesting background, arranging lighting and pose, and asking an adult for permission and help.


Step-by-step guide to take a selfie with a cool background
Take a silly selfie | Fun Photography for kids | #doitwithdiy
Step 1
Ask an adult for permission and tell them you want to take a creative selfie.
Step 2
Choose a safe interesting background that makes your photo look cool.
Step 3
Look around the background to find anything that could be unsafe or messy.
Step 4
Move any unsafe or distracting items out of the way with your adult's help.
Step 5
Gather one or two simple props to make your selfie more fun.
Step 6
Position yourself near a window or turn on a lamp to set good lighting.
Step 7
Decide on one pose to try that matches your background and props.
Step 8
Practice your pose and facial expression one time so you feel ready.
Step 9
Hold the camera at arm's length and frame yourself so the background is visible.
Step 10
Take several selfies trying your pose and one or two different expressions.
Step 11
Pick your favorite photo from the ones you took.
Step 12
With your adult's help share your finished selfie on DIY.org
Help!?
What can we use if we don't have a camera, lamp, or special props listed in the instructions?
Use a smartphone camera held at arm's length instead of a separate camera (step 9), position yourself near a sunny window if you don't have a lamp (step 6), and make props from household items like a scarf, hat, book, or favorite toy (step 5).
My selfies look dark, blurry, or the background is distracting—what should I try?
Move closer to or face a window or turn on a lamp for better light (step 6), remove or move unsafe or distracting items from the background with your adult's help (steps 3–4), and steady the camera on a table or use a timer so your arm-held shots are less blurry while you take several photos to pick the sharpest one (steps 9 and 11).
How can I adapt this activity for different ages?
For toddlers have an adult pick the safe background, clear items, hold the phone, and guide one simple pose and expression (steps 1, 3–4, 9, 7–8), while older kids can try multiple poses, experiment with lighting and props, and choose and share their favorite photo themselves (steps 10–12).
How can we extend or personalize the selfie activity after taking photos?
Make a theme (superhero, nature, color), add simple costumes or more props from step 5, edit or crop favorites to create a collage or mini photo-story, and then share your best shot on DIY.org with your adult's help (steps 5, 10–12).
Watch videos on how to take a selfie with a cool background
photobooth ideas for kids birthday|kids birthday selfie booth ideas|photobooth ideas|selfie booth
4 Videos
photobooth ideas for kids birthday|kids birthday selfie booth ideas|photobooth ideas|selfie booth

How to Take Better Selfies on iPhone and Android for a Natural Look

Photography Tips For Kids

The Art of the Selfie | Art History Lesson | Artrageous with Nate
Facts about child photography and online safety
📸 The word “selfie” first popped up online in 2002 and was added to the Oxford English Dictionary in 2013!
🤳 The earliest known photographic self-portrait was taken by Robert Cornelius in 1839 — he ran into the frame after removing the lens cap!
💡 Soft, front-facing light (like from a window) is one of the easiest tricks to make faces look bright and friendly!
🎨 Placing your face off-center using the “rule of thirds” often makes a selfie look more interesting than putting it right in the middle!
🛡️ Always ask an adult before sharing photos — permission and privacy help keep you and your friends safe!
How do I take a creative selfie with a cool background?
What materials do I need to take a cool background selfie?
What ages is taking selfies with backgrounds suitable for?
What safety tips should I follow when kids take selfies with cool backgrounds?
