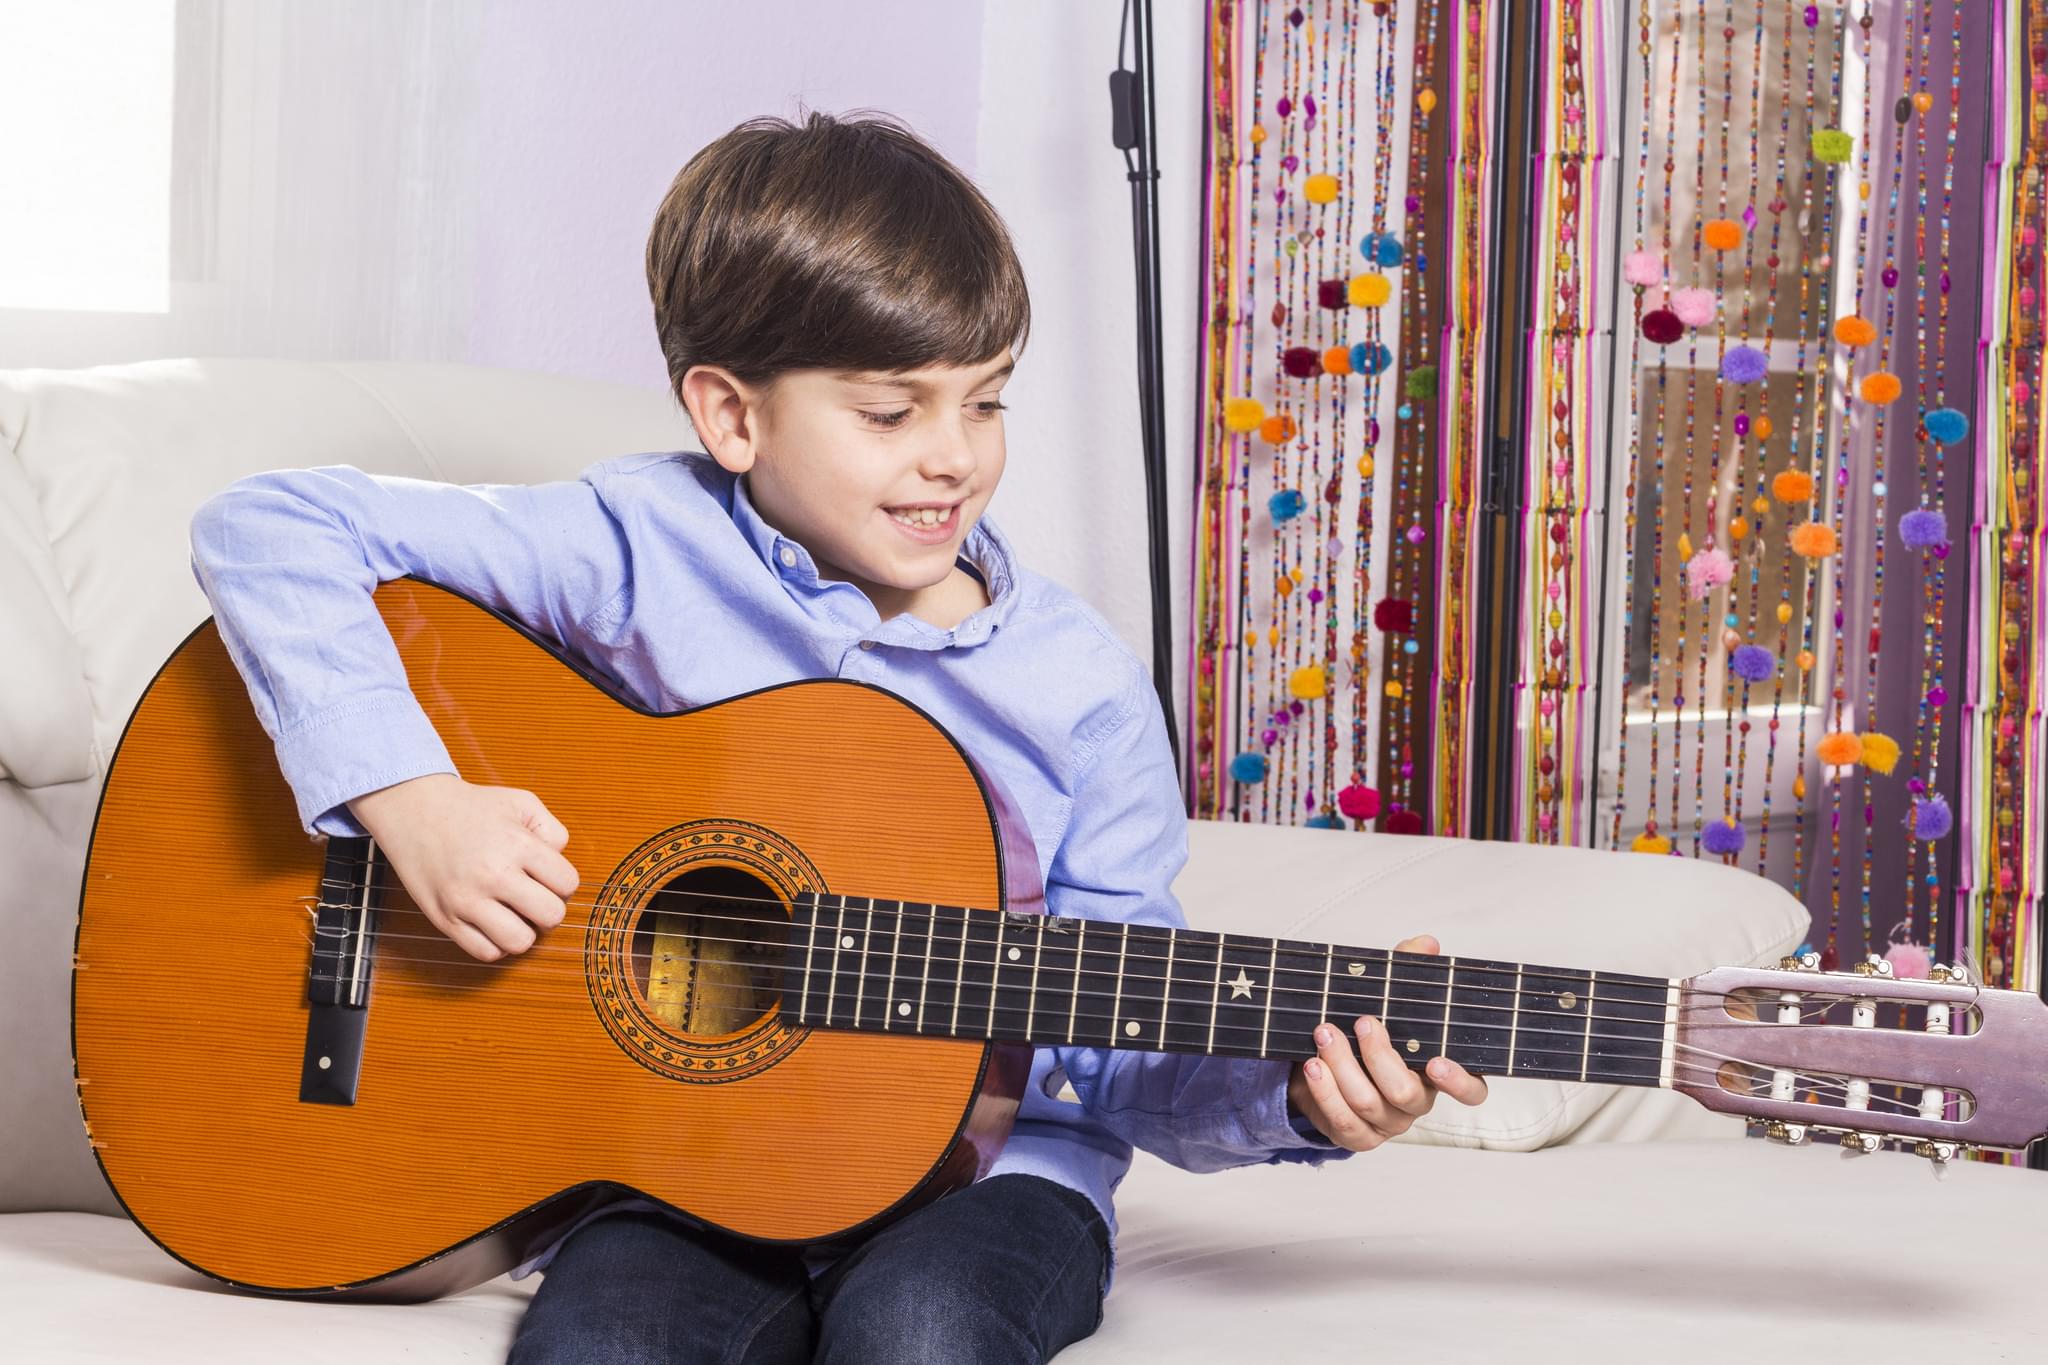
Take a Portrait with a Prop
Take a portrait photo using a simple prop, experiment with lighting, angles, and expressions, then compare results to learn about composition and storytelling.


Step-by-step guide to take a portrait with a prop
School Portrait Photography Setup Complete Walkthrough: Gear, Lighting & Workflow
Step 1
Pick one prop that makes you smile and hold it to imagine a story.
Step 2
Hang a plain sheet or stand in front of a clear wall to make a simple background.
Step 3
Put a chair or stool in front of your background where you will sit.
Step 4
Put your camera or phone on a stable surface so it will not wobble.
Step 5
Turn on the timer on your camera or ask a helper to press the shutter for you.
Step 6
Place a lamp or flashlight to one side of the chair to create side lighting.
Step 7
Sit on the chair with your prop ready to pose.
Step 8
Press the timer or ask your helper to take one straight on portrait.
Step 9
Move the camera a little higher so it looks down slightly at you.
Step 10
Take one portrait from the higher angle.
Step 11
Change your facial expression to a different emotion like surprised or thoughtful.
Step 12
Move the lamp to shine from the front so your face is evenly lit.
Step 13
Take one portrait with the front lighting showing your new expression.
Step 14
Pick two photos that tell different stories and think about how angle lighting or expression changed the feeling.
Step 15
Share your finished creation on DIY.org
Help!?
I don't have a plain sheet or a lamp—what can I use instead?
If you don't have a plain sheet you can hang a tablecloth, blanket, or pillowcase as the background from step 2, and if you lack a lamp use a flashlight, smartphone torch, or bedside lamp for the side lighting in step 6.
My pictures are coming out blurry or too dark—what troubleshooting tips can help?
If photos are blurry or the camera wobbles during steps 4–6, place your camera or phone on a stable stack of books or a jar, use the timer or ask your helper to steady the device, and move the lamp closer or increase exposure to fix darkness.
How can I adapt this activity for different ages?
For toddlers have an adult operate the camera and take one straight-on portrait with a favorite safe prop, for elementary kids try both angles and two expressions from steps 8–11, and for older kids let them control lighting, experiment with the higher angle in step 10, and edit their chosen photos before sharing on DIY.org.
How can we enhance or personalize our portraits once we've followed the steps?
To enhance the activity, swap props between shots, use colored fabric or fairy lights behind the sheet from step 2, add a white paper reflector opposite the lamp to soften shadows from step 6, and write short captions explaining how angle, lighting, or expression changed the story before sharing on DIY.org.
Watch videos on how to take a portrait with a prop
How ONE Flash Can Help You Master Portrait Lighting | Take & Make Great Photography with Gavin Hoey
4 Videos

How ONE Flash Can Help You Master Portrait Lighting | Take & Make Great Photography with Gavin Hoey
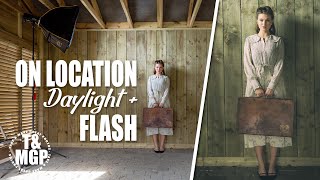
Outdoor Portraits Made Simple | Take and Make Great Photography with Gavin Hoey

Mastering Portrait Lighting: Pro Tips for Jaw-Dropping Results!
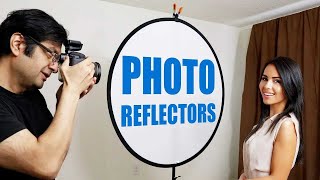
Photography Reflectors - How to use a reflector for portraits
Facts about portrait photography for kids
📸 Portrait photography is one of the oldest photography genres — the first photographic portraits date back to the 1840s.
🎭 A single prop can change a portrait’s story — viewers often assign different roles or emotions just from one object.
🌅 Shooting during the "golden hour" (shortly after sunrise or before sunset) creates warm, soft light that flatters faces.
🔍 A small change in camera angle can make a person appear taller, shorter, older, younger, or more powerful.
🎨 Placing the subject along the rule of thirds lines often makes portraits feel more balanced and interesting than strict centering.
How do you take a portrait with a prop?
What materials do I need to take a portrait with a prop?
What ages is taking a portrait with a prop suitable for?
What are the benefits of taking portraits with a prop?
