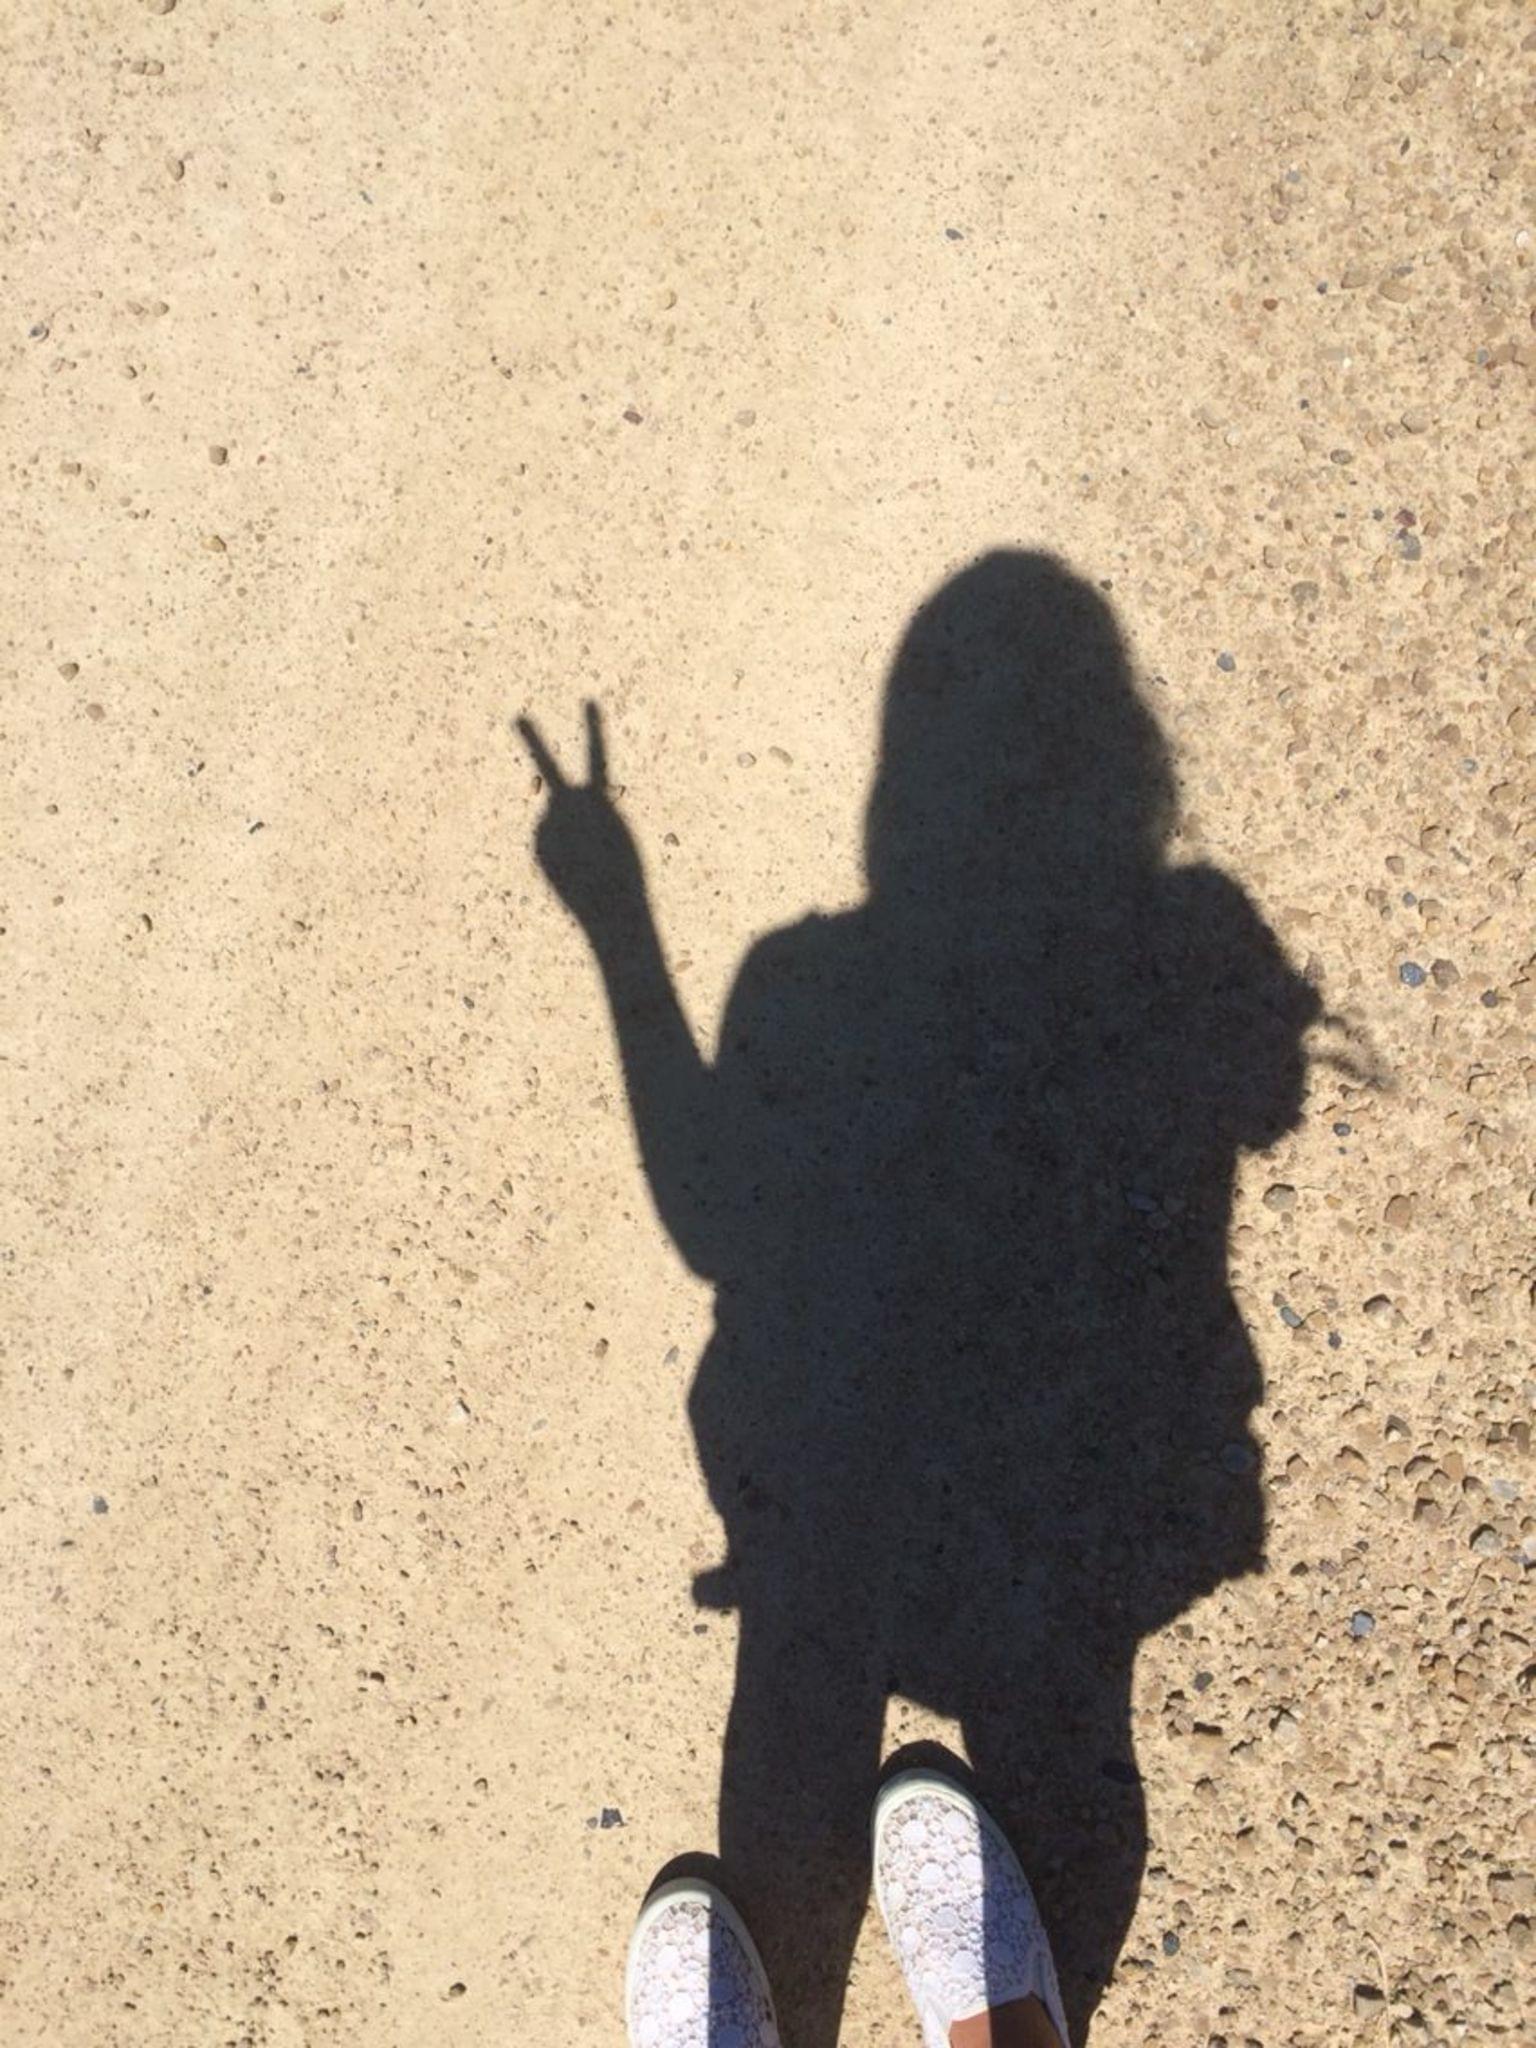
Take a photo with a shadow as a subject
Take photos focusing on shadows as the subject, explore light direction, composition, and perspective, and create a small shadow photo gallery to share.


Step-by-step guide to take shadow photos
Photography Lesson for Kids Light and Shadow
Step 1
Find a bright spot where light makes strong shadows like near a sunny window or under a lamp.
Step 2
Lay the white paper flat or stand it up to make a simple background for shadows.
Step 3
Put one small object on the paper and stick it down with tape or clay so it won’t move.
Step 4
Turn on your flashlight or move the object into the sunlight to make a clear shadow.
Step 5
Move the light source around the object slowly until the shadow looks interesting.
Step 6
Change your camera angle by kneeling or standing higher to see how the shadow shape changes.
Step 7
Take a photo that makes the shadow the main thing you see in the picture.
Step 8
Repeat Steps 3 to 7 with at least four different objects or light directions to get more shadow photos.
Step 9
Pick your favorite 4 to 6 shadow photos from the ones you took.
Step 10
Make a small gallery by arranging the photos on a page or printing them and taping them to a poster and add short captions with your pencil.
Step 11
Share your finished shadow photo gallery on DIY.org so everyone can see your cool shadow art.
Help!?
What can we use if we don't have a flashlight, white paper, or clay for this shadow photo activity?
Use your phone's flashlight or a desk lamp for the light source, plain printer paper or a torn white cereal box as the background, and sticky tack or a small piece of playdough in Step 3 to hold the object down.
My shadow photos look fuzzy or the object keeps moving — how can I fix that?
Darken the room and move the flashlight or lamp closer to the object (Step 4), press the paper flat and add more tape or clay in Step 3 to secure the object, and steady the camera by kneeling or resting it on a book as in Step 6.
How can I adapt the activity for different age groups?
For preschoolers use big, simple objects and help with taping and taking the photo, for elementary kids let them try Steps 4–7 on their own with a smartphone, and for teens encourage multiple lights, creative angles, or basic editing before making the gallery in Steps 9–11.
How can we make the shadow photo gallery more creative or personal?
Add colored gels or translucent paper over the flashlight, arrange multiple objects to tell a shadow story, write playful captions for each printed photo on your poster (Step 11), or turn your favorite 4–6 shots into a flipbook or slideshow to share on DIY.org.
Watch videos on how to take shadow photos
Unit: Photography for Kids | Lesson 2: Finding the Light
4 Videos
Unit: Photography for Kids | Lesson 2: Finding the Light
Photography Tips For Kids
Unit: Photography for Kids | Lesson 1: Rule of Thirds
How are Shadows Formed? | KS2 Science | STEM and Beyond
Facts about photography for kids
🌞 Shadows get longer during sunrise and sunset and are shortest at noon when the sun is high.
🖼️ A silhouette is a shadow-like outline—great for making bold, simple photos.
📷 Side light (low-angle light) makes strong, dramatic shadows that add texture to photos.
🔍 Shadows can reveal surprising shapes—everyday objects can look like animals or monsters!
🎨 Chiaroscuro is an art technique that uses strong contrasts between light and dark to create drama.
How do I teach my child to take photos focusing on shadows?
What materials do I need for a shadow photography activity?
What ages is a shadow photo activity suitable for?
What are the benefits of taking shadow photos and any safety tips or variations?
